
Table of Contents
How to move questions or content around a project
Step-by-step guide
Step-by-step guide
You can move content or questions around whenever you see the three horizontal lines. You can even move content and questions between tabs!

How to adjust the size of content or questions
Step-by-step guide
Step-by-step guide
1. To make the content or question box smaller, click the "-" box.

2. To make the content or question box bigger, click the "+" box.
By default, the boxes are as big as they can get.

How to add a sidebar to your project
Step-by-step guide
Step-by-step guide
1. Click "Add Sidebar"
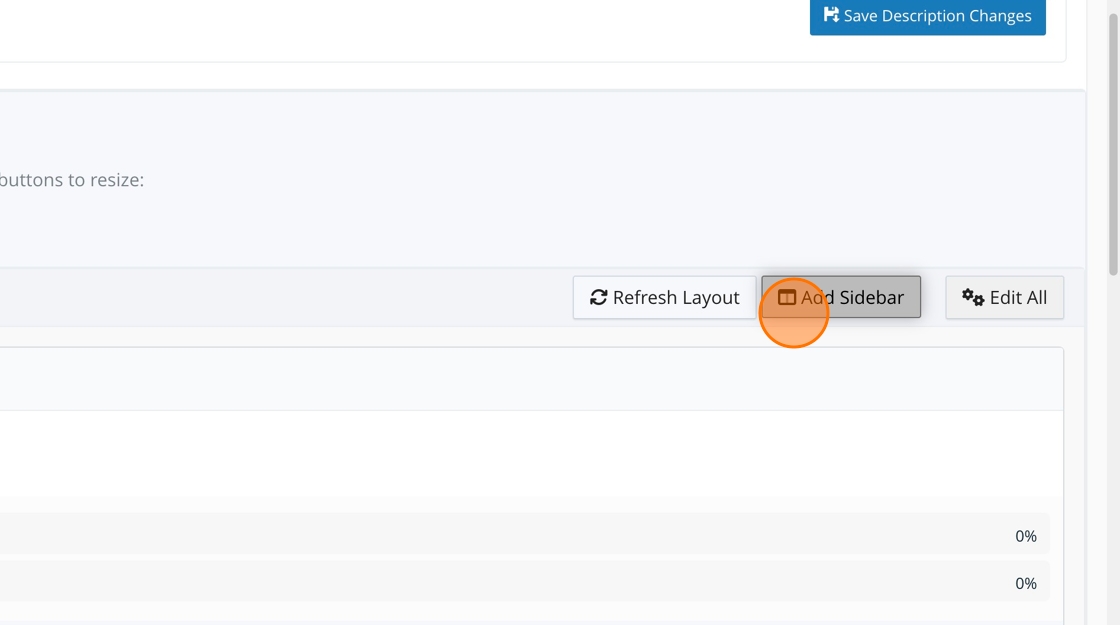
2. The sidebar will appear on the project page's right side.

3. You can add these types of content to a sidebar. You cannot add questions.

4. Click "Remove Sidebar" to remove the sidebar from your project.

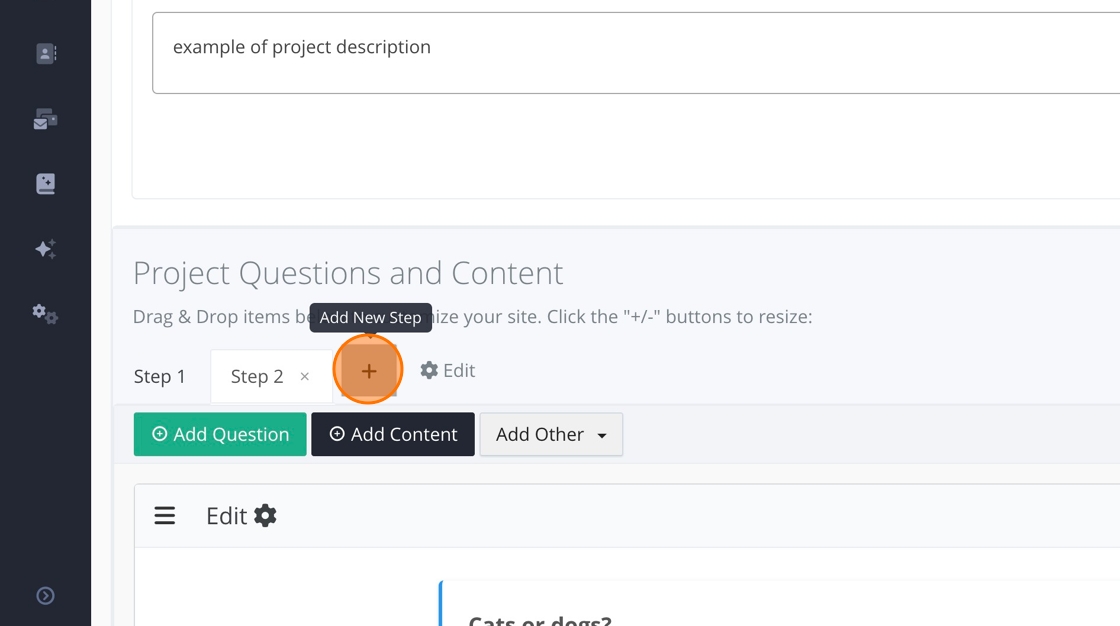
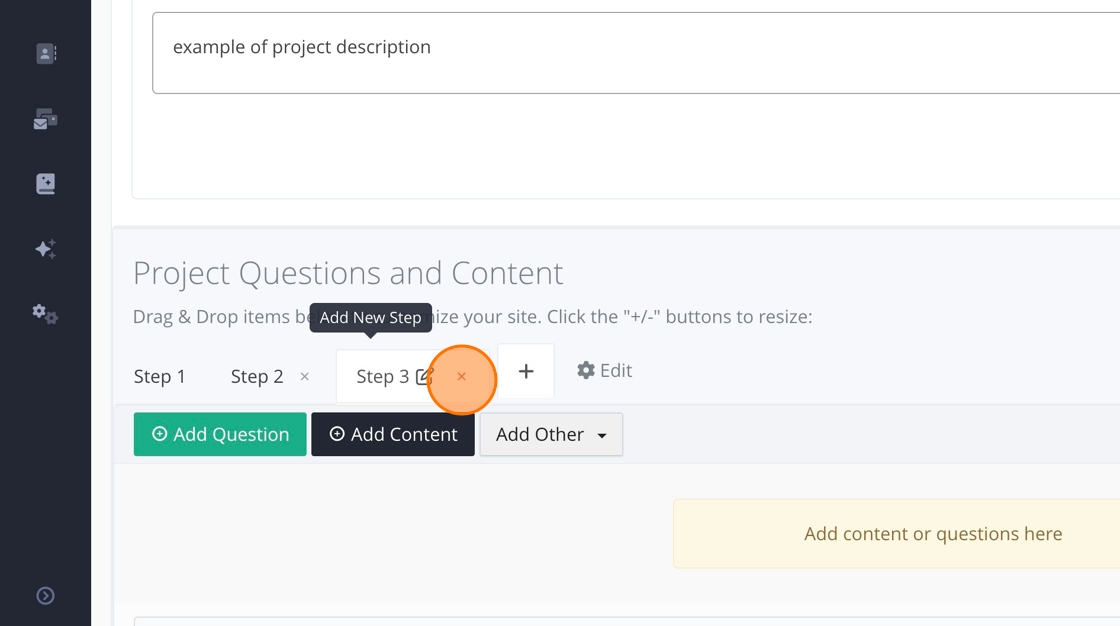
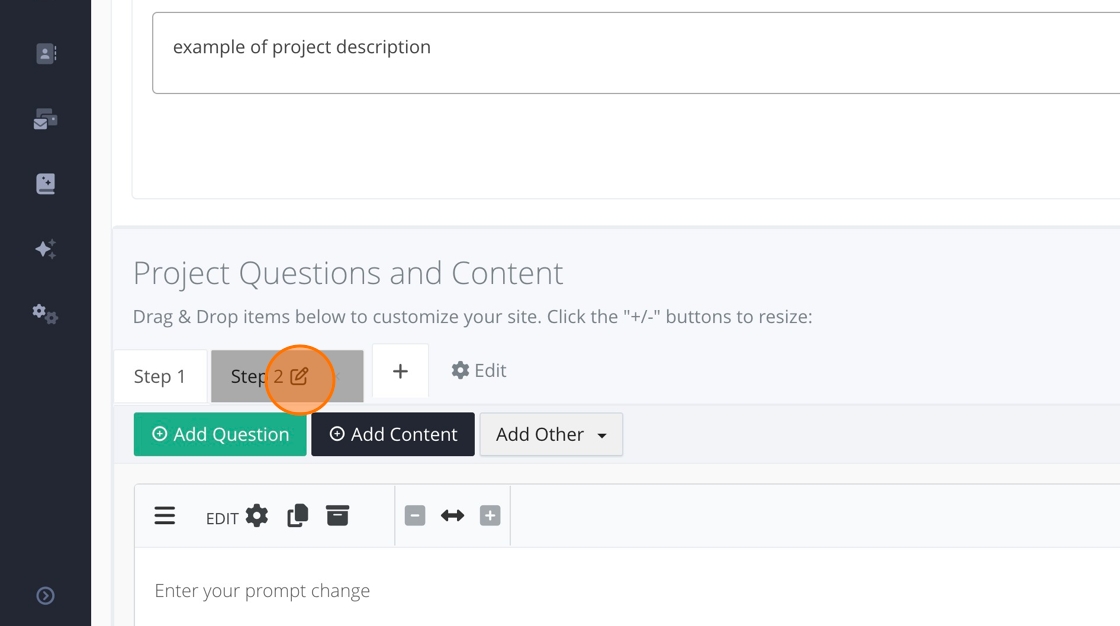
How to add more tabs and set project navigation
Step-by-step guide
Step-by-step guide
Adding tabs
1. Click here to add more tabs.
2. Click "×" to remove a tab.
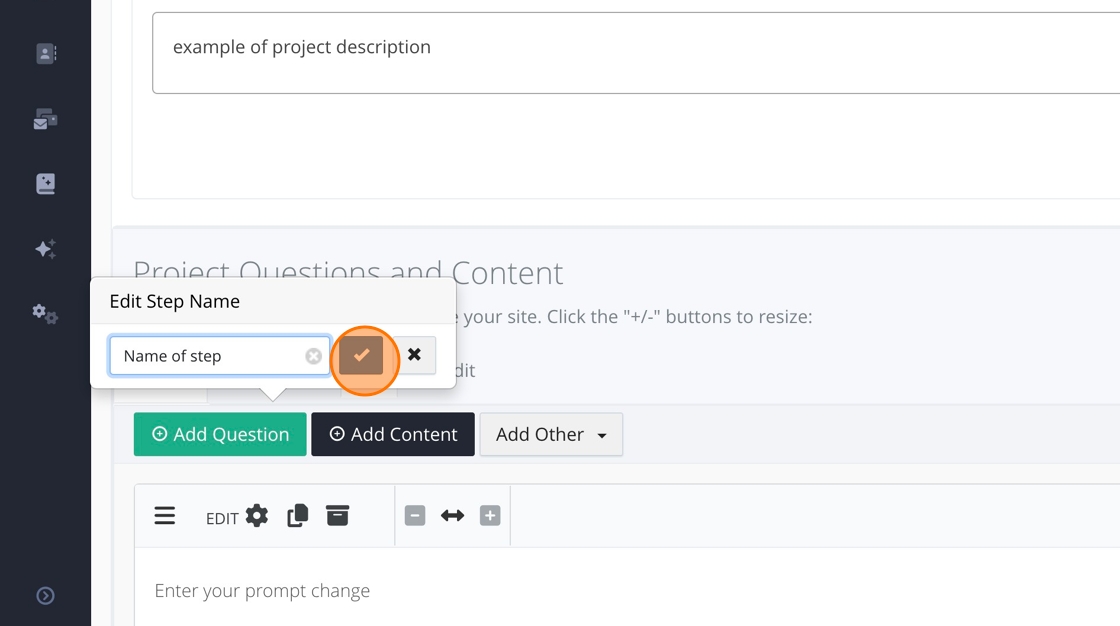
3. To rename a tab, click the pencil icon.
4. Once the tab is renamed, click the blue check.
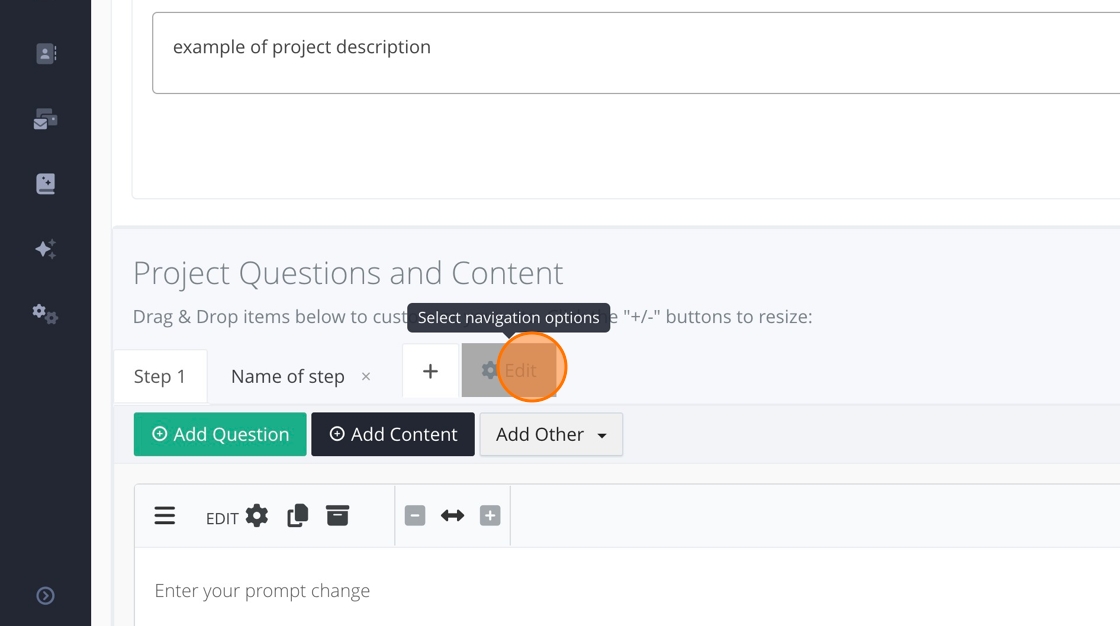
Change navigation
5. Click "Edit"
6. You can make the steps/tabs clickable or unclickable for Survey Steps. You can also choose to hide the continue button.
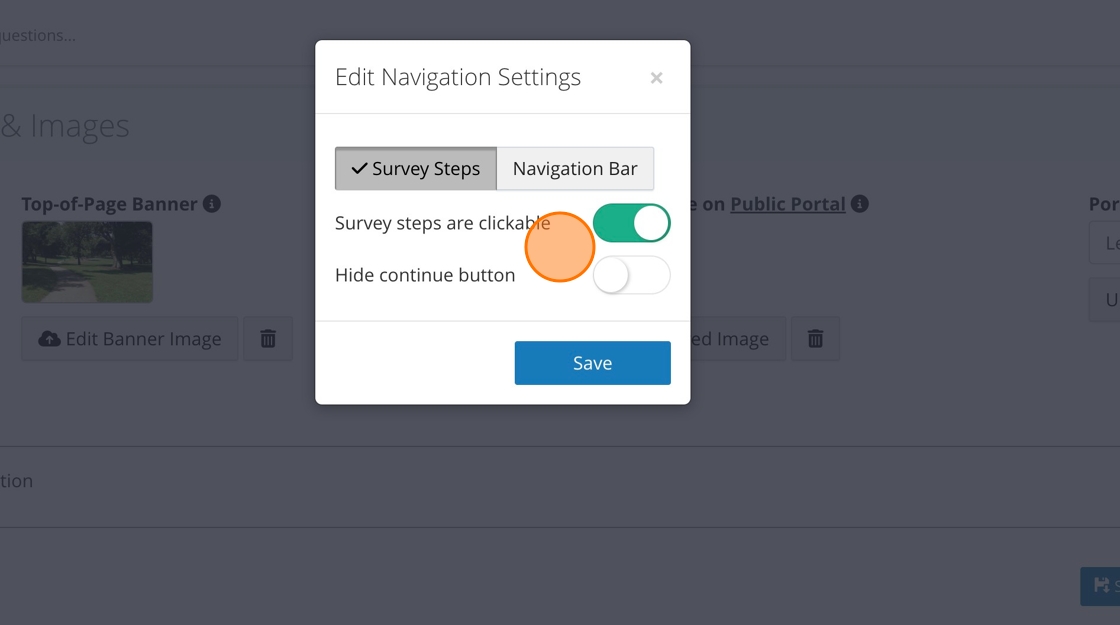
7. You can hide the continue button in the navigation bar. We do not recommend this for long surveys.

8. Click "Save"

How to add a YouTube Video
Step-by-step guide
Step-by-step guide
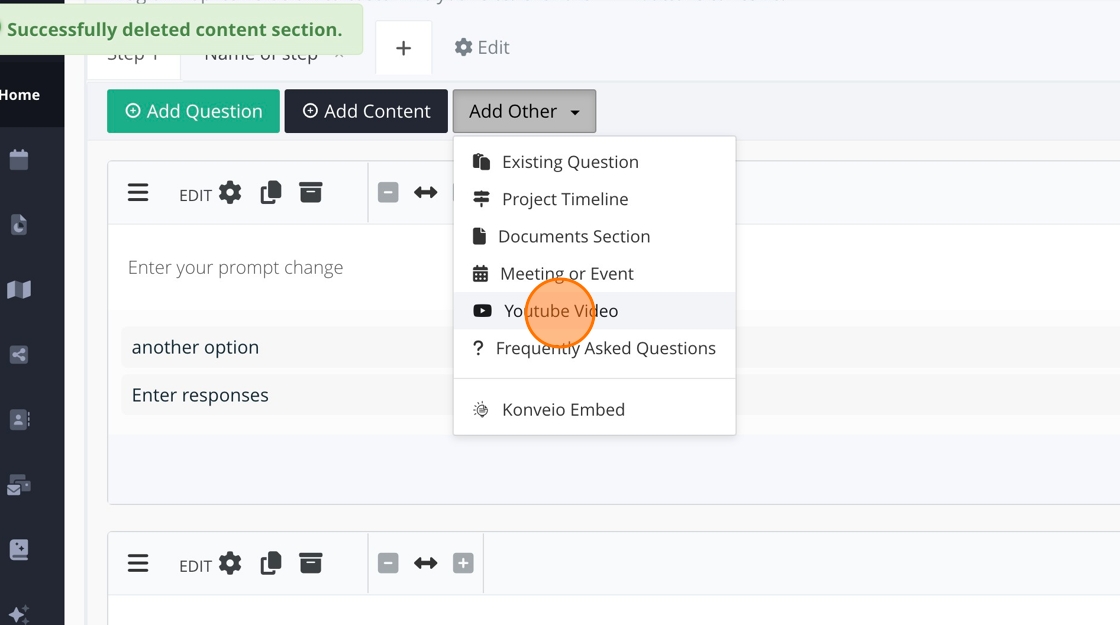
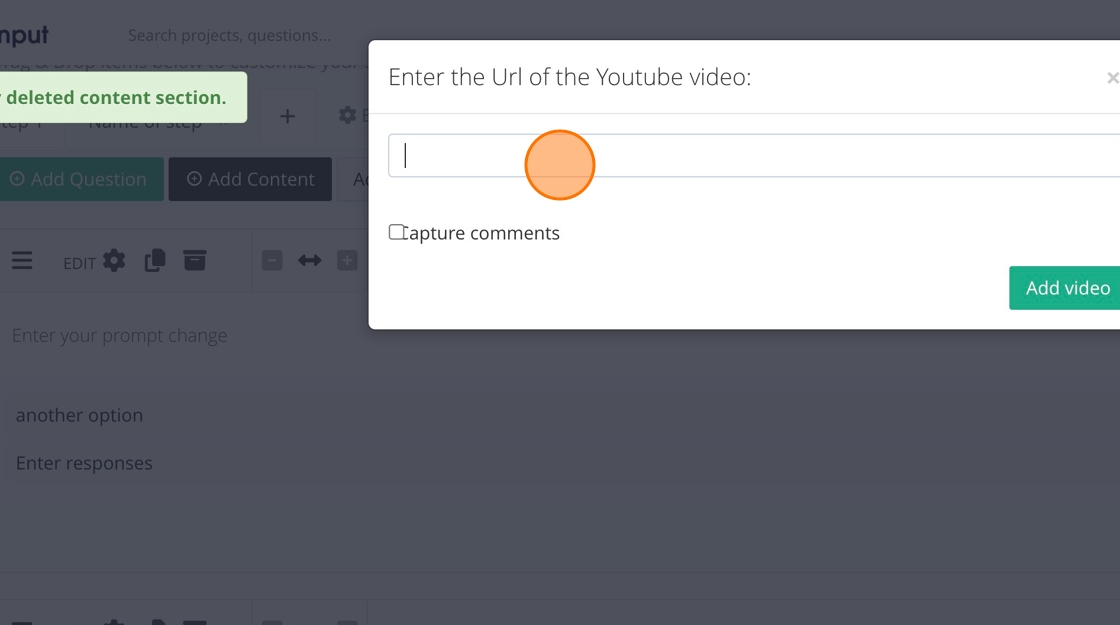
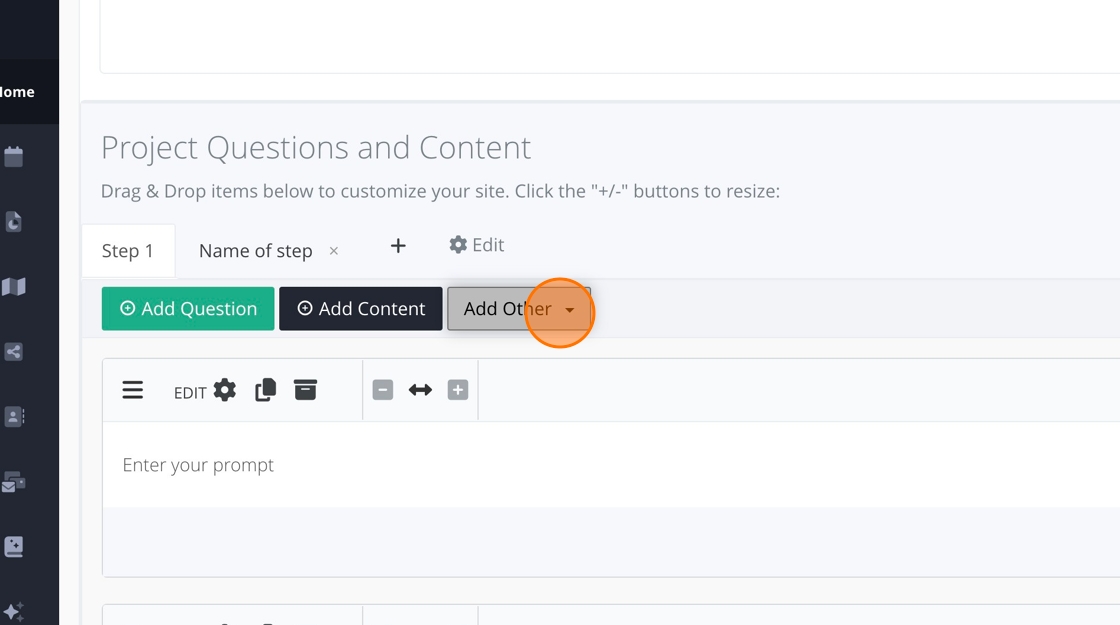
1. Click "Add Other"

2. Click "YouTube Video"
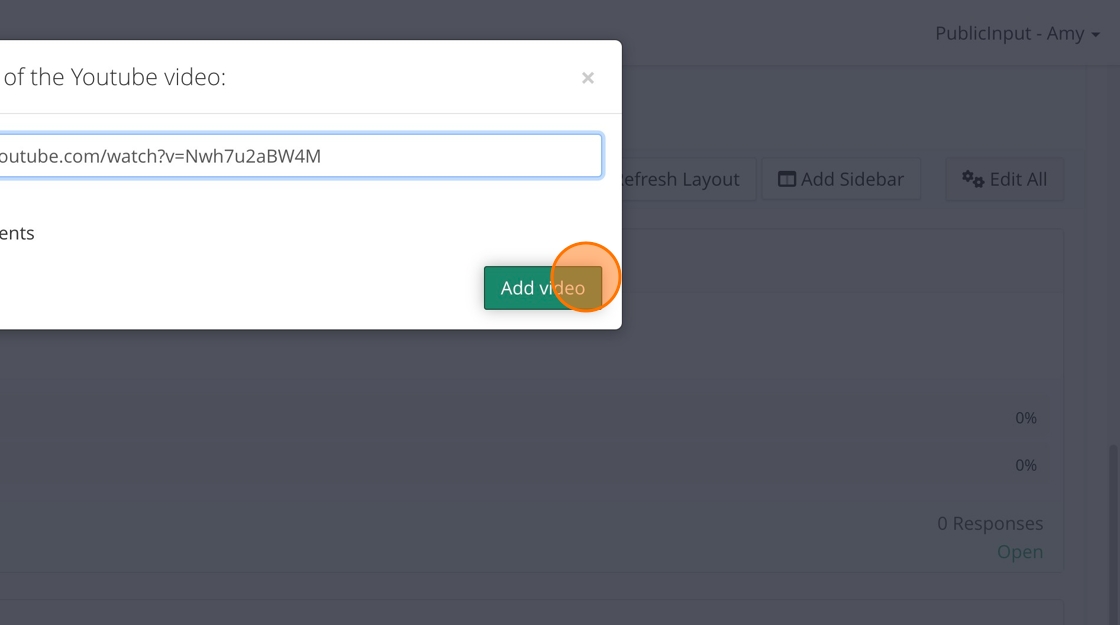
3. Add YouTube link here.
4. Click "Add video"
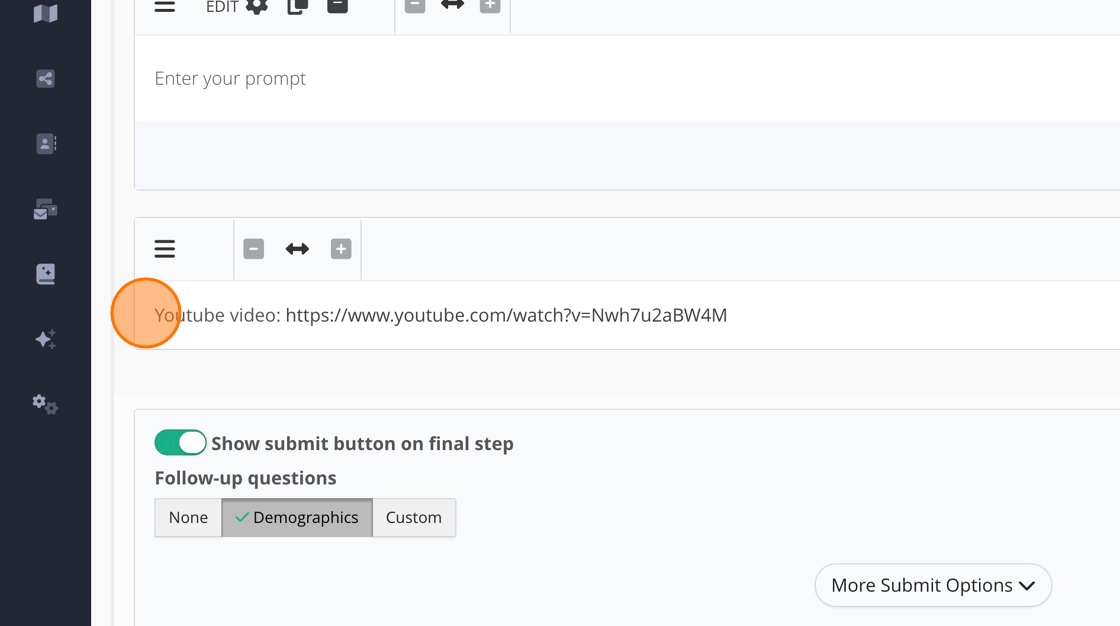
5. The video will look like this in your project on the backend.
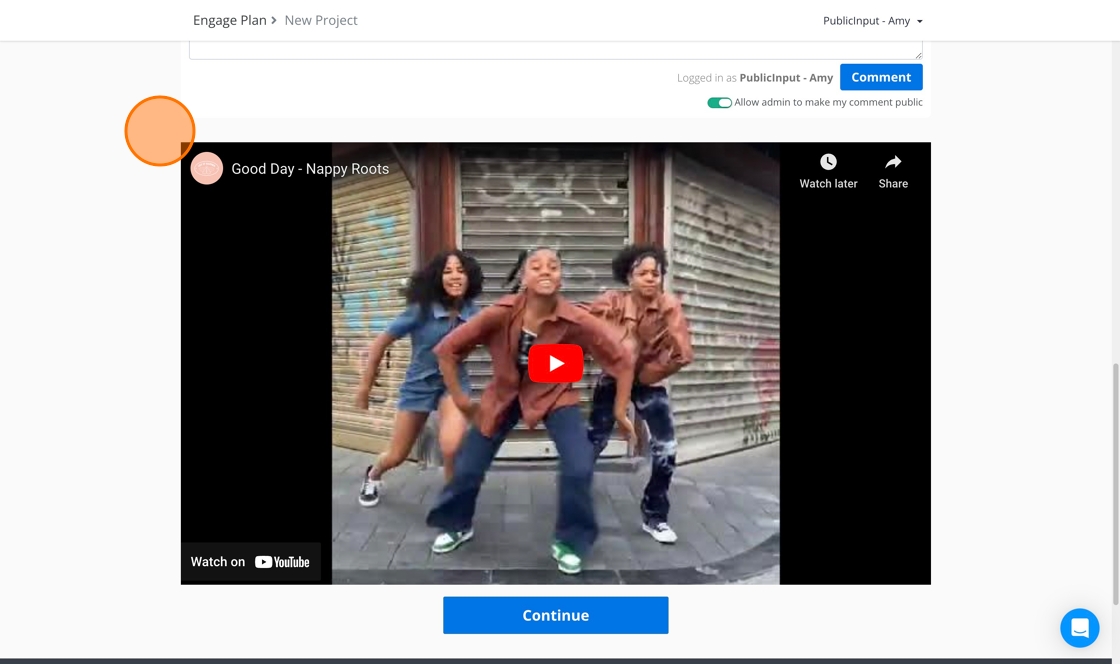
6. The video will appear embedded on the participant side of the project.
How to add a project timeline
Step-by-step guide
Step-by-step guide
1. Click "Add Other"

2. Click "Project Timeline"

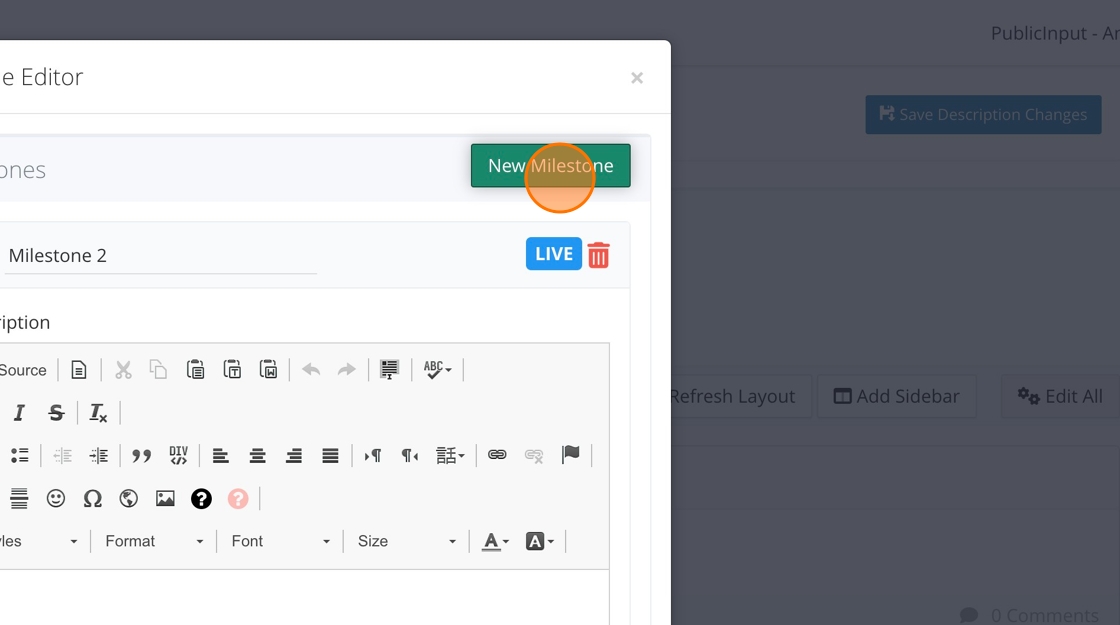
3. Click "New Milestone." Your new milestone will go to the bottom.
4. Click the "Milestone Title" field to rename.
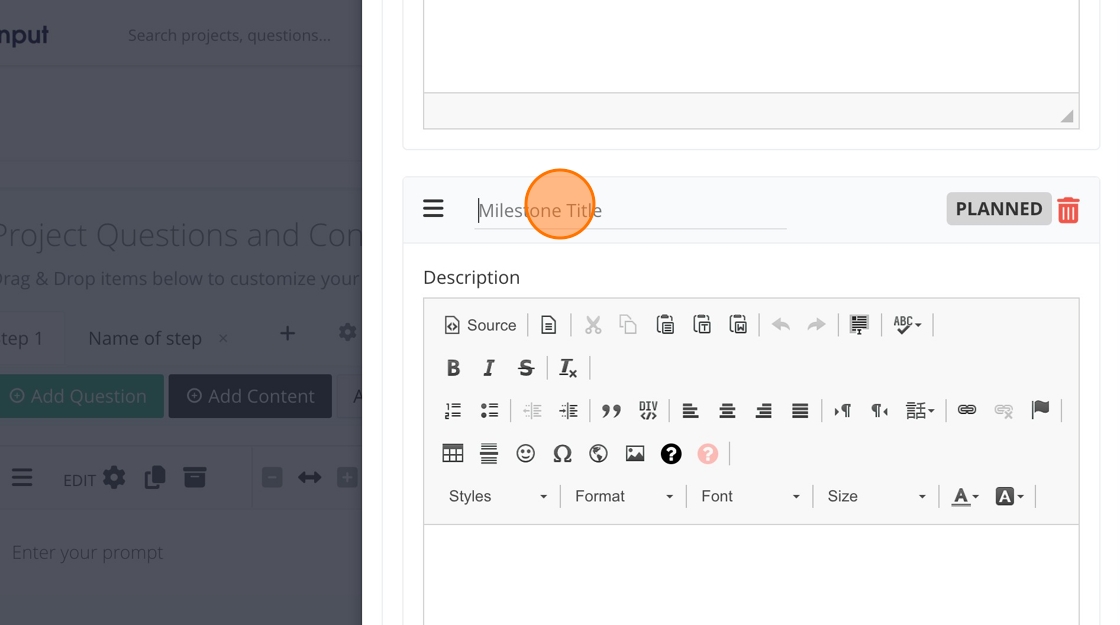
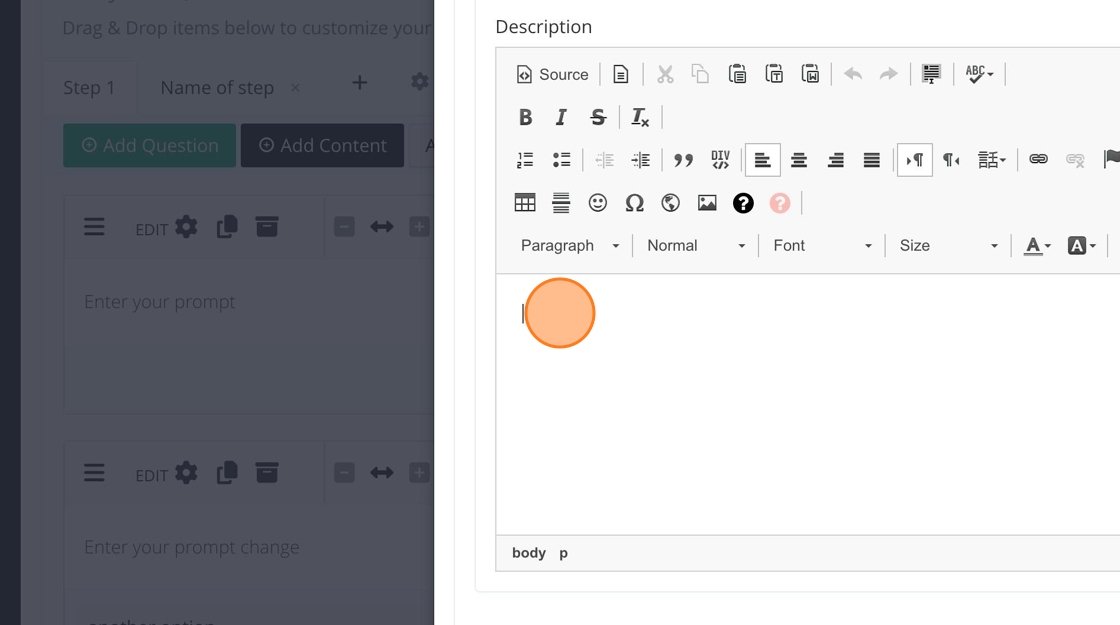
5. Add any relevant information here.
6. Change the status here.
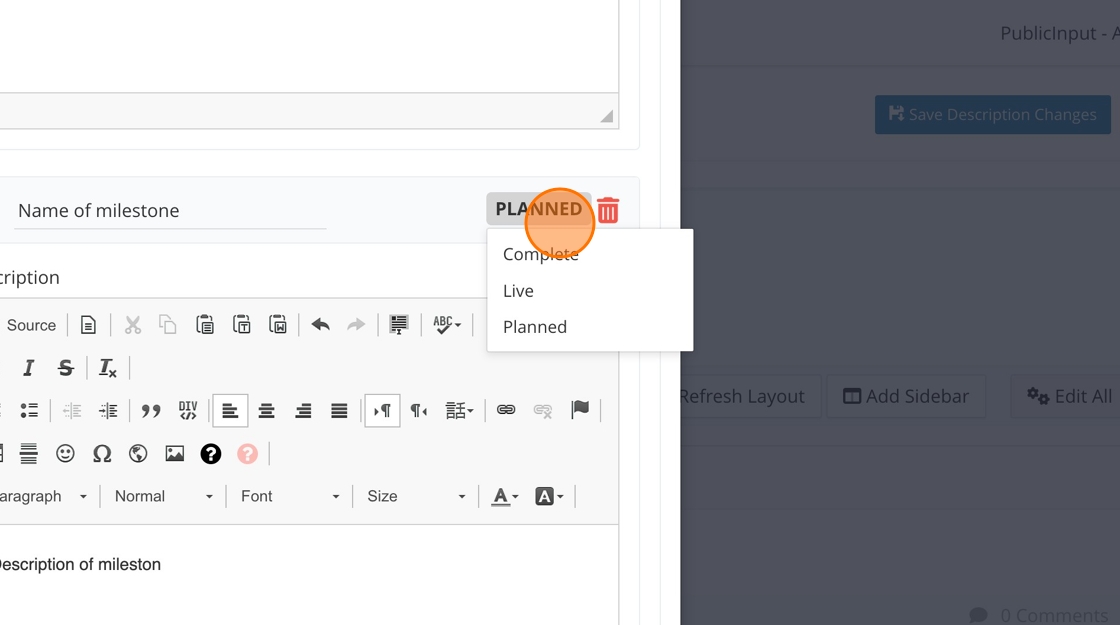
If you need to add more milestones, repeat the steps above.
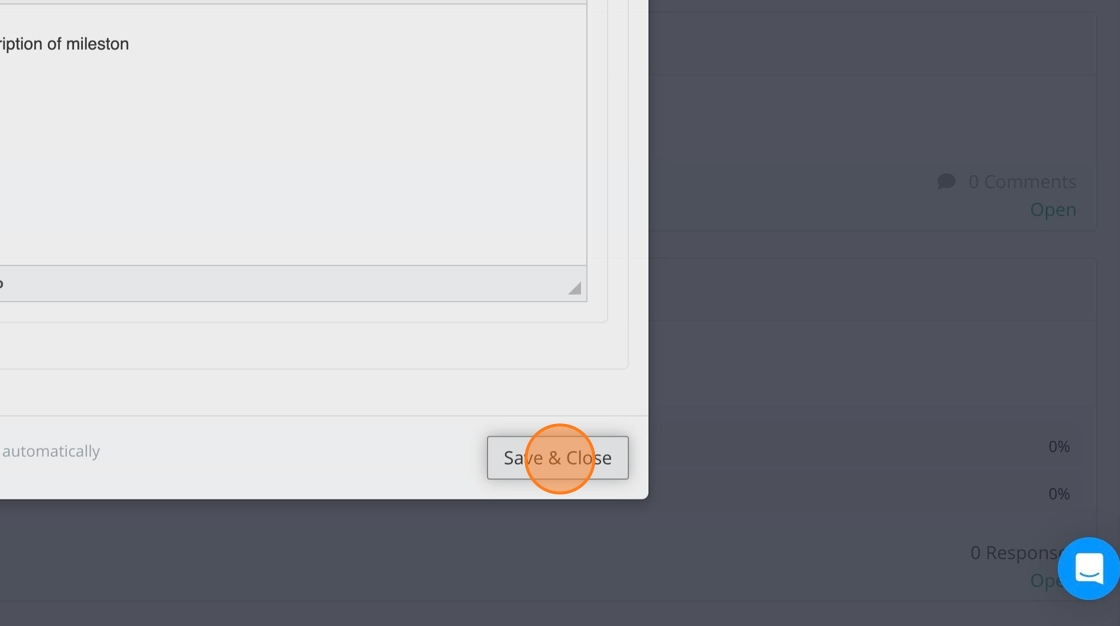
7. Only when you are done adding milestones click "Save & Close"
How to add a document section
Step-by-step guide
Step-by-step guide
1. Click "Add Other"

2. Click "Documents Section"

3. Your document section will appear at the bottom of your project page and look like this.

4. To add documents to the document section, click "Add documents." Then, choose the appropriate document from your computer.
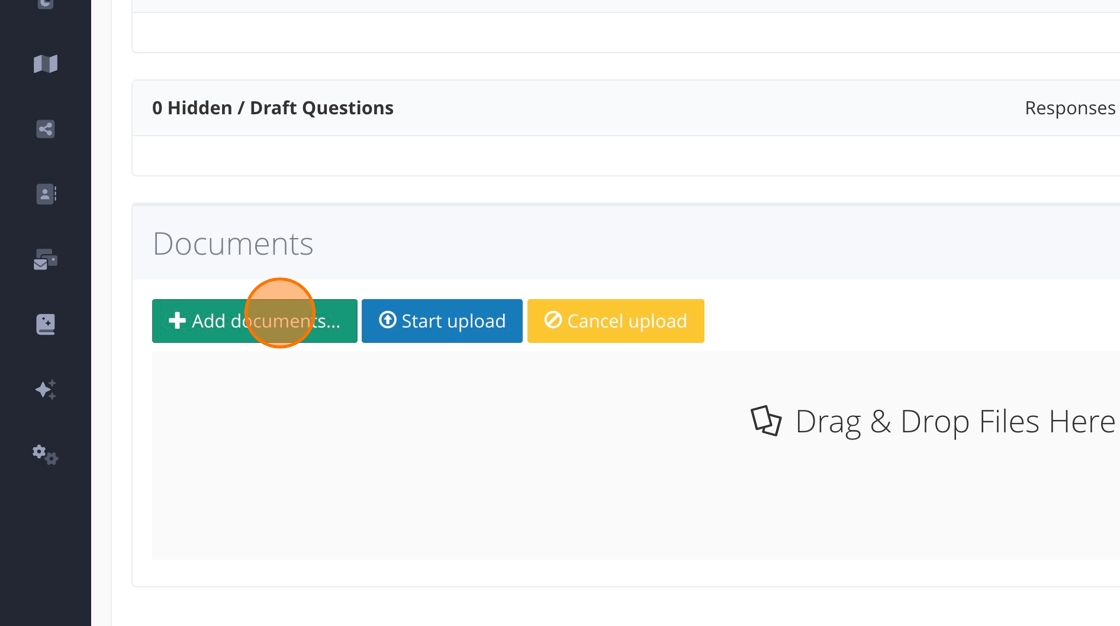
5. Click here to start the upload.

6. Any document you add will automatically be added to your document section, which will look like this to your community.

7. Click "Remove" to remove any documents from the document section.

How to add a Frequently Asked Questions section to your project
Step-by-step guide
Step-by-step guide
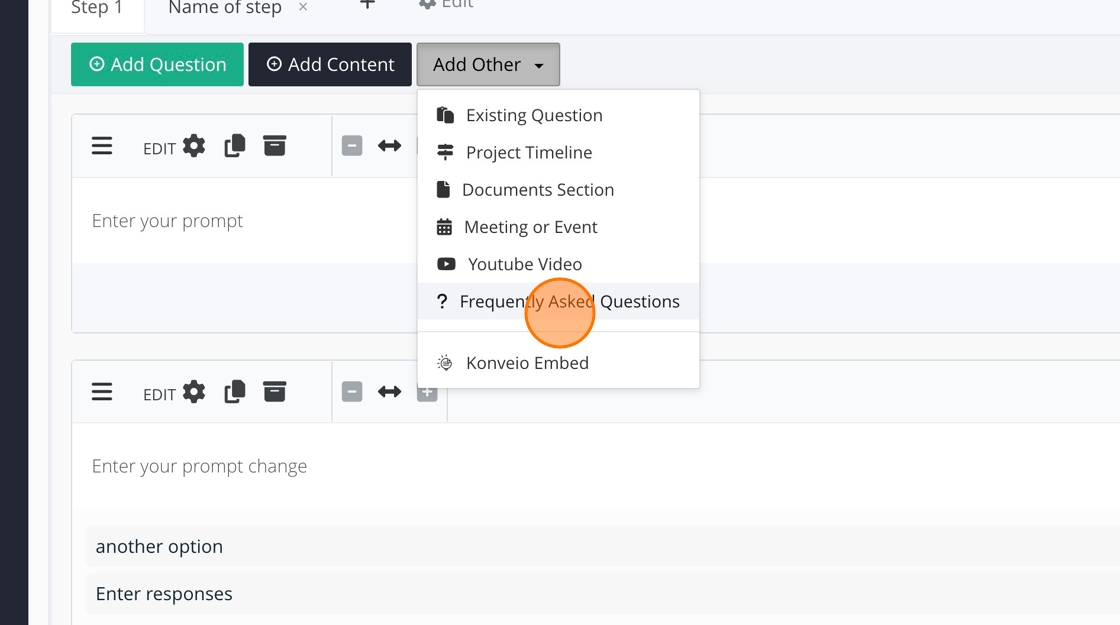
1. Click "Add Other"
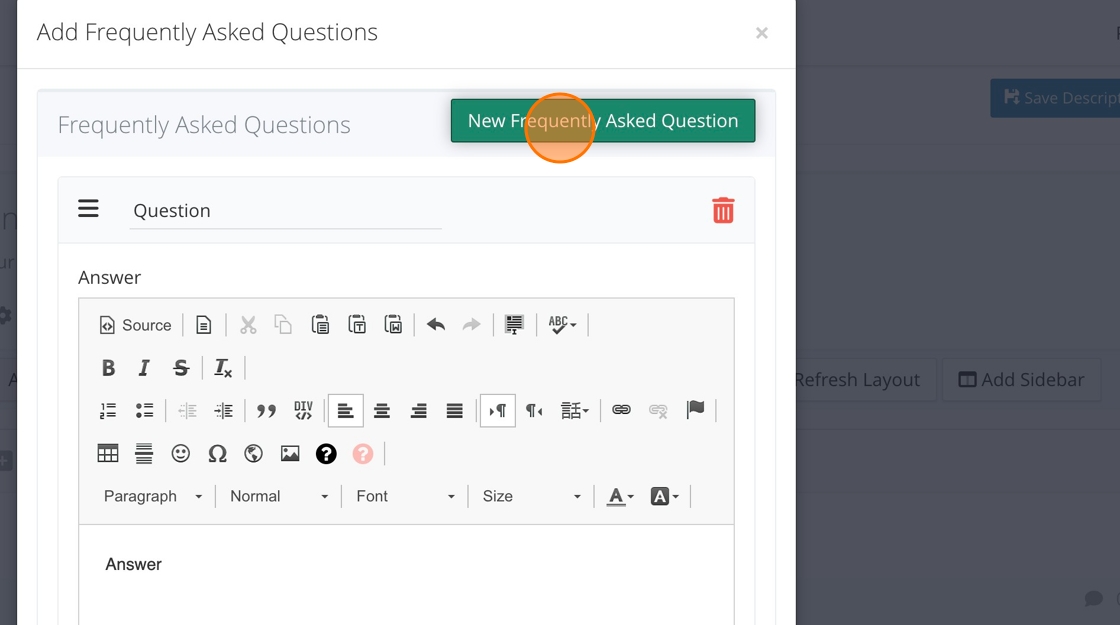
2. Click "Frequently Asked Questions"
3. Click "New Frequently Asked Question"

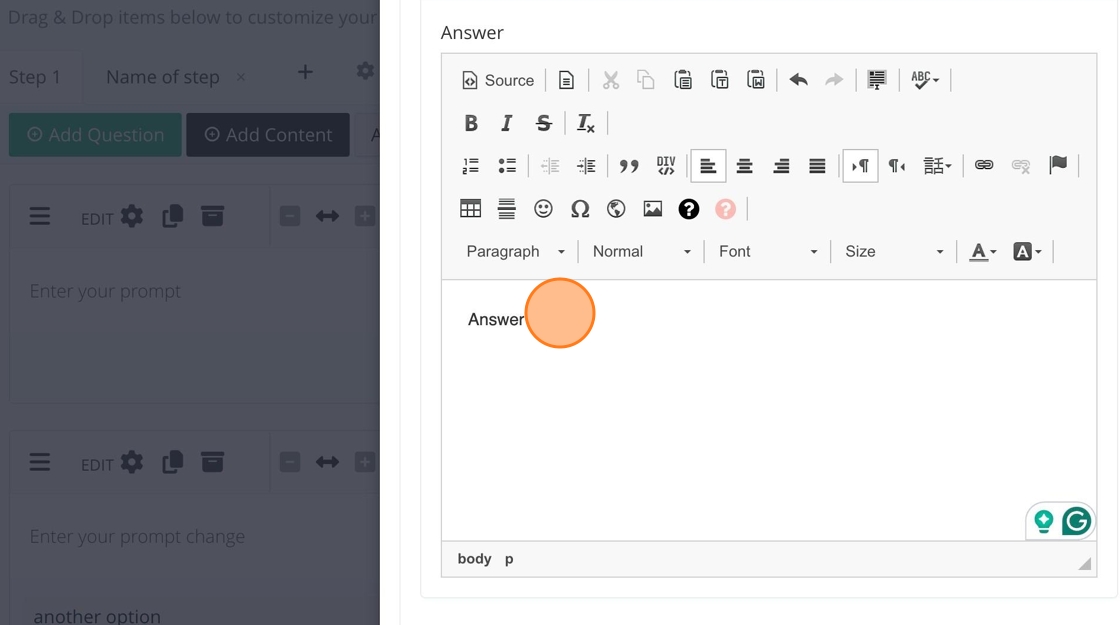
4. Add the question here.

5. Add the answer here.
6. Click "New Frequently Asked Question" to add more sections and follow the steps above.
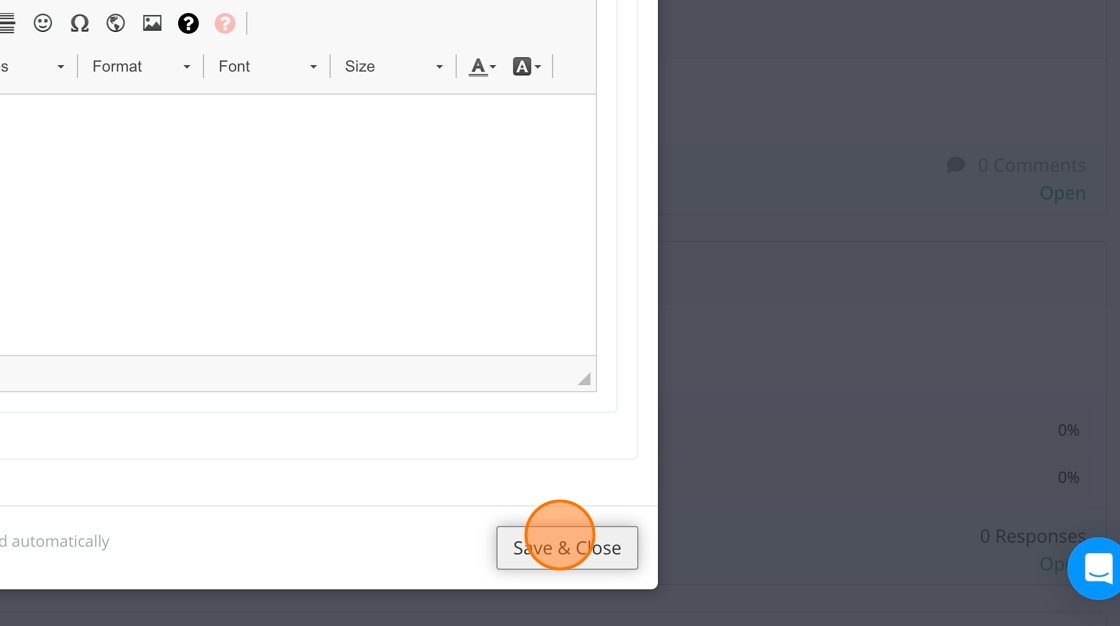
7. Click "Save & Close" only after adding all the FAQs.
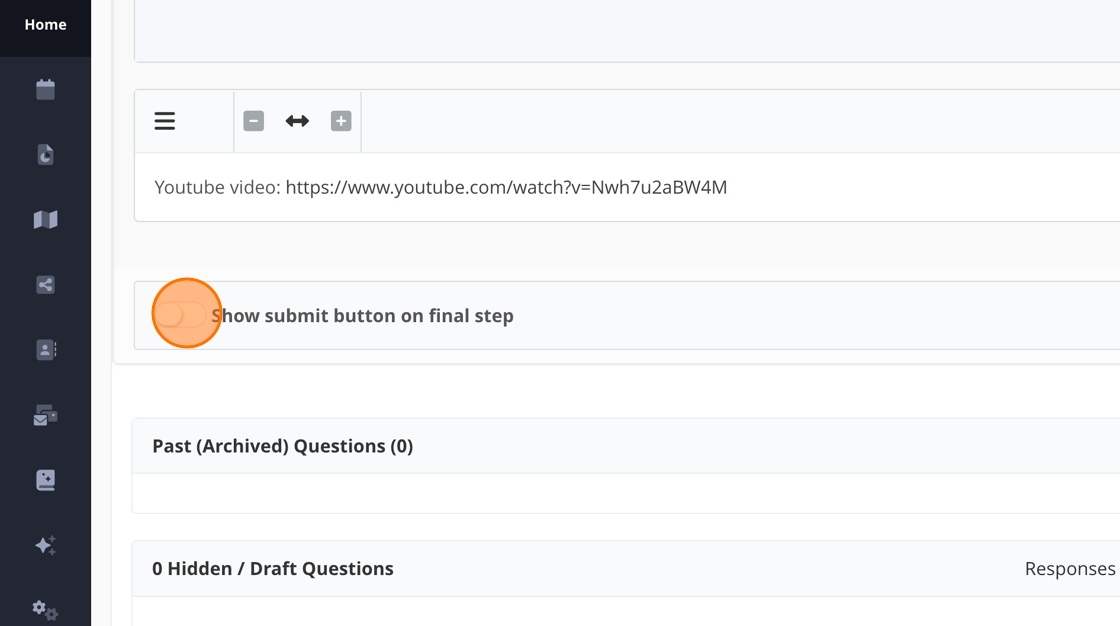
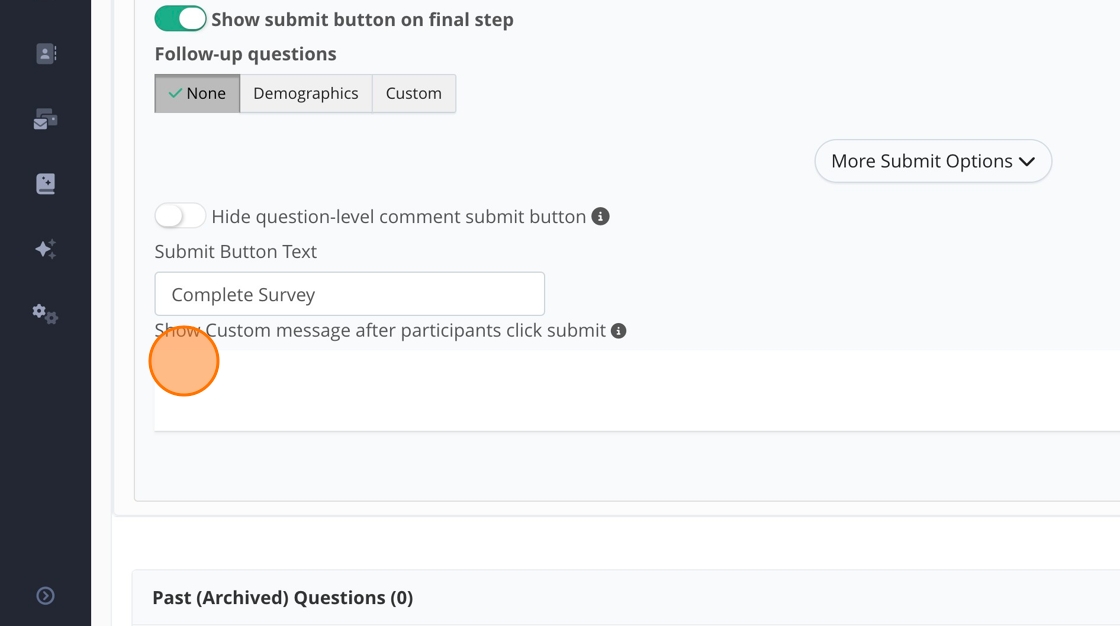
How to add an end-of-survey submit button
Step-by-step guide
Step-by-step guide
1. Click here.

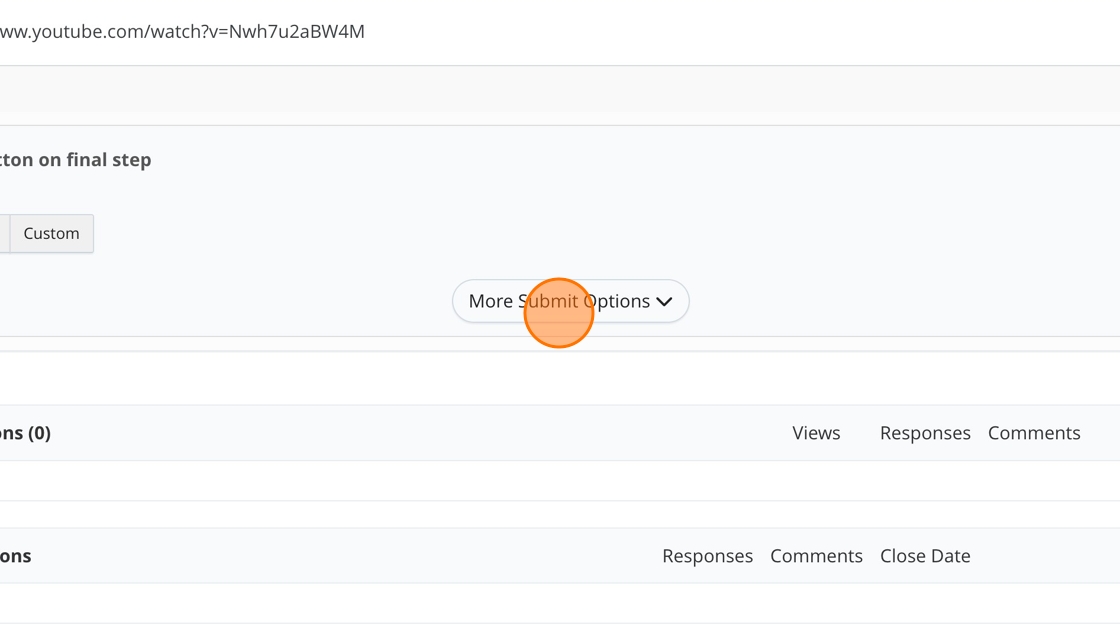
2. Click "More Submit Options"
3. You can customize your end-of-survey button here.
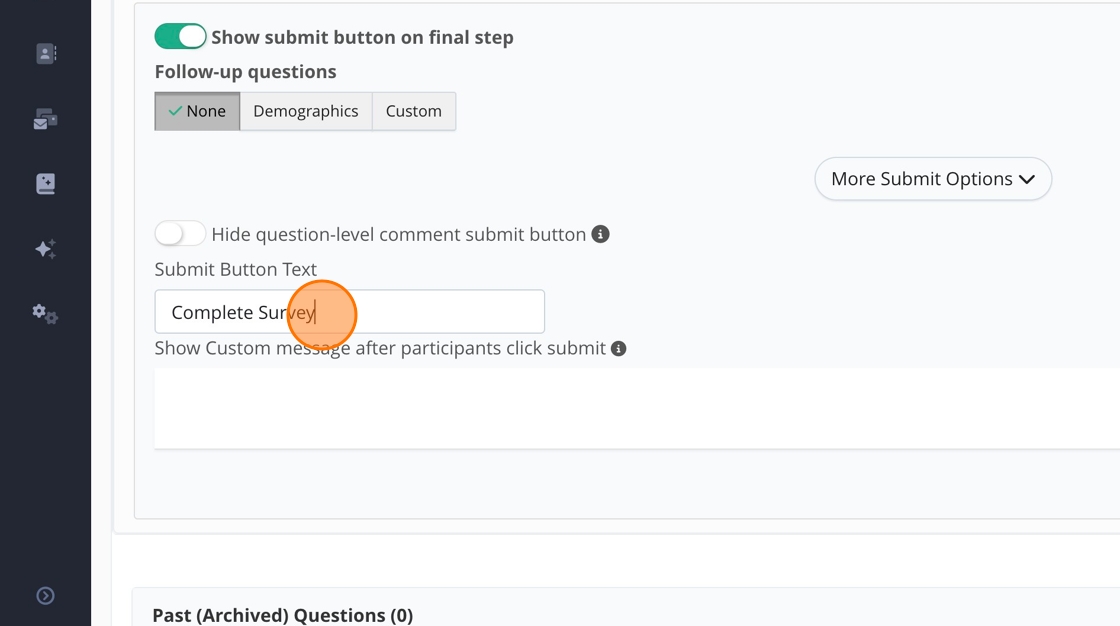
4. Click "Save changes"

How to add an end-of-survey message
Step-by-step guide
Step-by-step guide
1. Click here.
2. Enter your message here.
3. Click "Save changes"

Go back to "Start Here."