
Table of Contents
How to copy a project template
Check with your organization whether to start projects from a template or scratch.
Step-by-step guide
Step-by-step guide
There are two ways you can search for a project template.
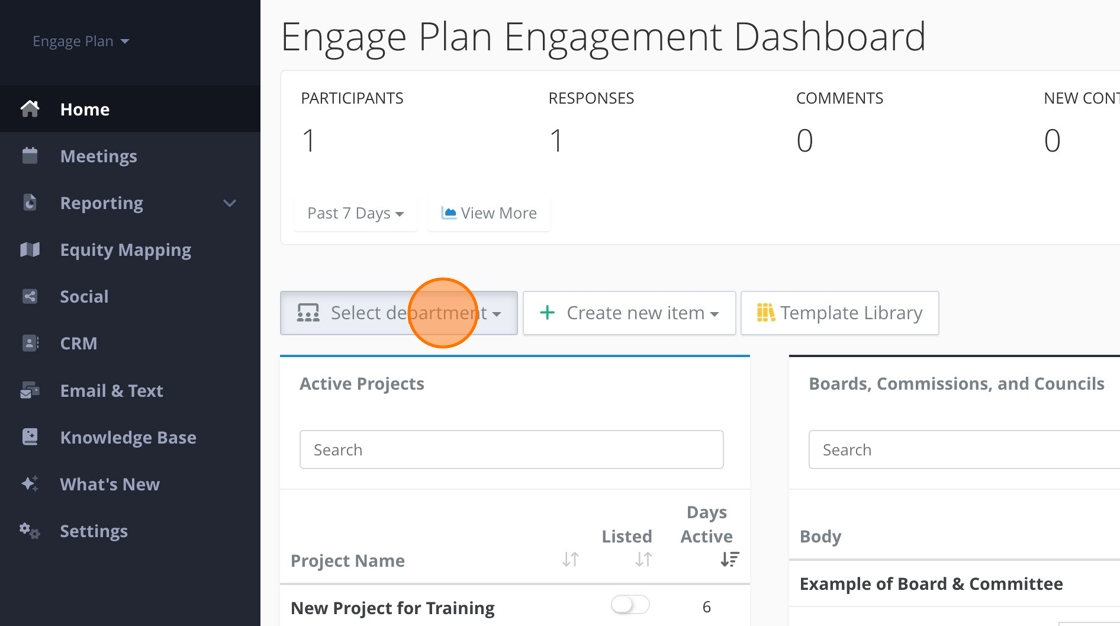
Search by Department
1. Click "Select department"
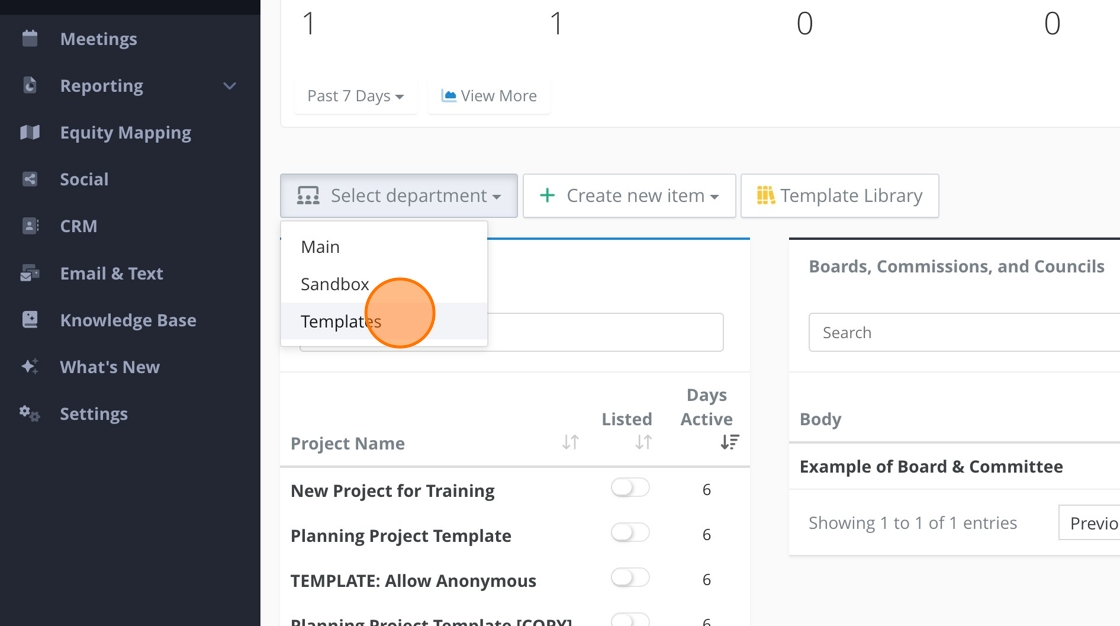
2. Click "Templates"
Search with the Search Bar
3. Click the "Search" field and enter the word "Template."
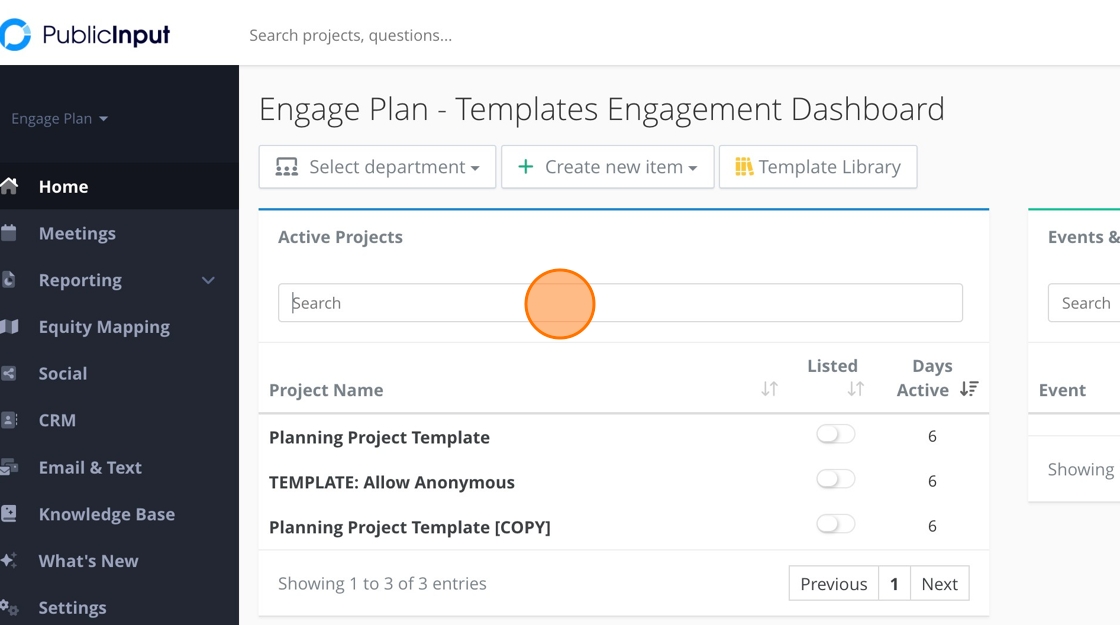
4. Once you find the project you want to use Click the project's name.

5. Click "Settings"

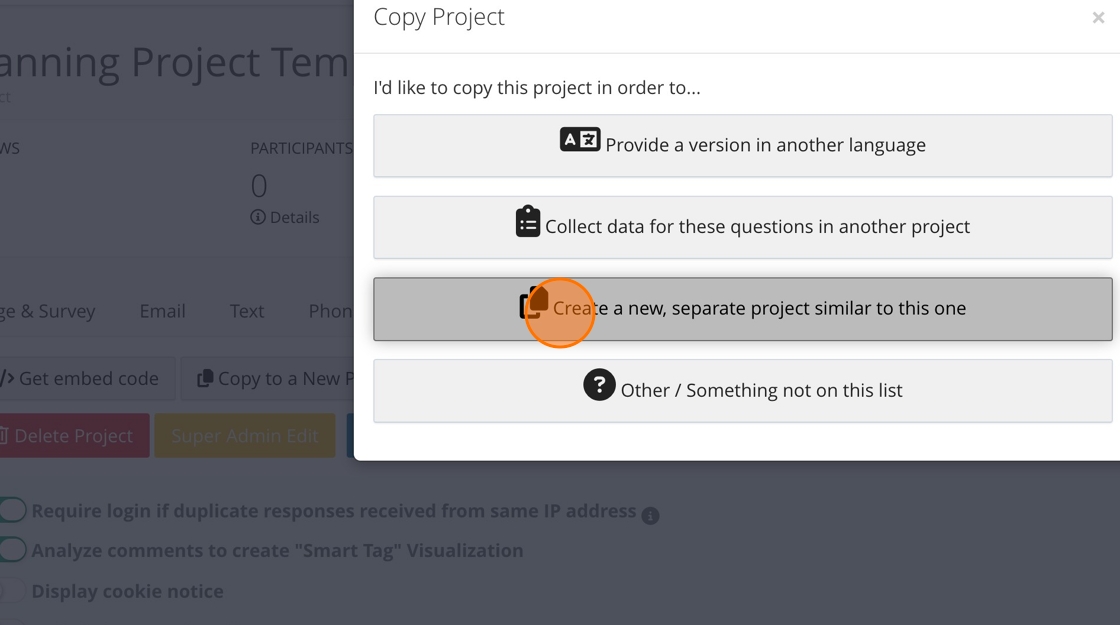
6. Click "Copy to a New Project"

7. Click "Create a new, separate project similar to this one"
8. Edit the name of the project
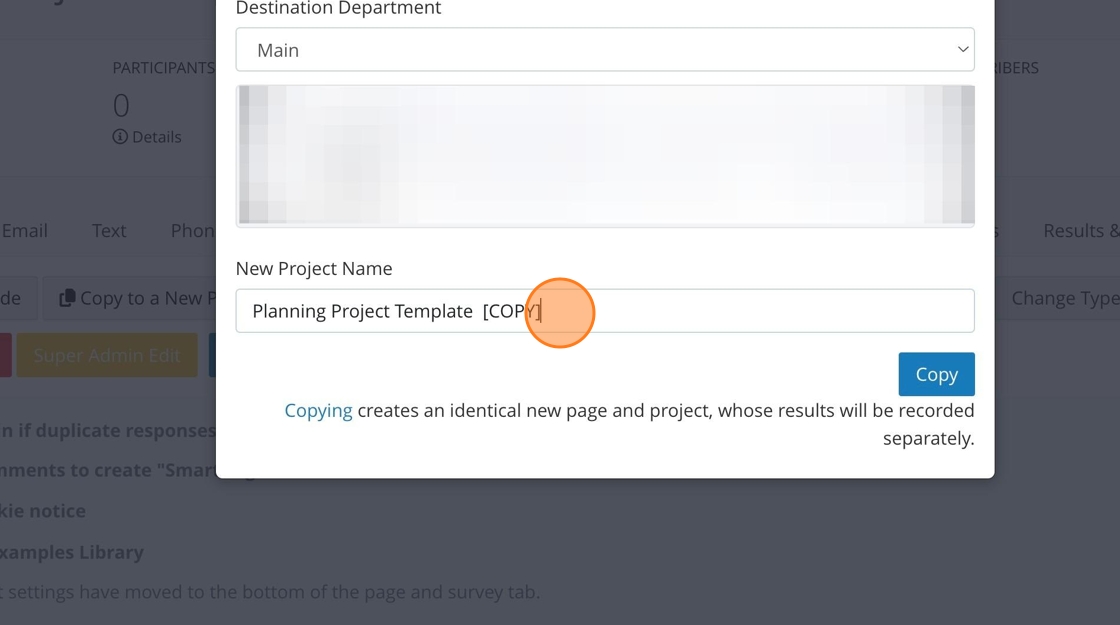
9. Click "Copy"

10. In the newly copied project click "Settings"

11. Add any project tags if necessary.
Check with your organization if you use tags and how to use them.

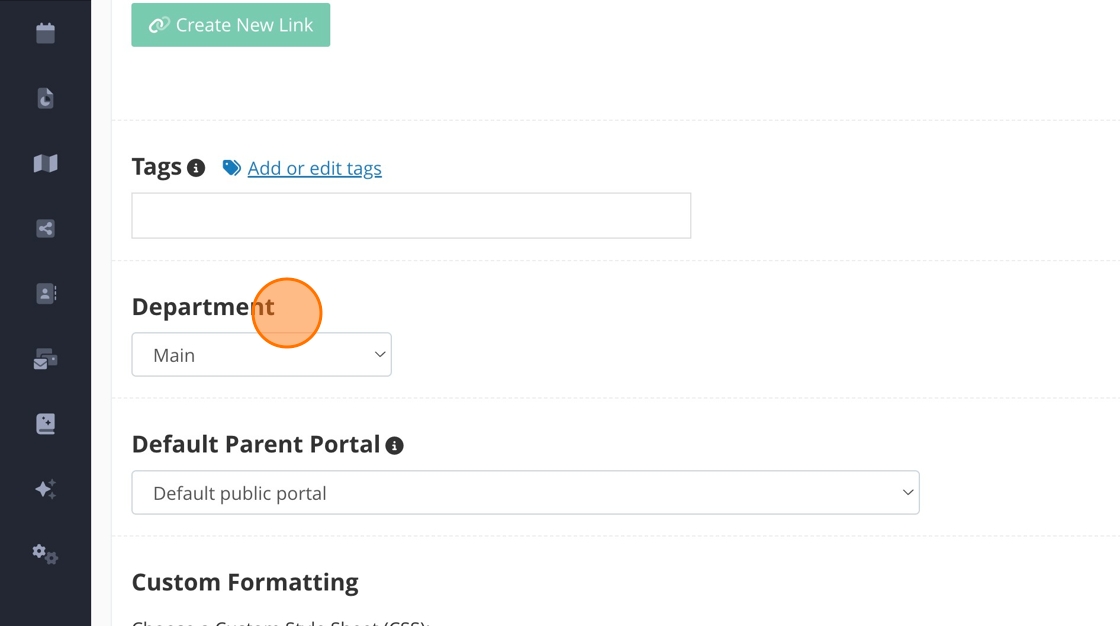
12. Assign the copied project to the right department.
13. Click "Project Location."
Check with your organization if you need a project location.

How to create a new project
Step-by-step guide
Step-by-step guide
1. Click "Create new item"
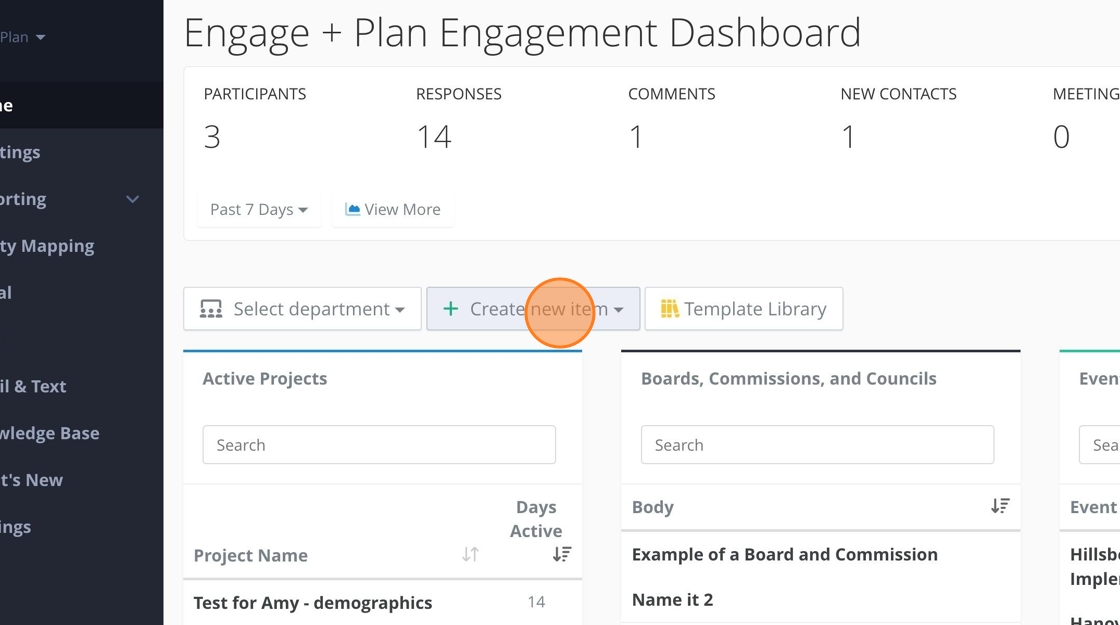
2. Click "Project"

3. Select the relevant department. You may only have one available department.

4. Name your project. You can always rename it later if you need to.

5. Choose the participant anonymity level. We recommend "Allow Anonymous" for all projects, but check with your organization first.

6. Add any project tags.
Not all organizations use tags for projects. Always double-check to see how your organization or department uses these. To learn more about tags, read this article.

7. Click "Next"

8. Add your project location using a KML, drawing a shape, drawing a line, or adding a point. You can always add one later if you don't have a project location right now.
Not all organizations use project locations. Please check with your organization before adding a location.

9. Click "Create Project."
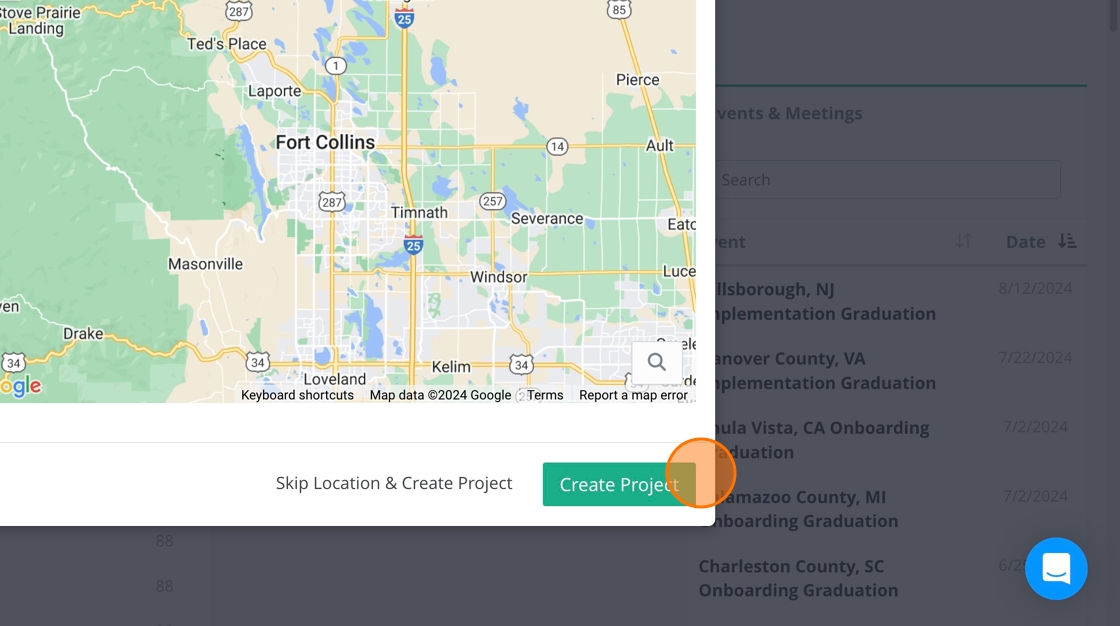
10. If your organization does not use project locations, click "Skip Location & Create Project."

How to update project images, description and CTA
Step-by-step guide
Step-by-step guide
Images
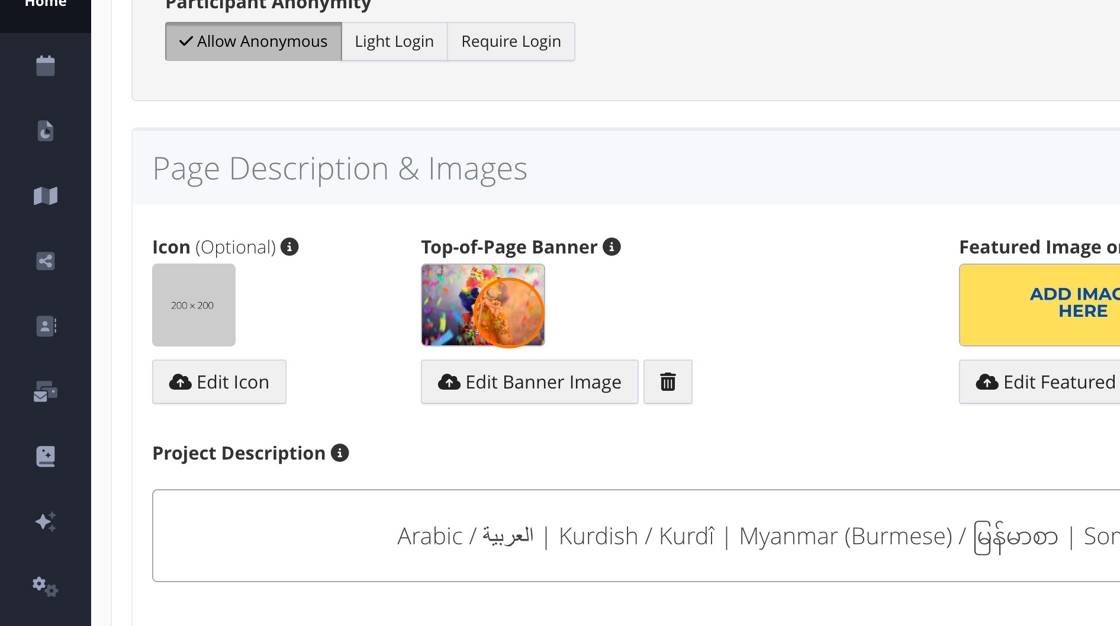
1. Project images will be found in your project's Page Description & Images section.
Any required images will have placeholder images if you use a project template.

2. Click "Edit Banner Image" to edit or add an image.

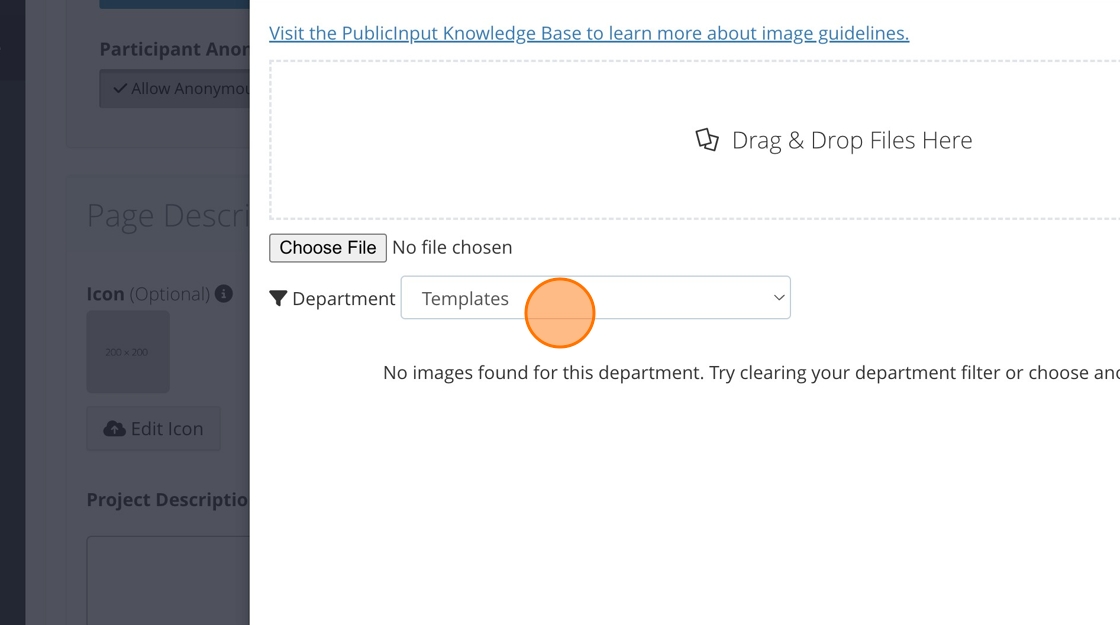
3. You can drag and drop images directly into the image library.
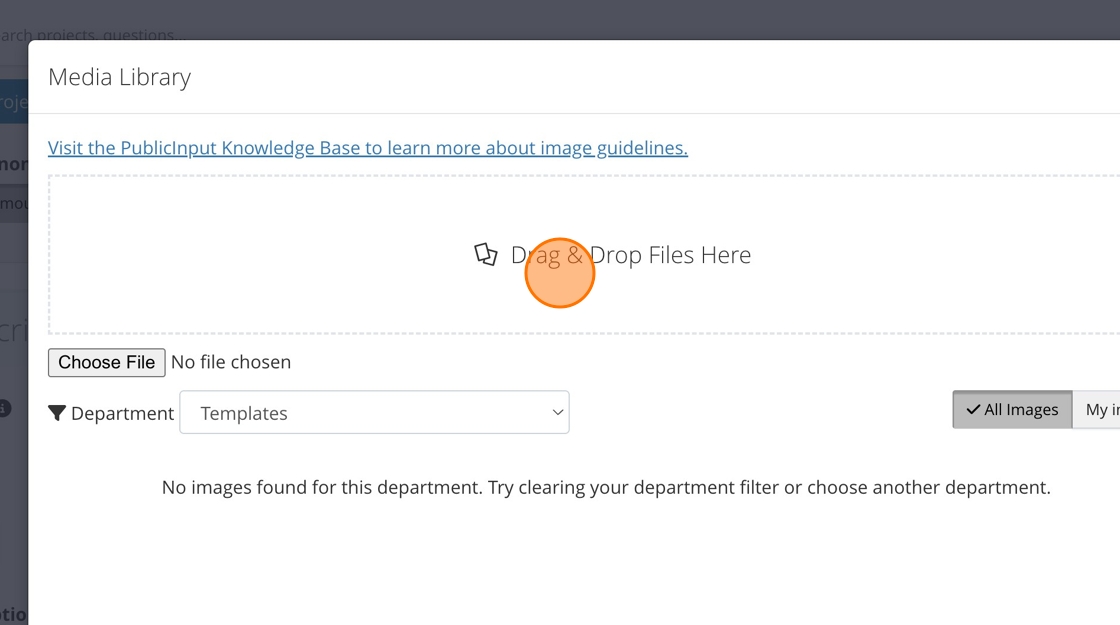
4. Or you can upload images directly from your computer.

5. You can also find previously added images by looking at different departments.
6. Once you find your desired image, click on it.

7. This image will now show in your Page Description & Images section.
Project Description
8. A content editor will open once you click inside the project description box. We recommend keeping the project description short and sweet. You can always add more content in the body of the project.

9. Always remember to save if you type into any content box!

Call To Action
10. To change the Call to Action (CTA) button simply update the text in this box.
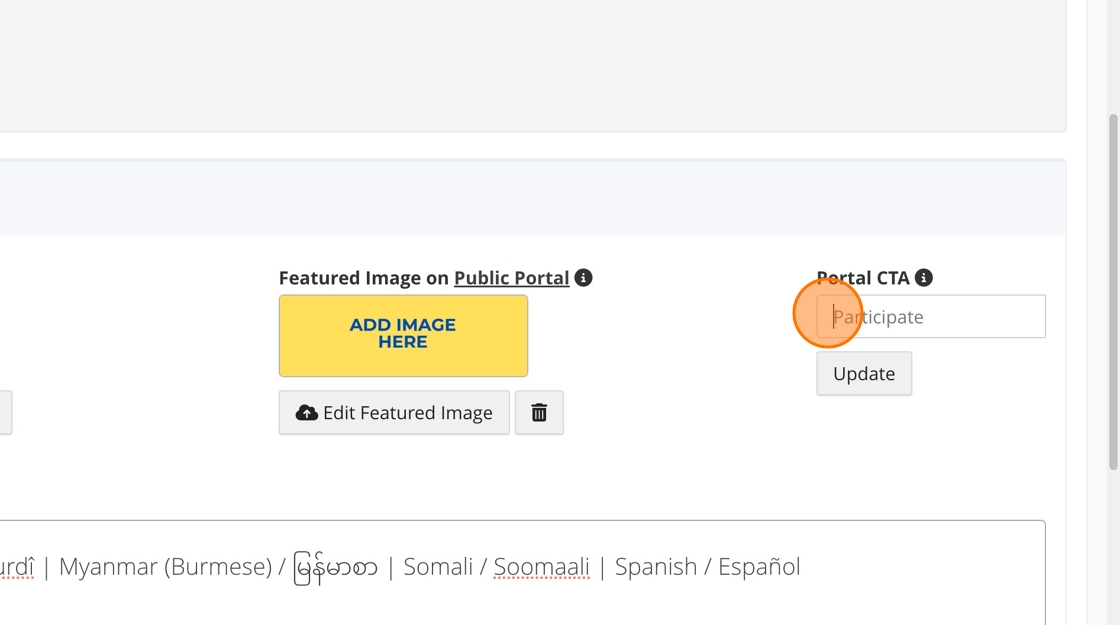
11. Click "Update"

How to add questions to your project
Step-by-step guide
Step-by-step guide
1. Click "Add Question"

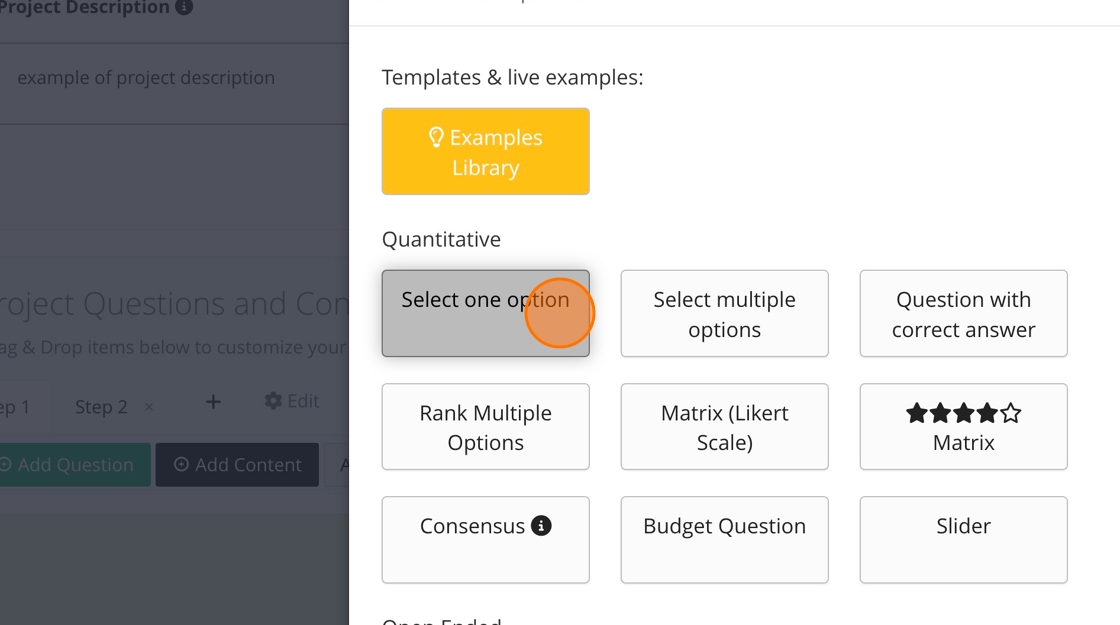
2. There are quantitative, open-ended, participant information, geospatial and demographic question types.

3. Choose the question type you want to add to your project.
4. All questions will have a prompt. Add the prompt you want your participants to see.

5. Click "Continue"

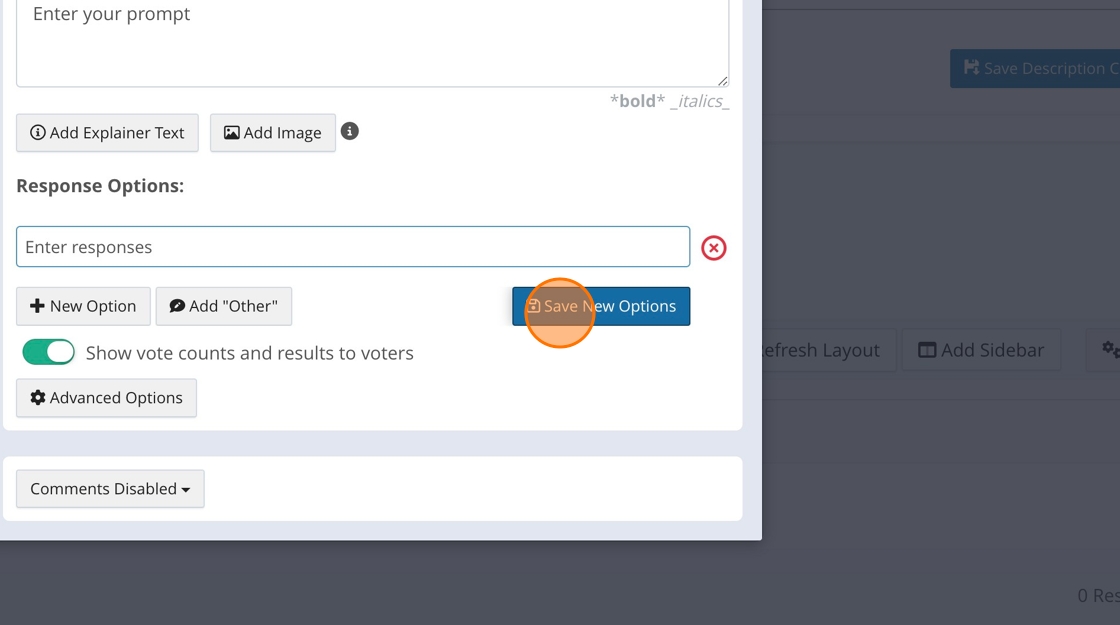
6. Add your response in the response section if applicable.
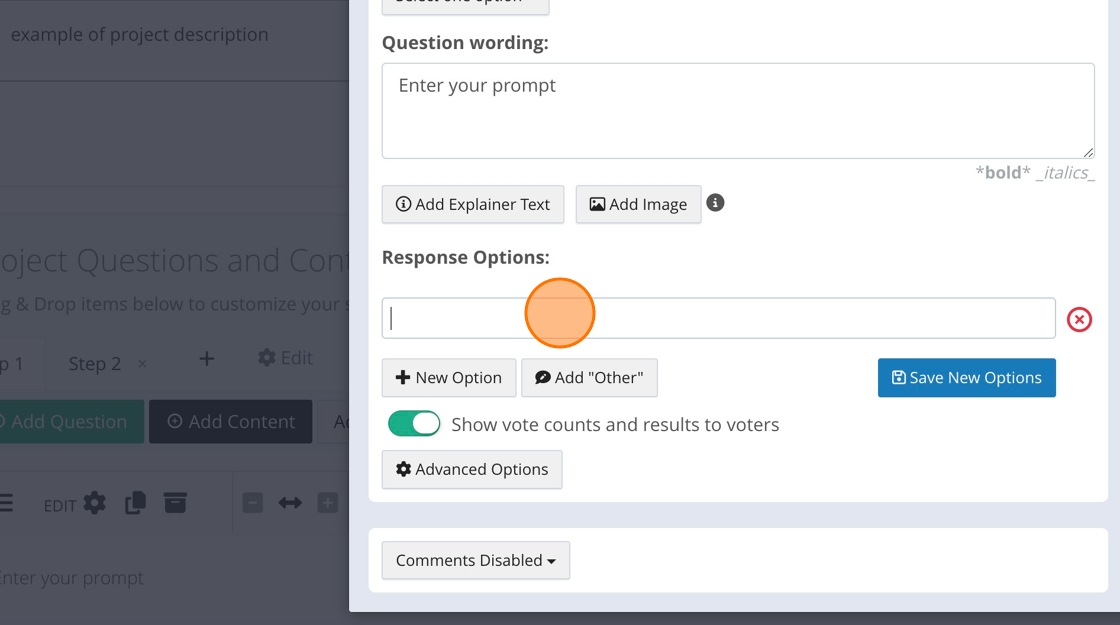
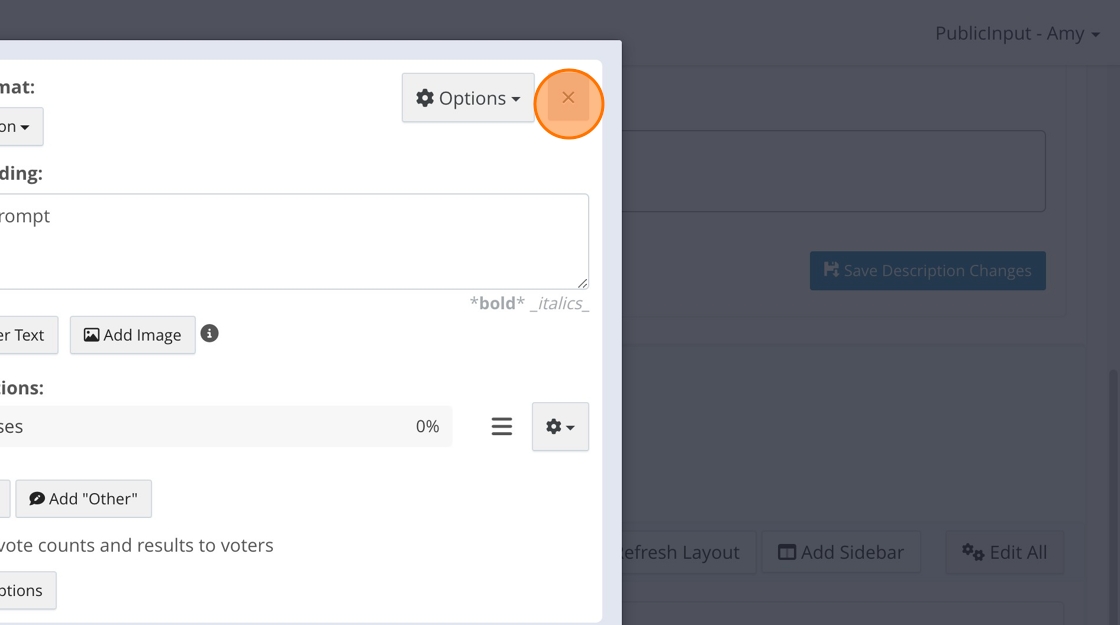
7. Click "Save New Options"
8. Once all your options are saved, click "×" to get out of the question.
How to edit or delete questions
Step-by-step guide
Step-by-step guide
We do not recommend editing or deleting questions once you have published your project.
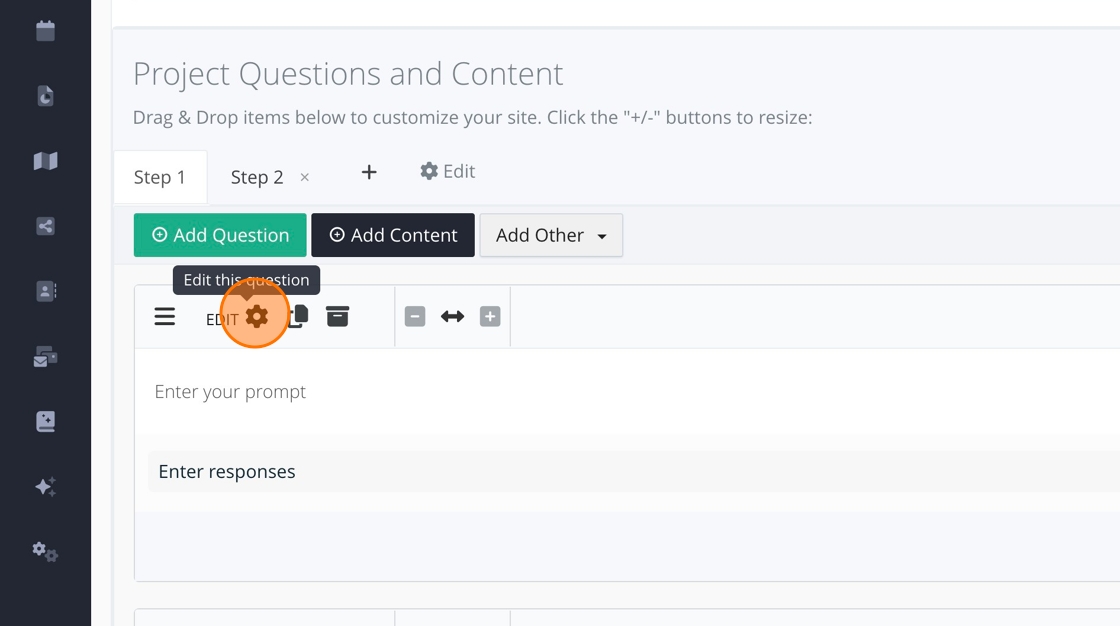
1. To edit questions, click the gear icon.
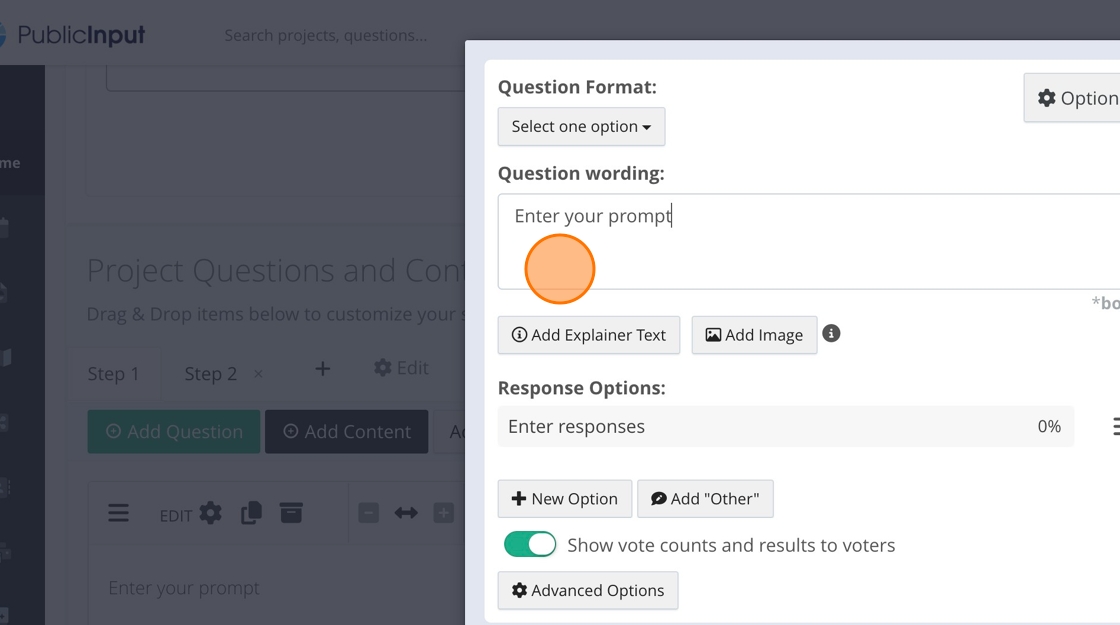
2. You can edit the prompt.
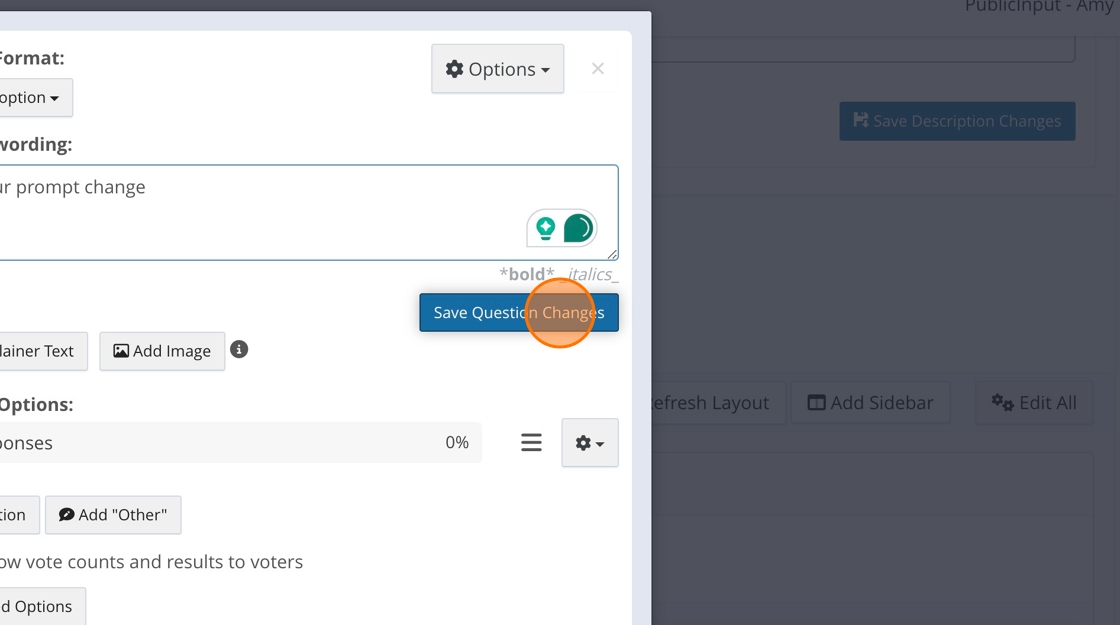
3. Be sure to click "Save Question Changes"
4. You can add more response options.

5. Add additional response options.

6. Click "Save New Options"

7. When you see the three horizontal lines, you can drag the response options to reorder them.

8. To delete a response option, click the x.

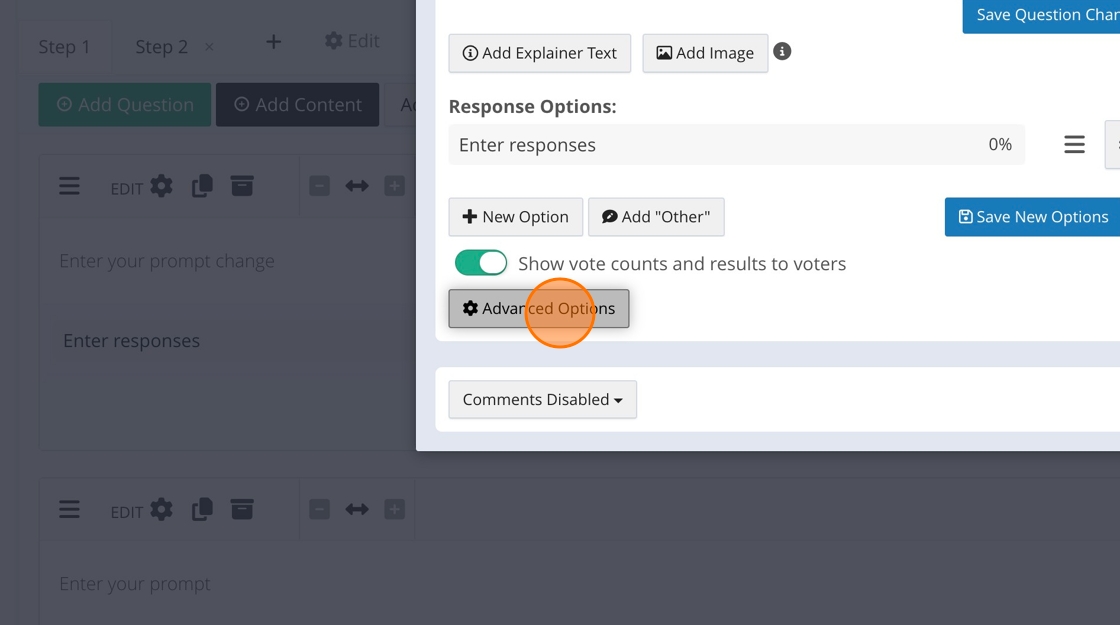
9. There are more options under "Advanced Options"
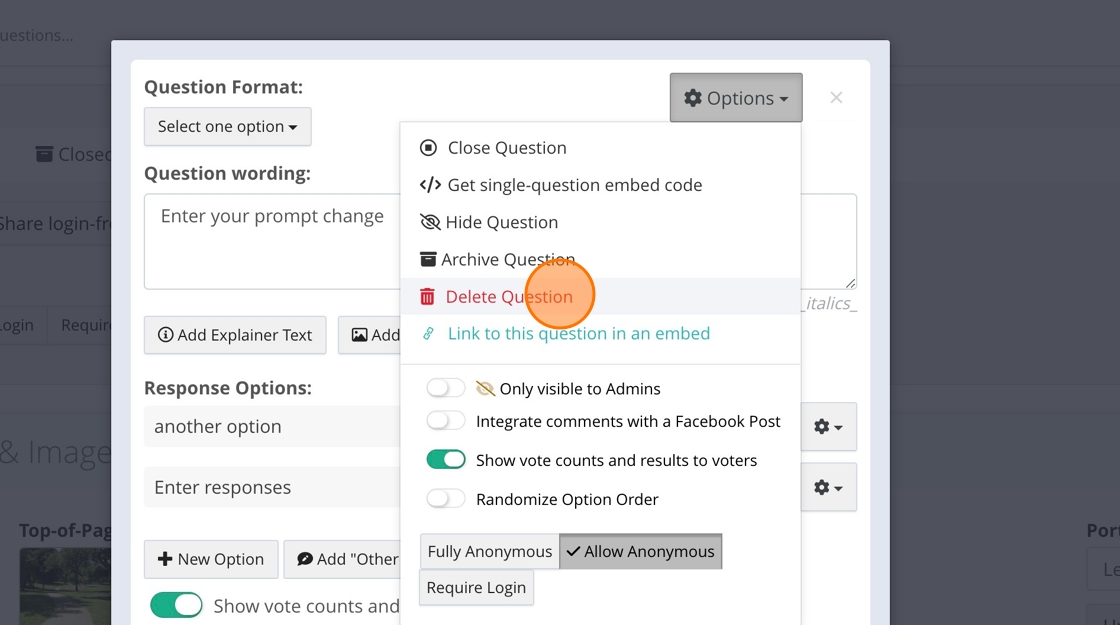
10. To delete the whole question, click "Options."

11. Click "Delete Question"
How to create, edit and delete content boxes
Step-by-step guide
Step-by-step guide
How to create a comment box
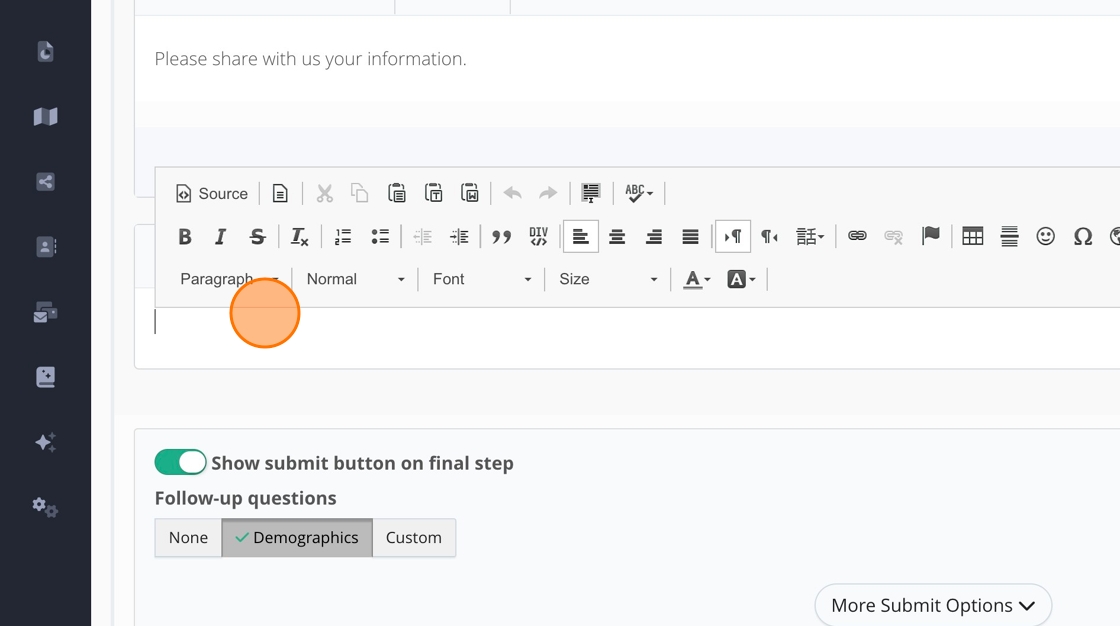
1. Click "Add Content"
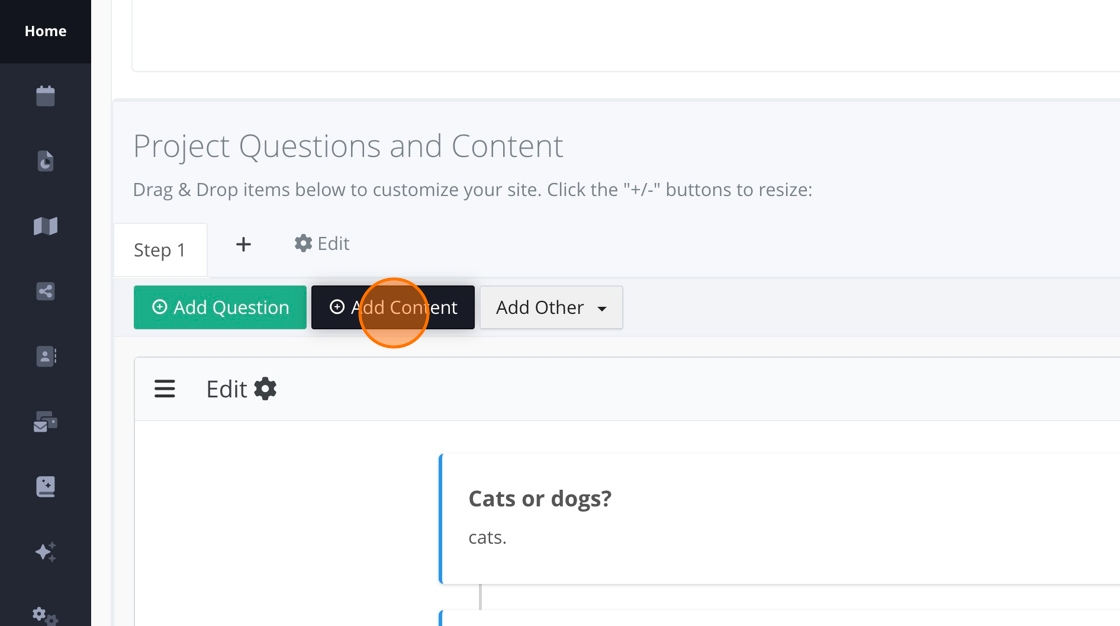
2. The content box will automatically go to the bottom of your project. Add your content within the content box.
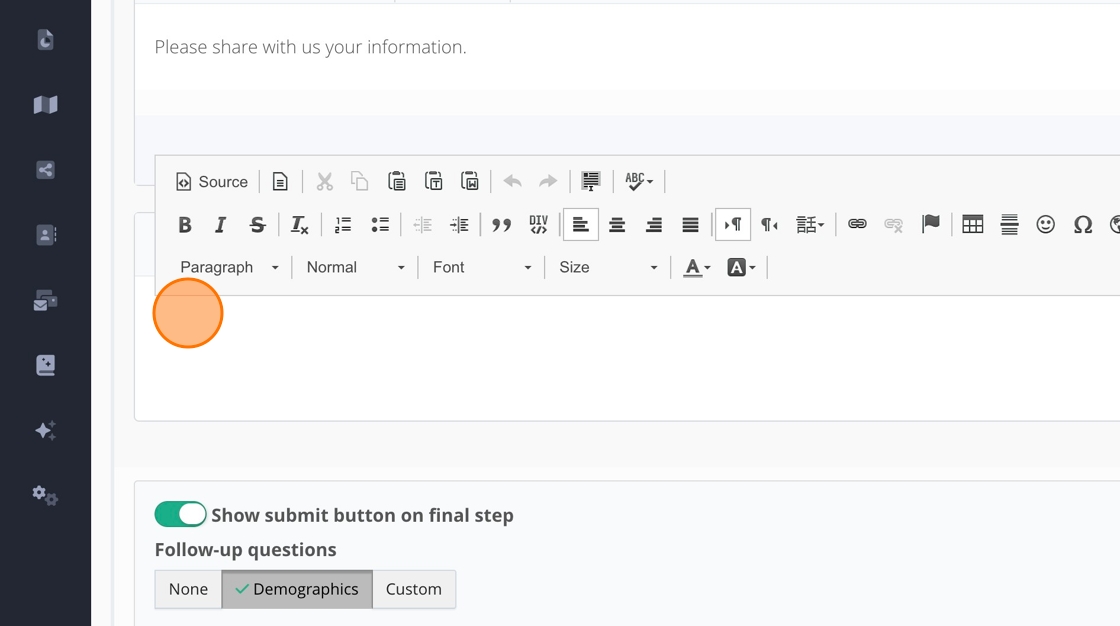
3. Within the content box, you can add an iFrame, images, and a table and adjust the font size, color, and type.

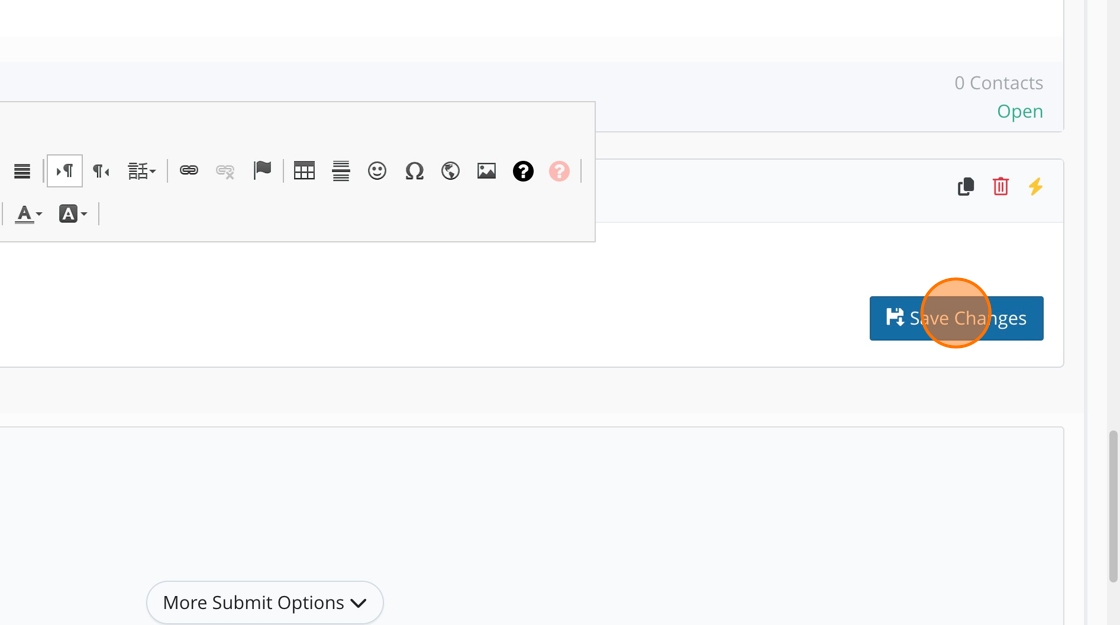
4. Once you are done, click "Save Changes." The change will not be saved unless you click this button.
How to edit a content box
5. To edit your content box, click within the content box and the editor will show up.
6. Remember to save your changes!

How to delete a content box
7. Click the red trashcan to delete your content box.

How to enable the project voicemail line
Step-by-step guide
Step-by-step guide
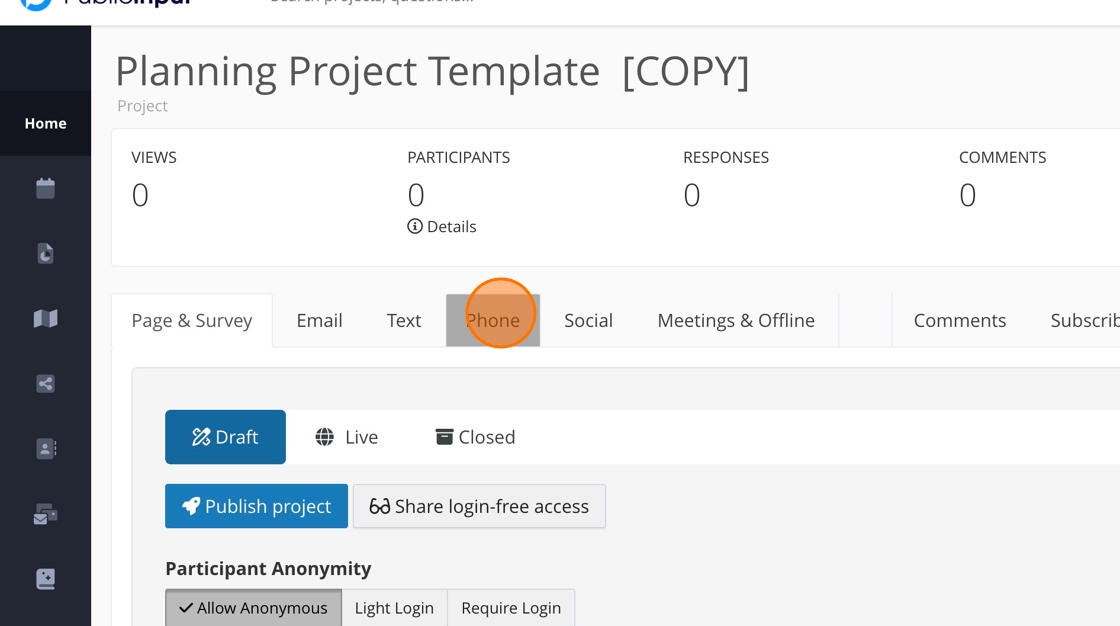
1. Within your project, click "Phone"
2. Click here.
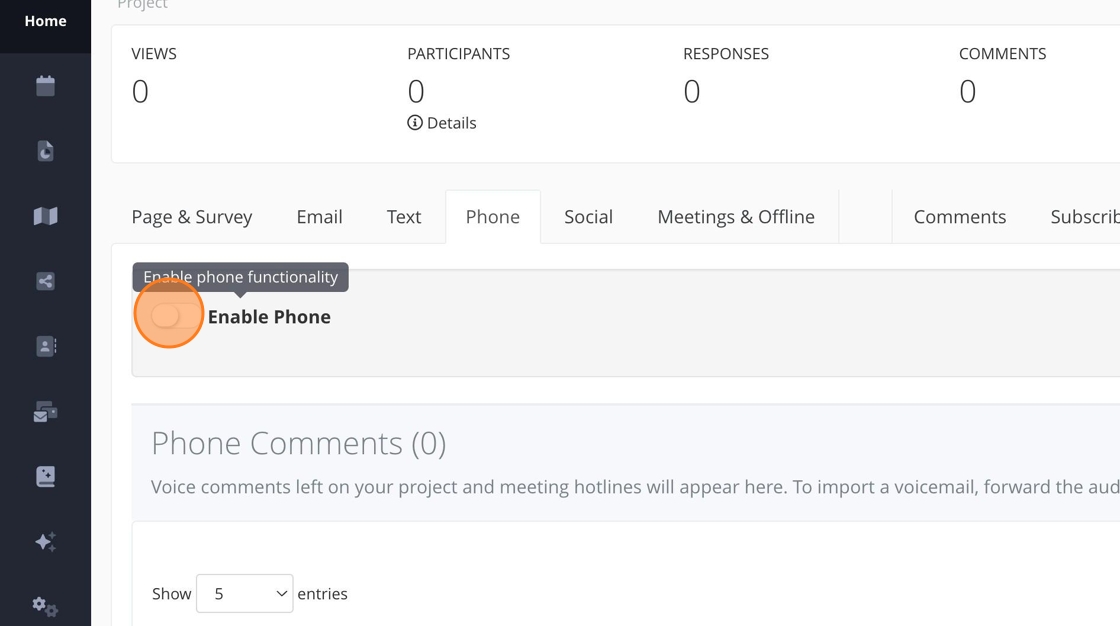
3. Click "Settings"

4. Make sure the phone number is set to 855-925-2801.

5. Set how long someone is allowed to leave a message. This is set to 0 by default, so there is no limit. REMINDER: This is in seconds, not minutes.

6. You can customize your voicemail intro here if desired. Leave blank for the default message.

7. Click "Save Settings"

How to create a custom project link
Step-by-step guide
Step-by-step guide
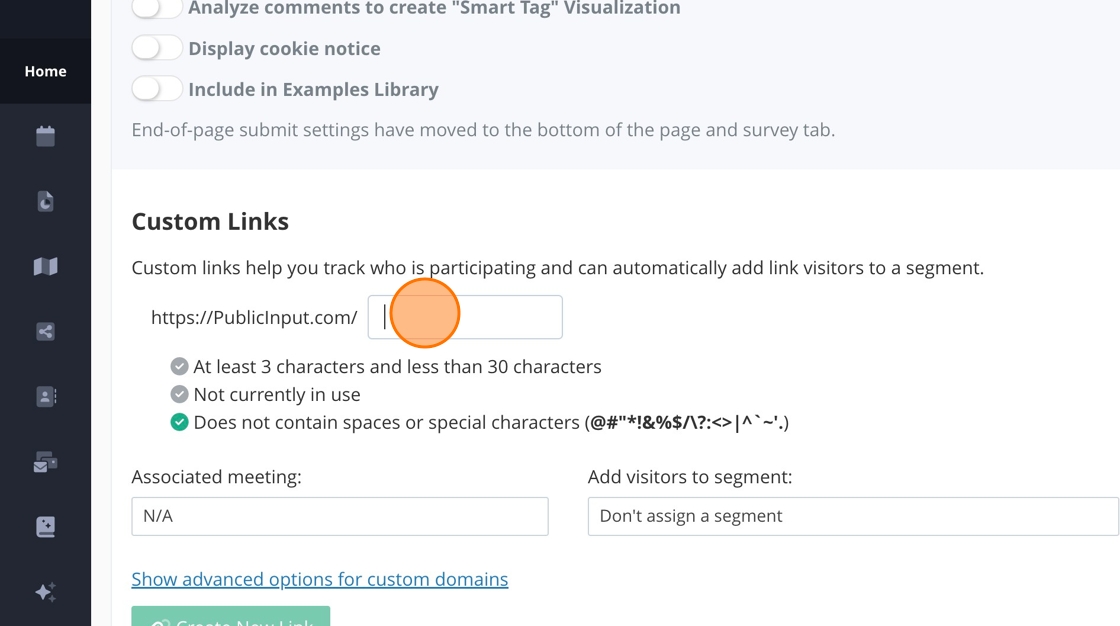
1. Click here.

2. Add the custom project link here.
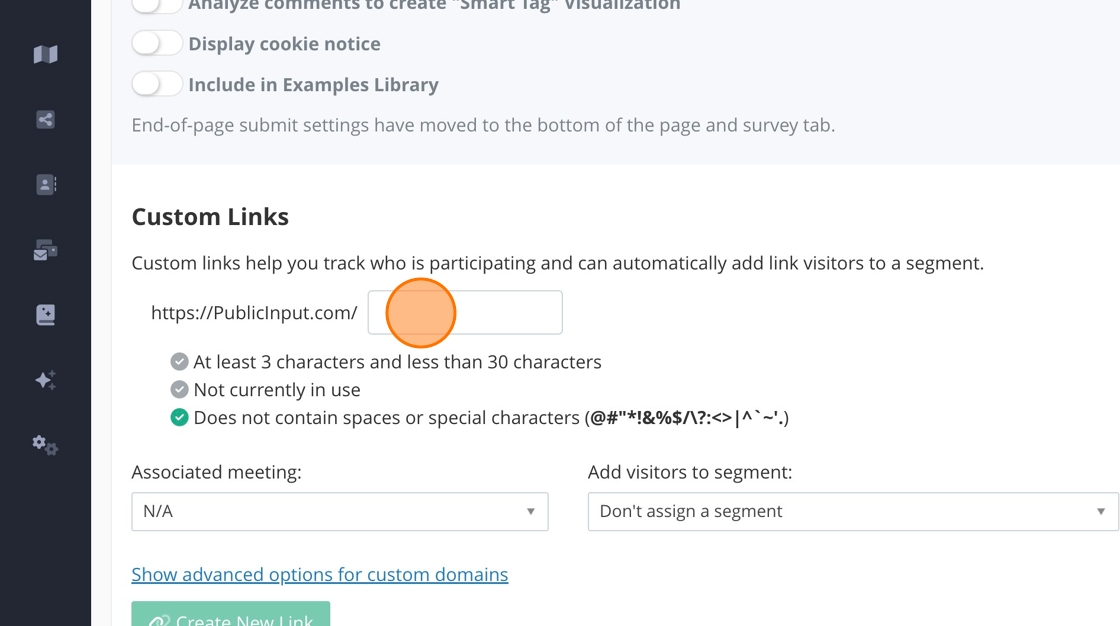
3. Click "Create New Link"

4. Your custom project link will appear here, along with a QR code specific to this URL.
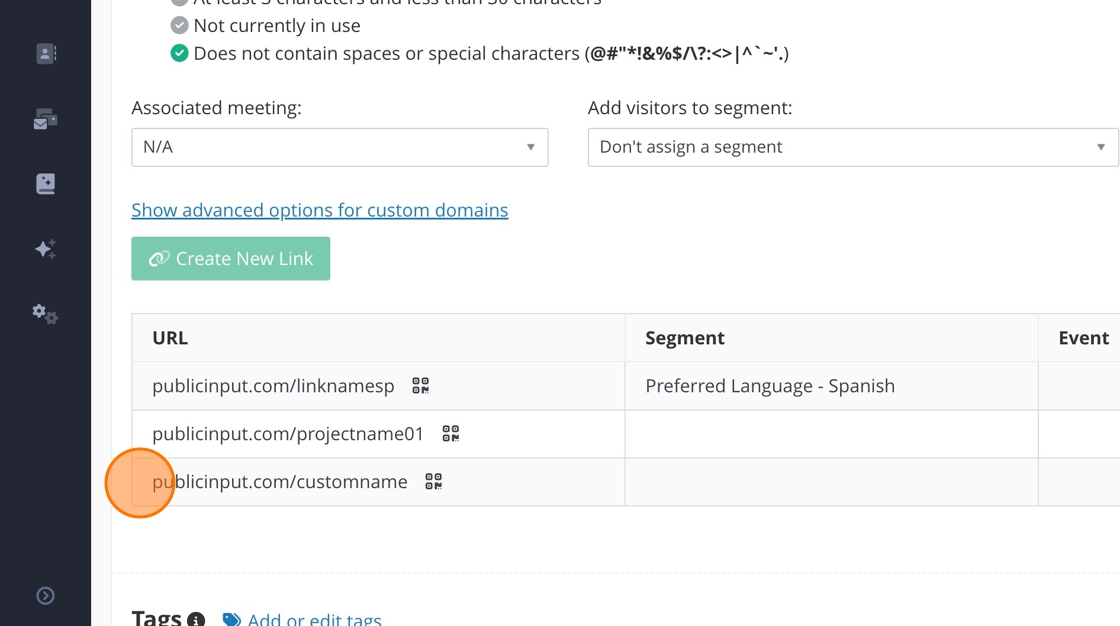
5. Click "Show advanced options for custom domains" to create a custom project link with a custom domain.

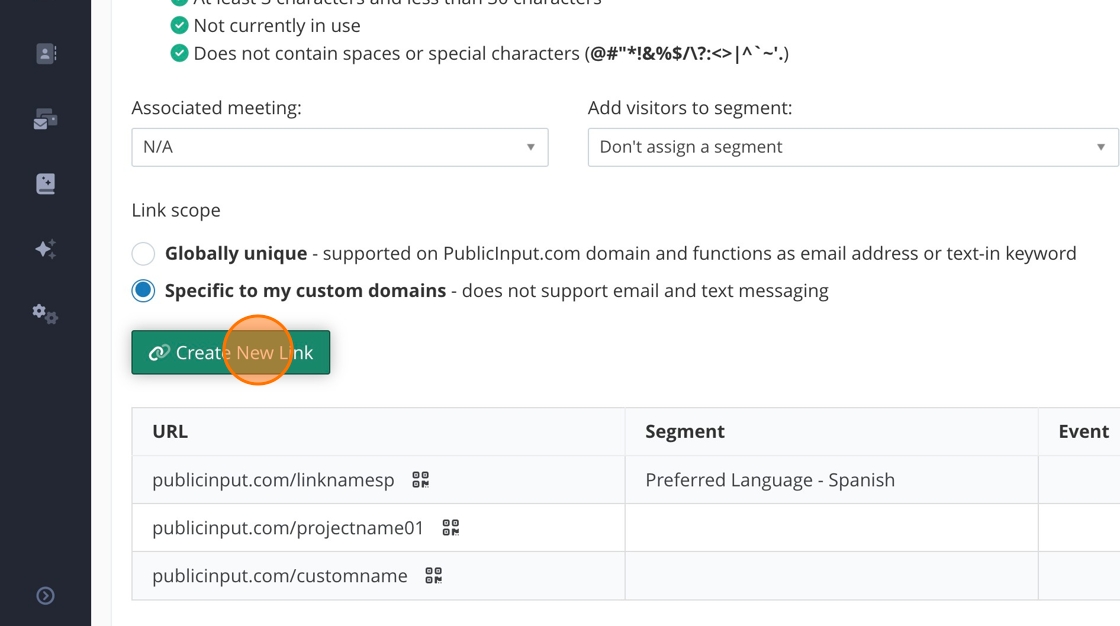
6. Click "Specific to my custom domains."
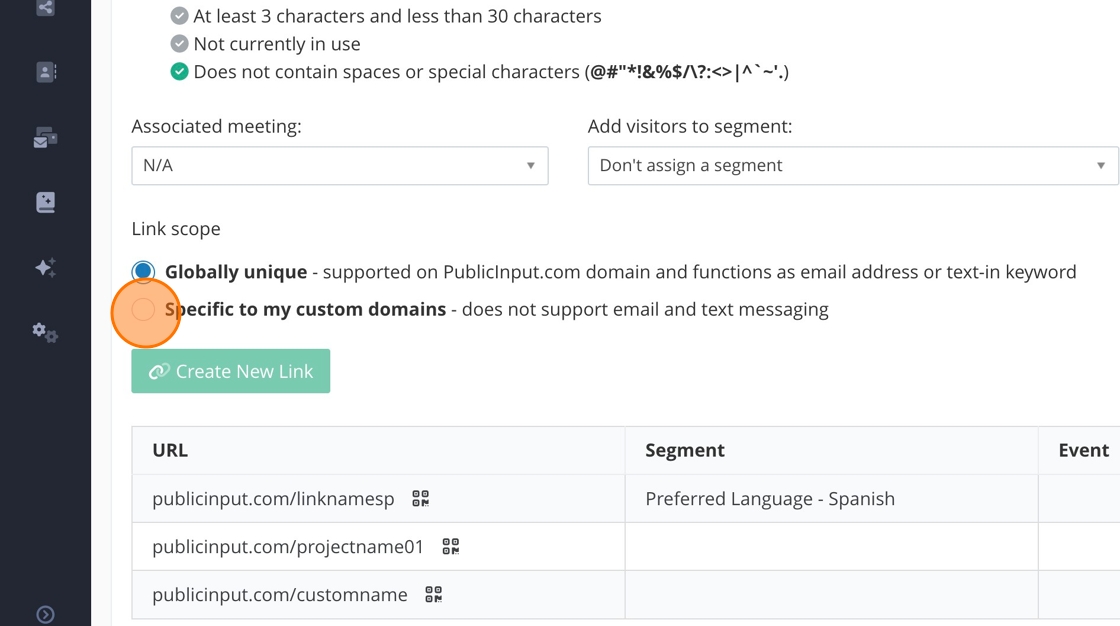
7. Notice the link prefix has changed. Add your custom URL here.

8. Click "Create New Link"
How to create a customized project email address
Step-by-step guide
Step-by-step guide
1. Click "Settings"

2. Enter the email prefix you want here.
3. Click "Create New Link"

4. This creates a new project URL you can use if needed.
5. Click "Email"

6. All available project emails will be listed here.

How to translate your project into different languages
This must be the last thing you do before publishing your project!
Step-by-step guide
Step-by-step guide
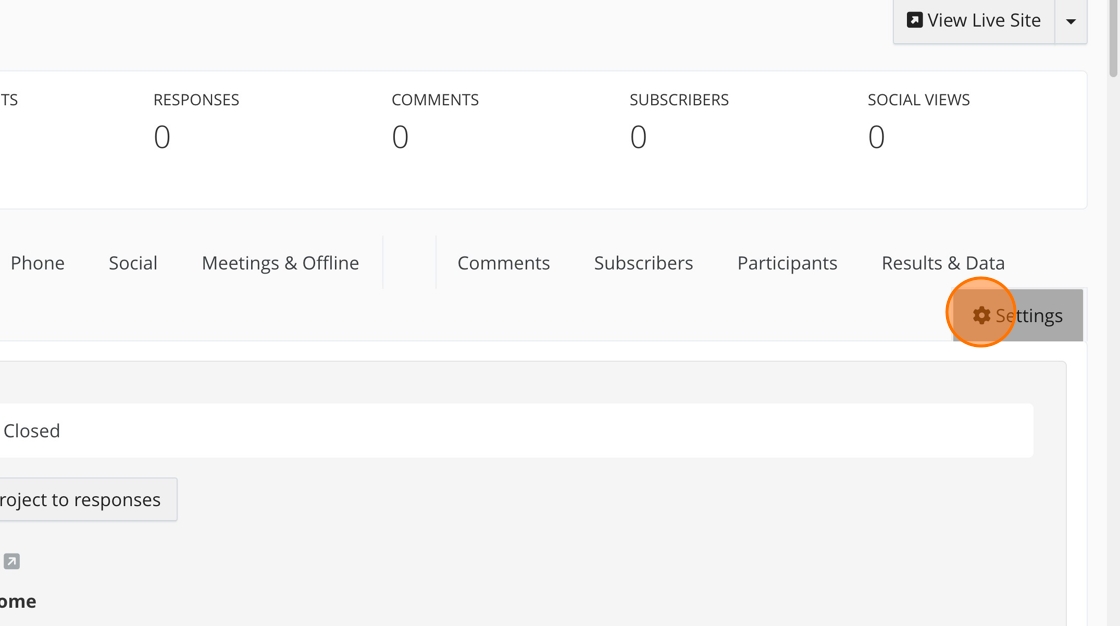
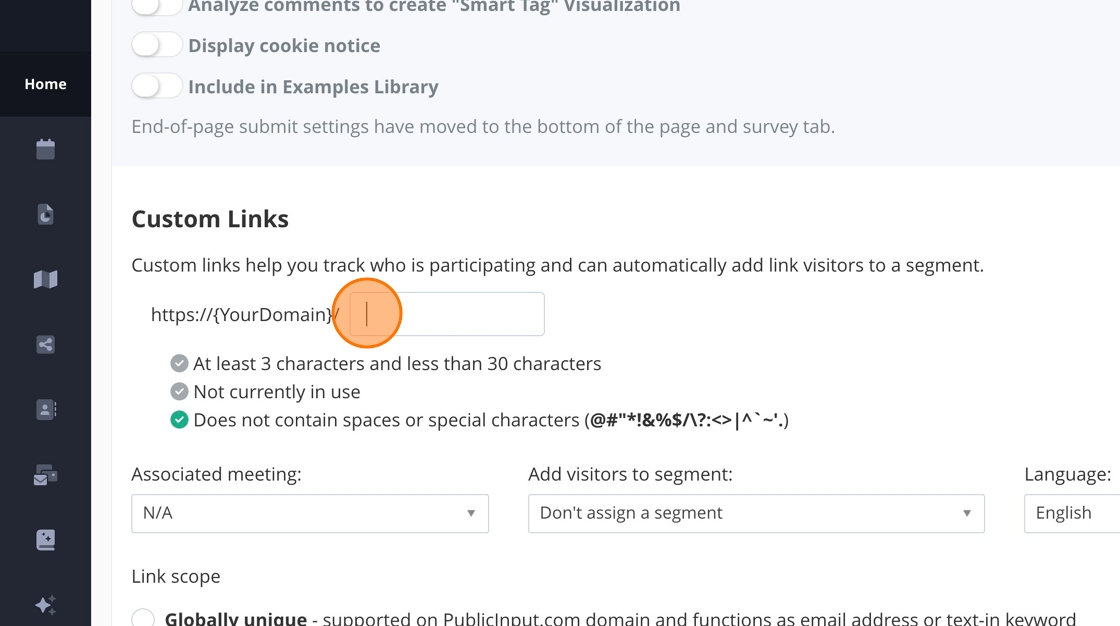
1. In your project, click "Settings."
Follow these directions if your organization does not have a custom domain.
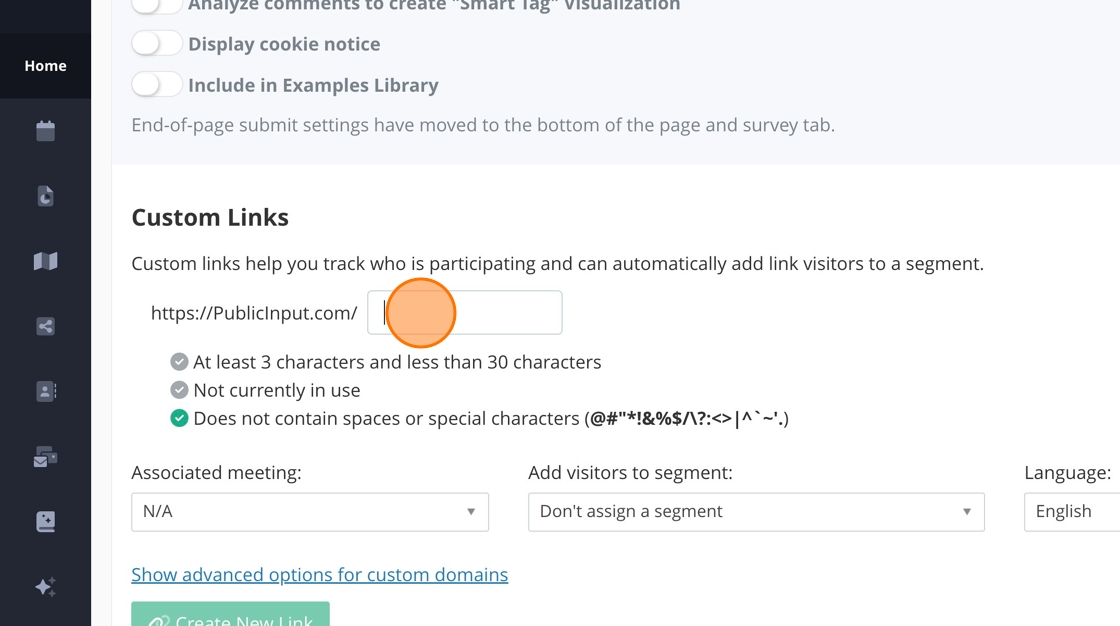
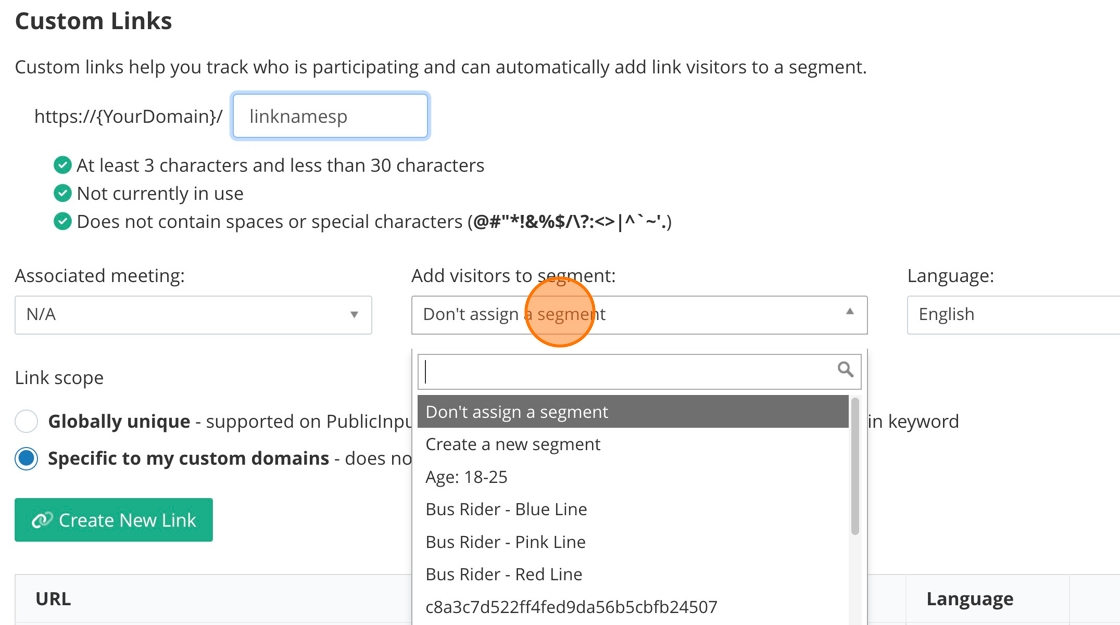
2. Add your custom link here. It is recommended to have the link be related to your project. We also recommend adding the first two letters of the language to the end of the link. For example, "linknamesp."
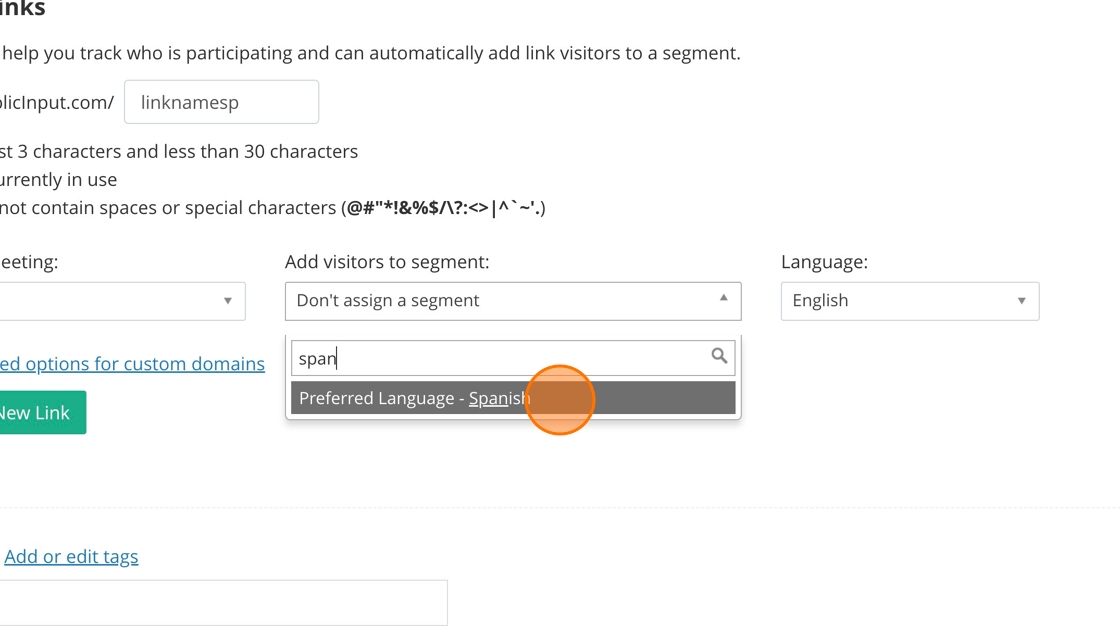
3. If your organization uses language segments, be sure to add this link to each segment. Double-check with your organization to find out what language segments are called.
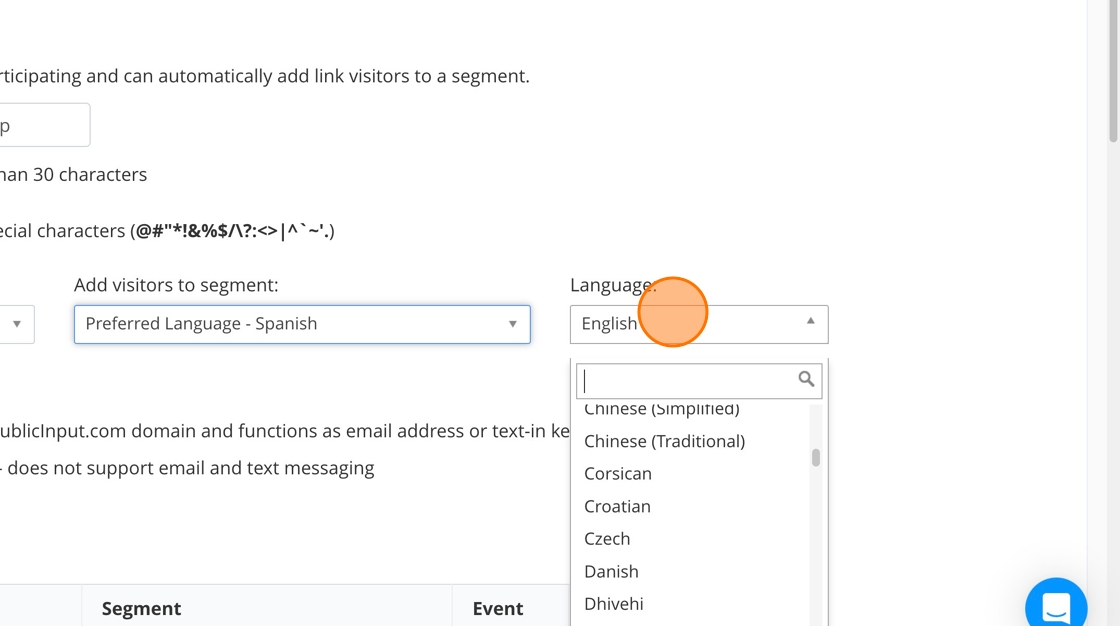
4. Under "Language," choose the language your project needs to be translated into.
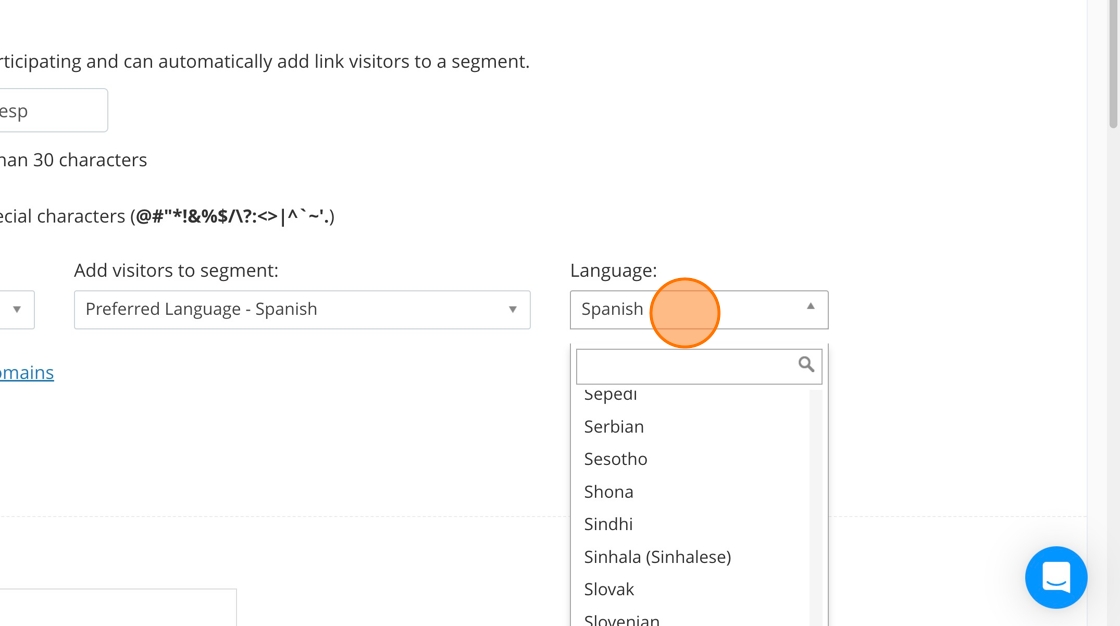
5. Click "Create New Link"

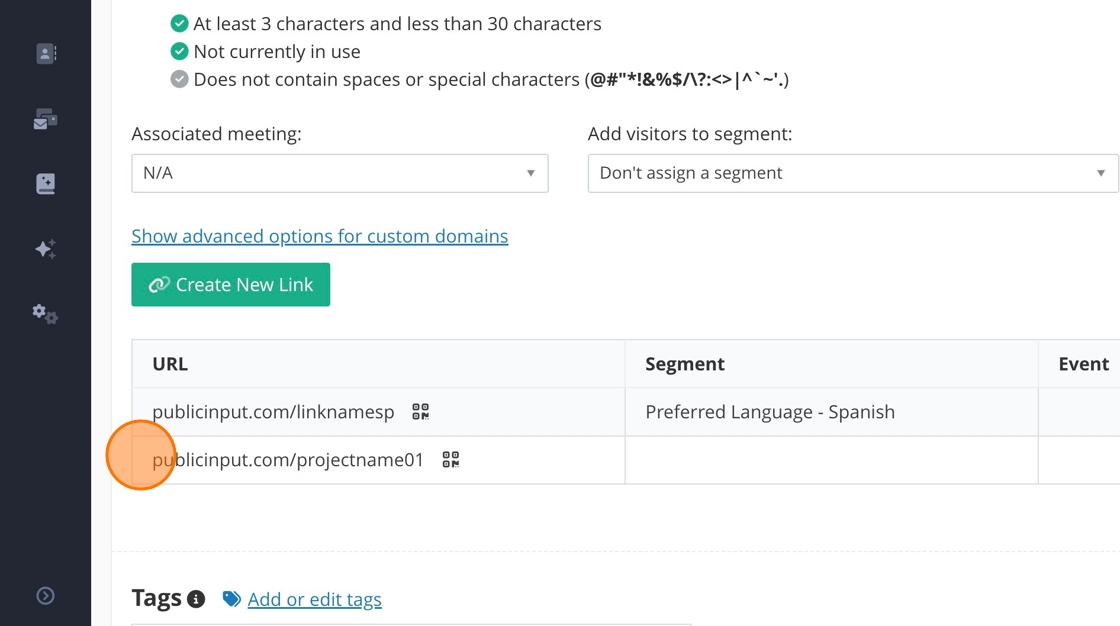
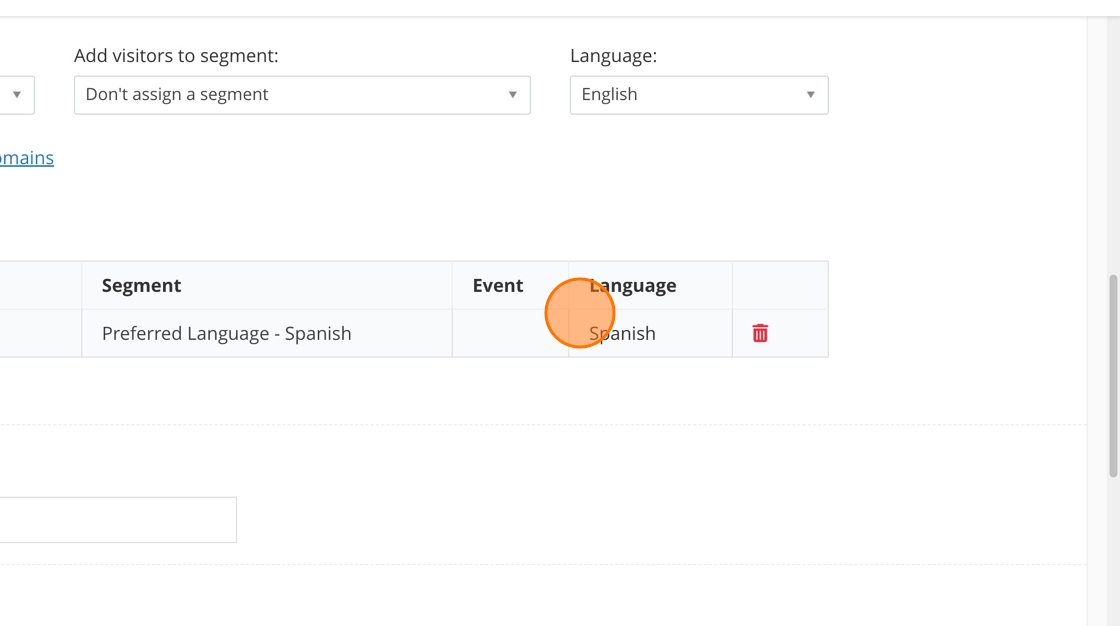
6. This is where you will find the language-specific URL and QR code.

7. Double-check that you have associated the link with a segment - if needed.

8. Double-check that the language is correct.
Follow these directions if your organization does have a custom domain.
9. Click "Show advanced options for custom domains"

10. Click "Specific to my custom domains"

11. Notice the URL has changed. Add your custom link here. It is recommended to have the link be related to your project. We also recommend adding the first two letters of the language to the end of the link. For example, "linknamesp."
12. If your organization uses language segments, be sure to add this link to each segment. Double-check with your organization to see what language segments are called.
13. Under "Language," choose the language your project needs to be translated into.
14. Click "Create New Link"

How to publish a project
Step-by-step guide
Step-by-step guide
There are two ways to publish your project.
1. Click "Live"
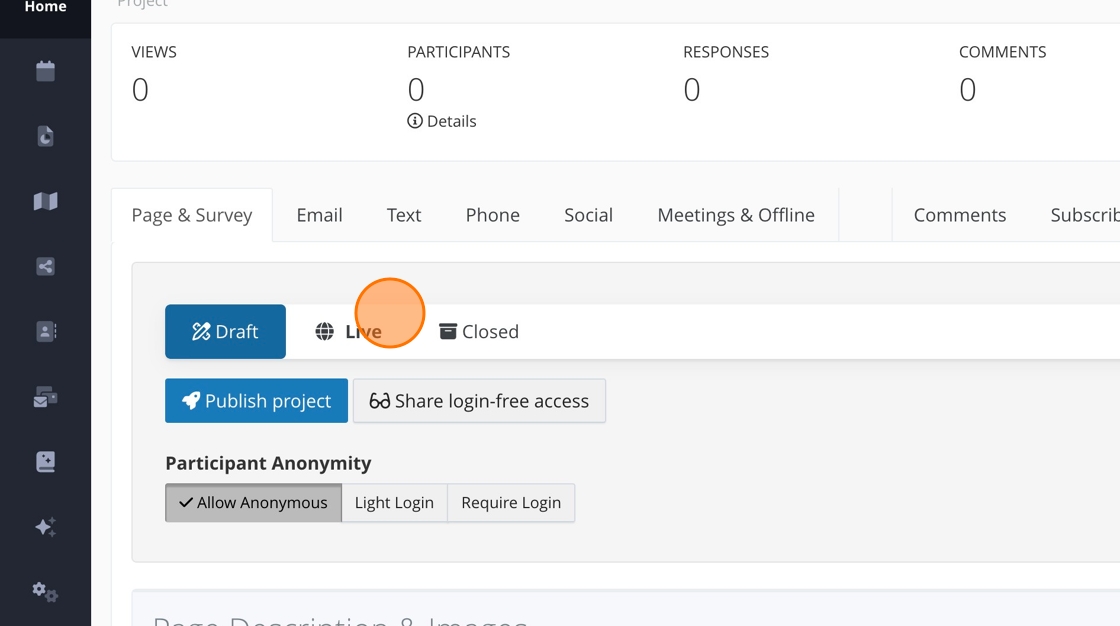
2. Or click "Publish project"

3. Make sure "List on Your Account home" is toggled on to show up on your Public Portal.
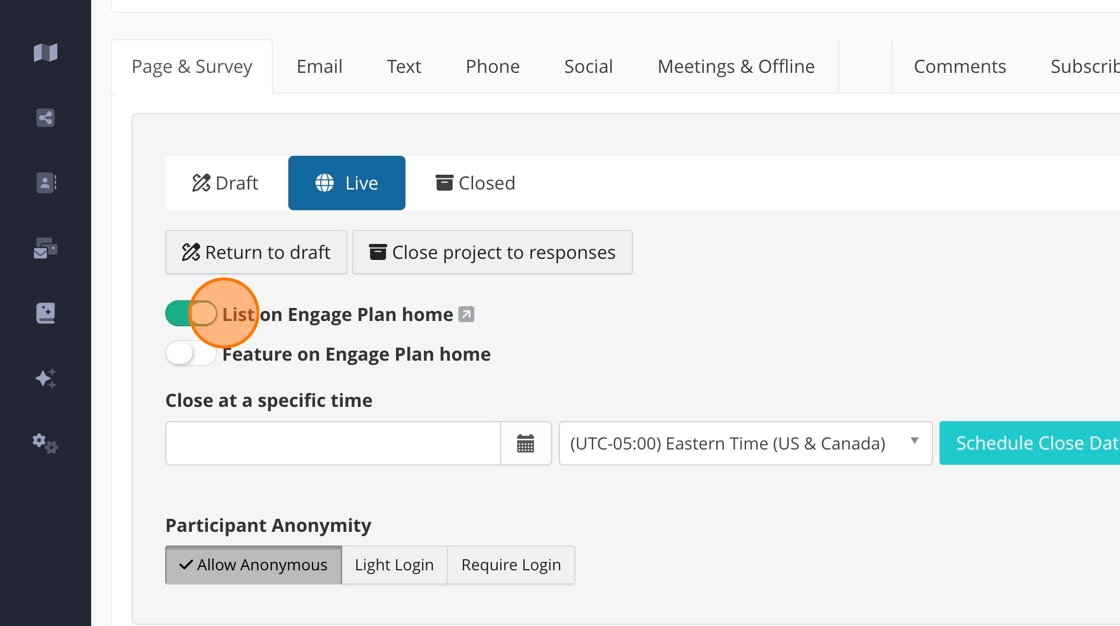
4. Click "Feature on Engage Plan home."
Check with your organization before featuring your project on the public portal.

How to close your project
Step-by-step guide
Step-by-step guide
There are two ways to close projects.
1. To close a project to all views and the public, click "Closed"
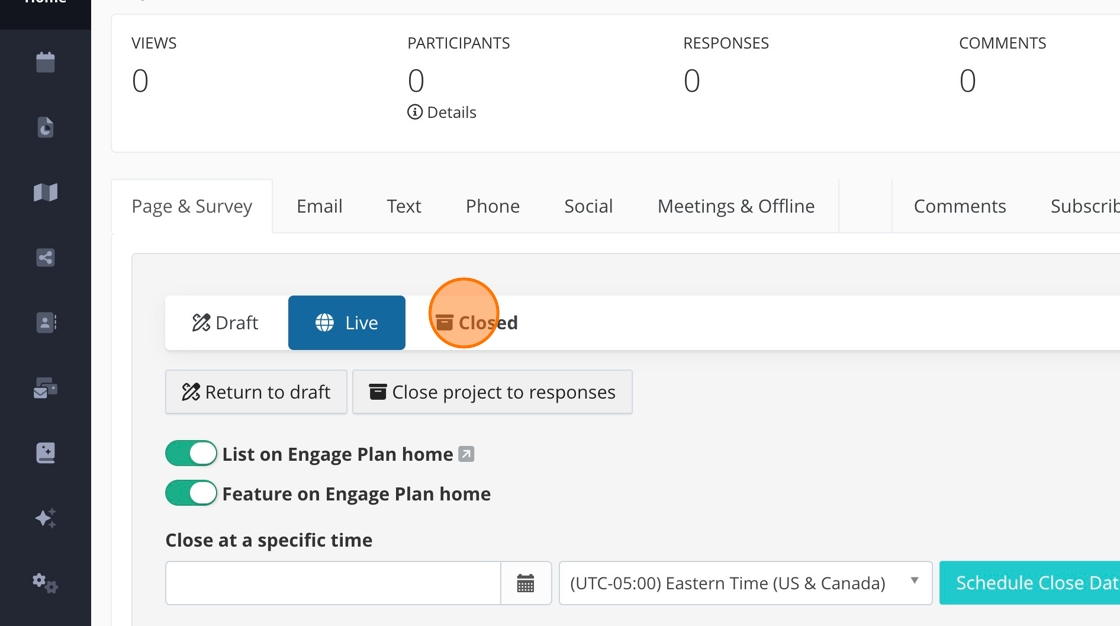
2. If you want your project visible on the public portal but not allow further participation, click "Close project to responses"
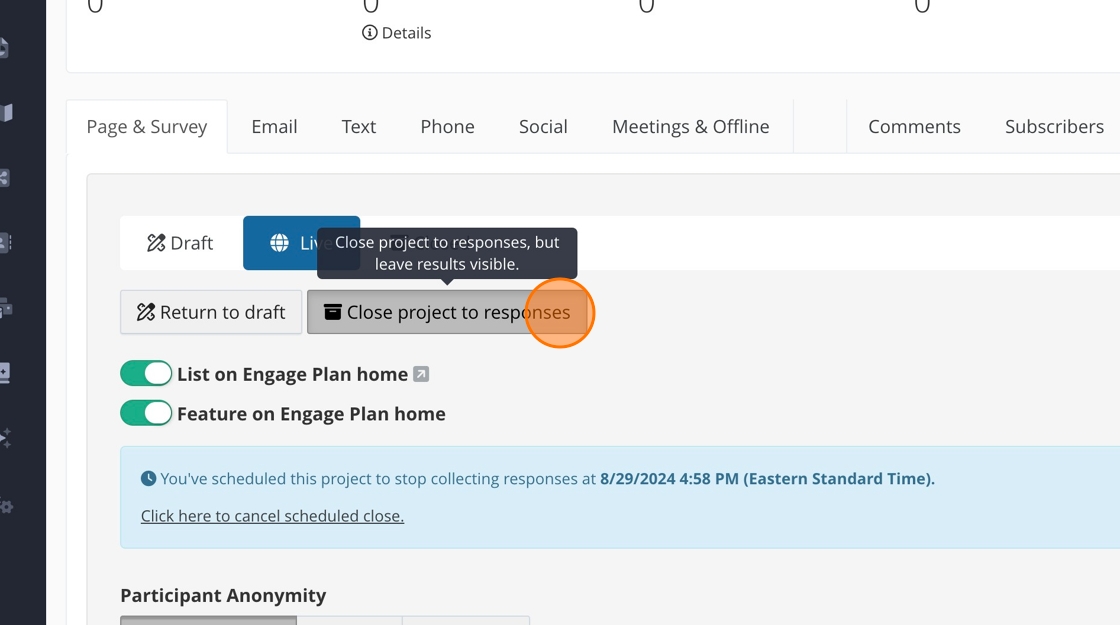
3. You can also schedule your project to close on a specific day and time. However, we do not recommend using this option if you might need to change the close date.

Go back to "Start Here."