
How to send an email campaign from a communication topic
Step-by-step guide
Step-by-step guide
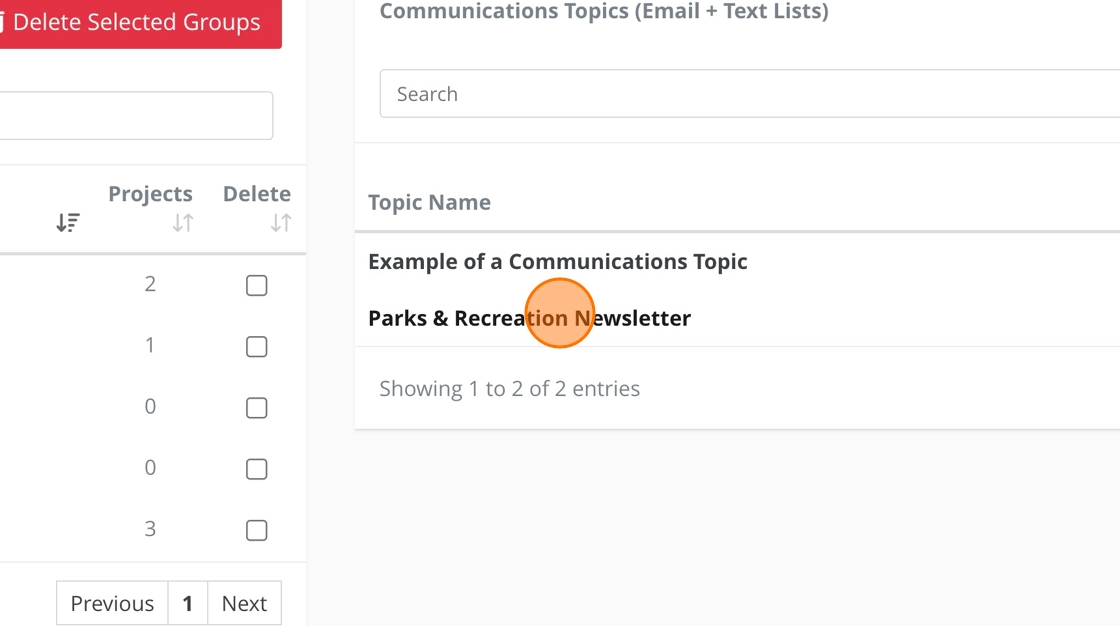
1. Click on the communication topic from which you need to send an email.
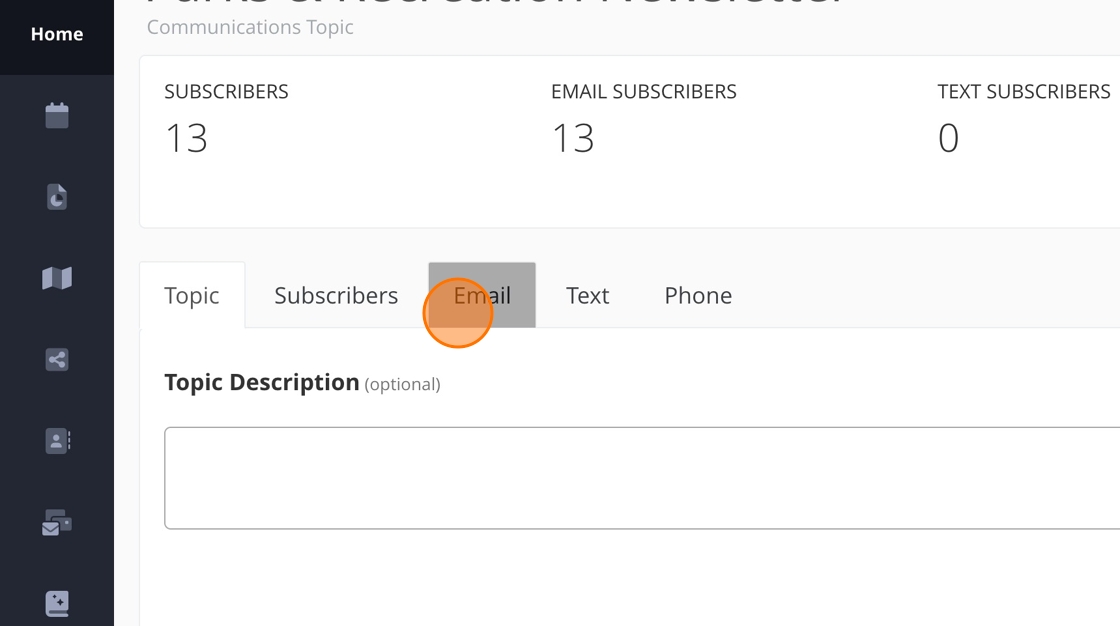
2. Click here
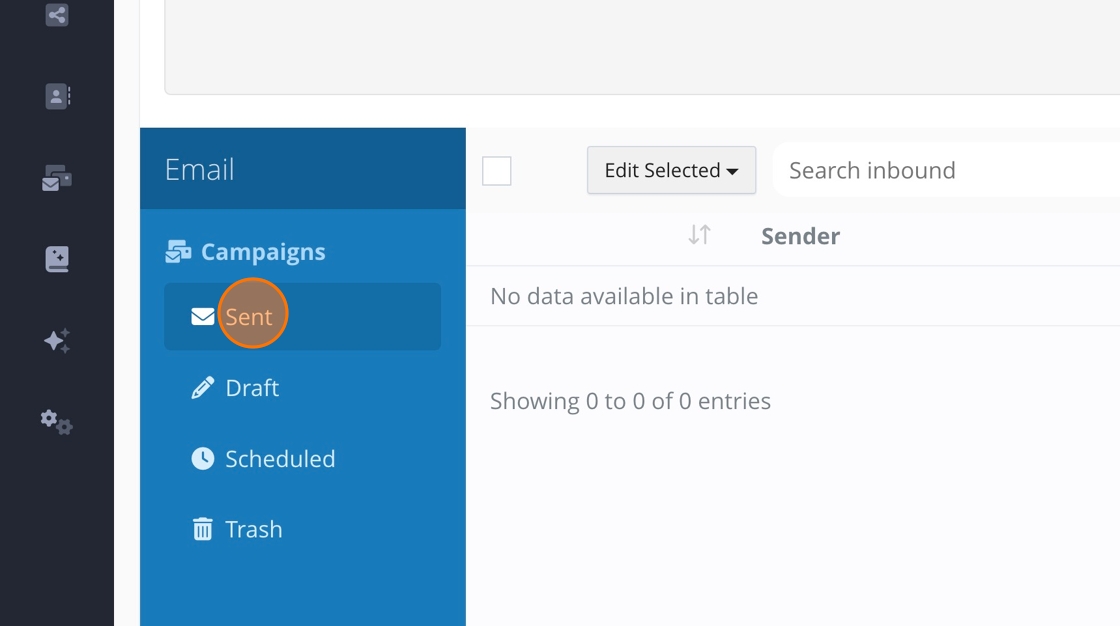
3. Click any section here - it makes the "New Campaign" button appear.
4. Click here.
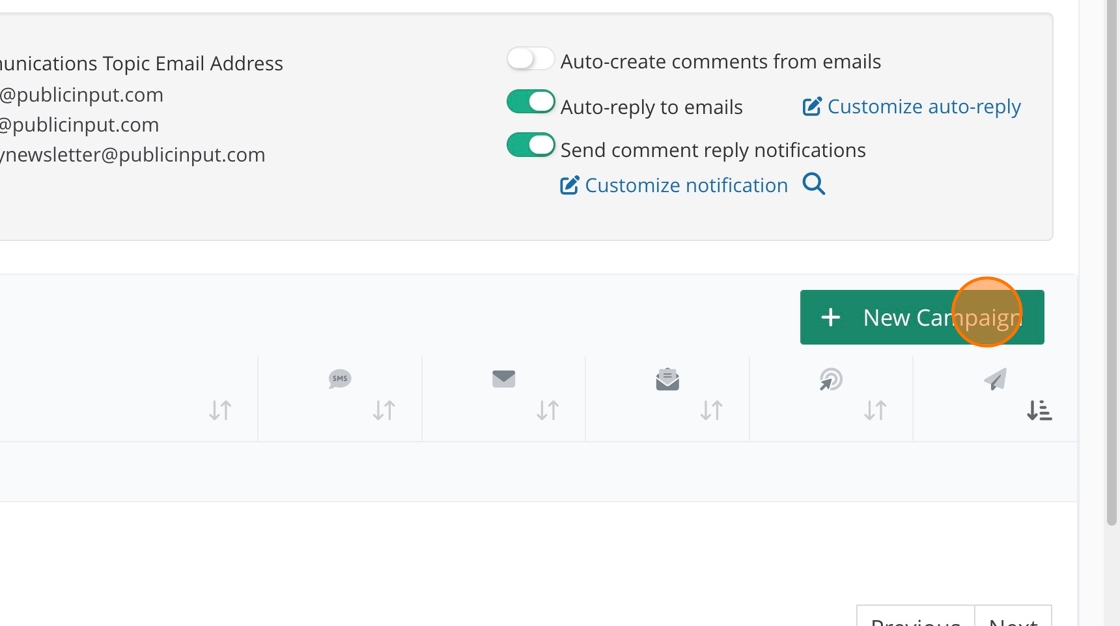
This section is internally facing only.
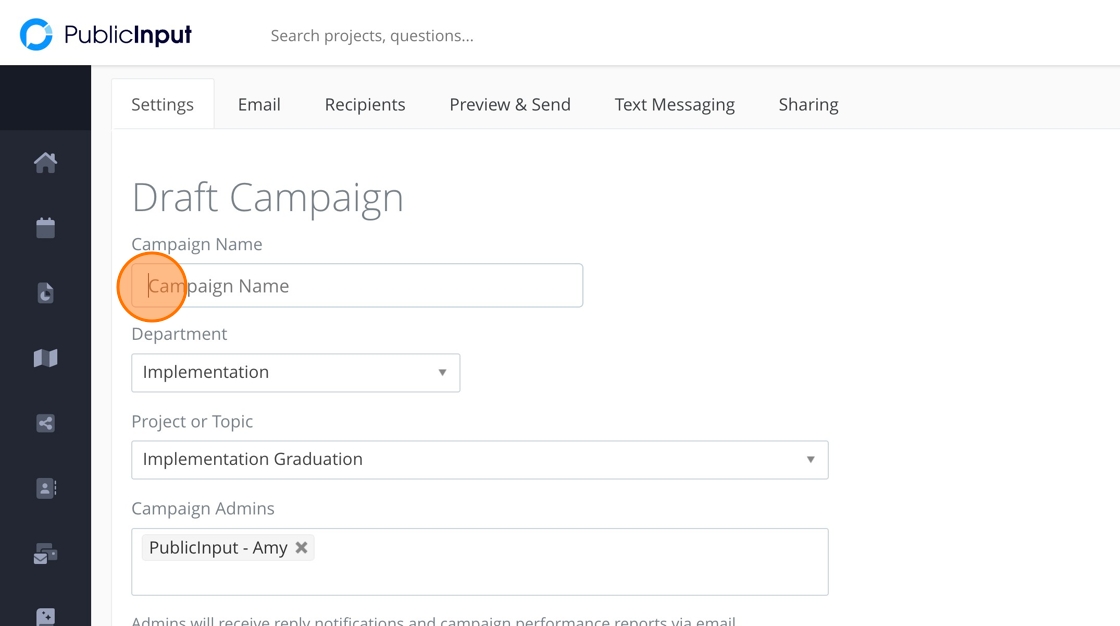
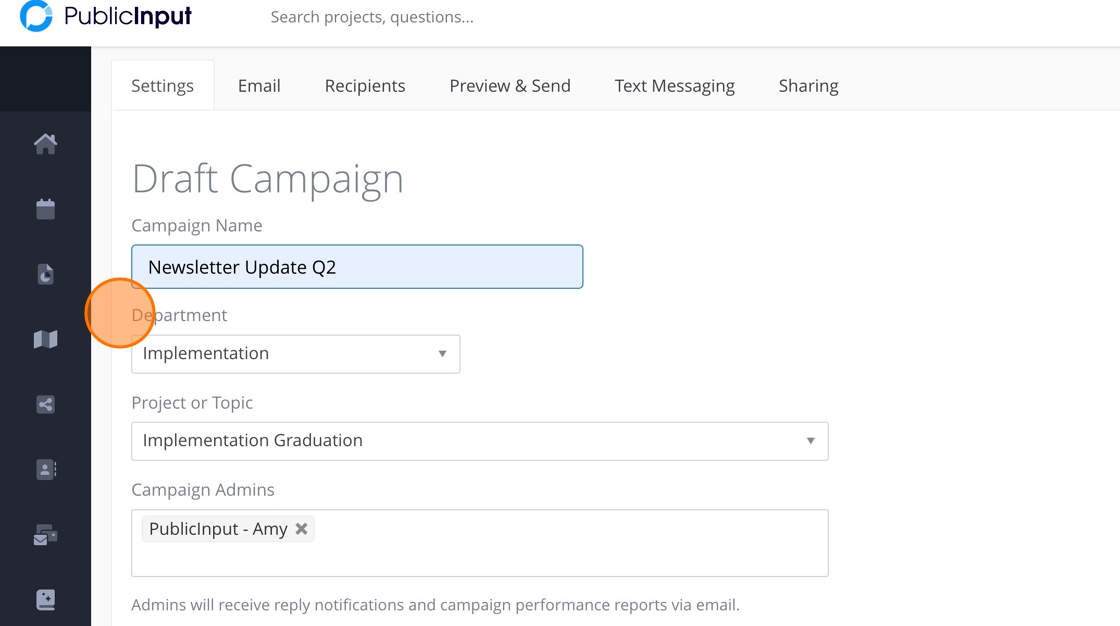
5. Add a campaign name.
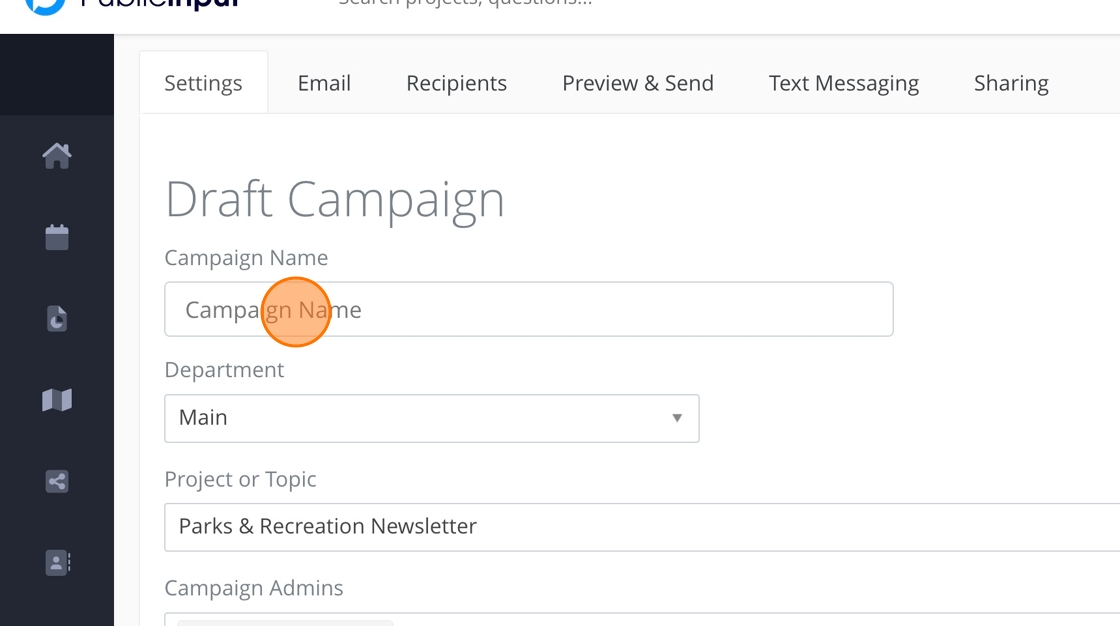
6. Add a department.
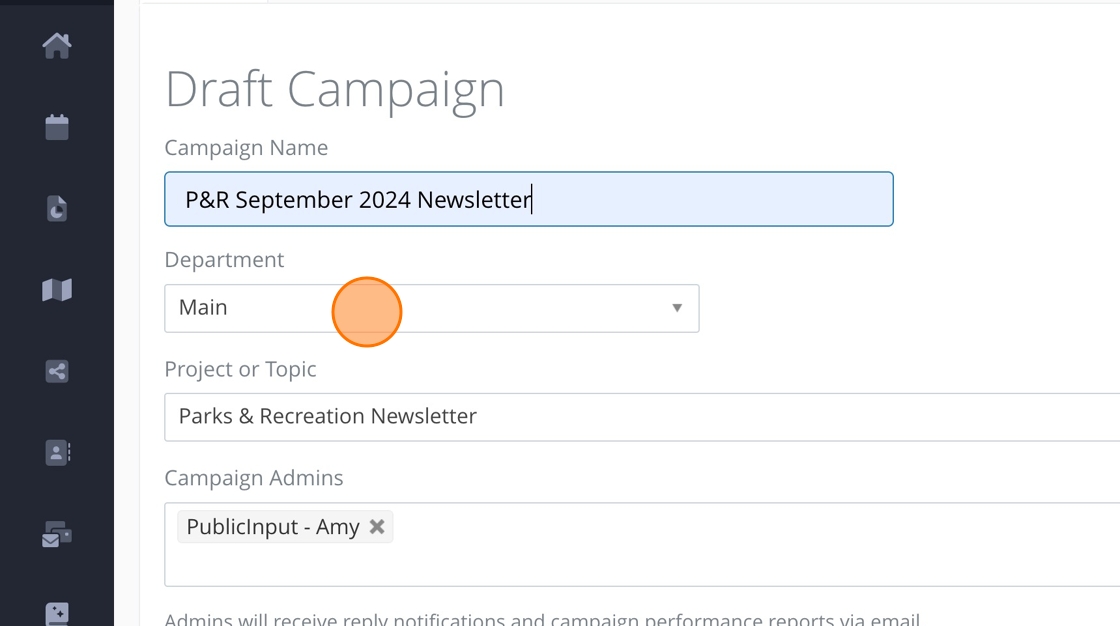
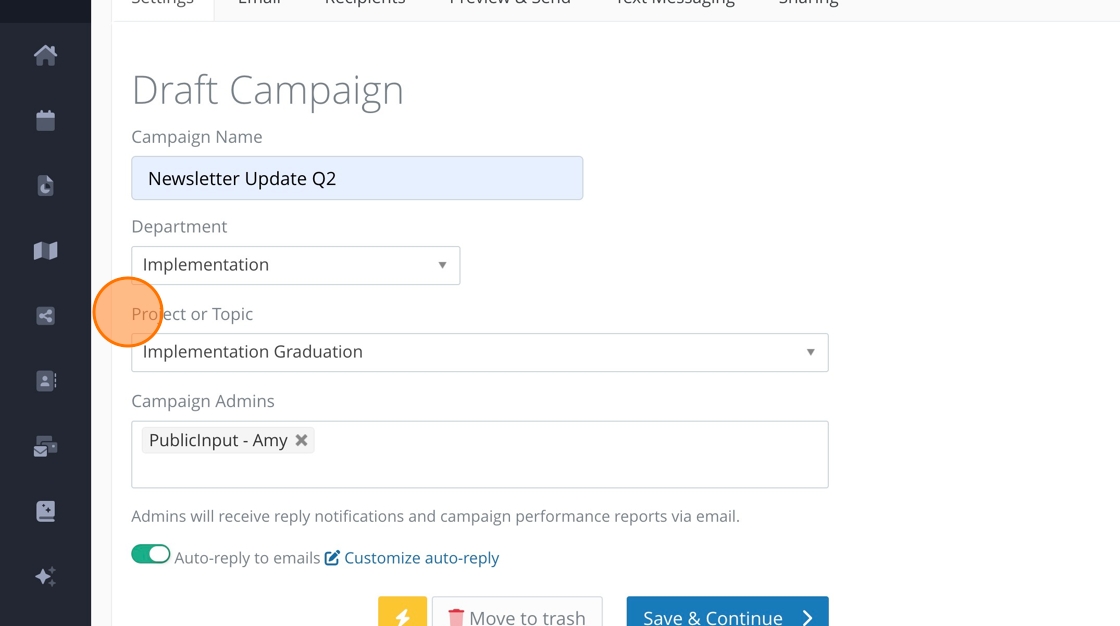
7. The project or topic will already be entered.
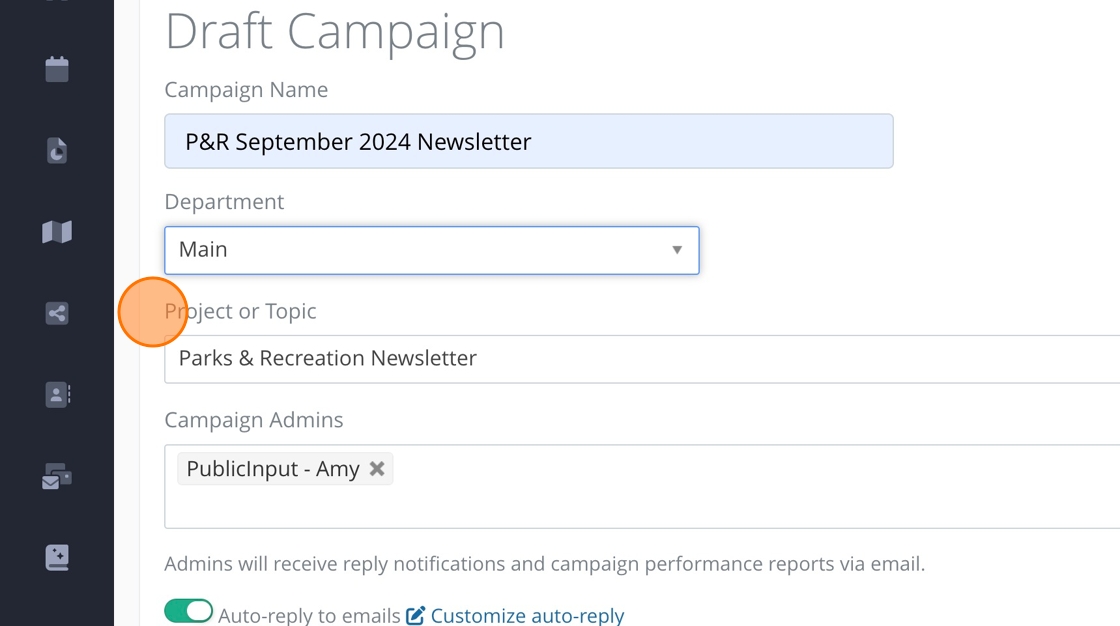
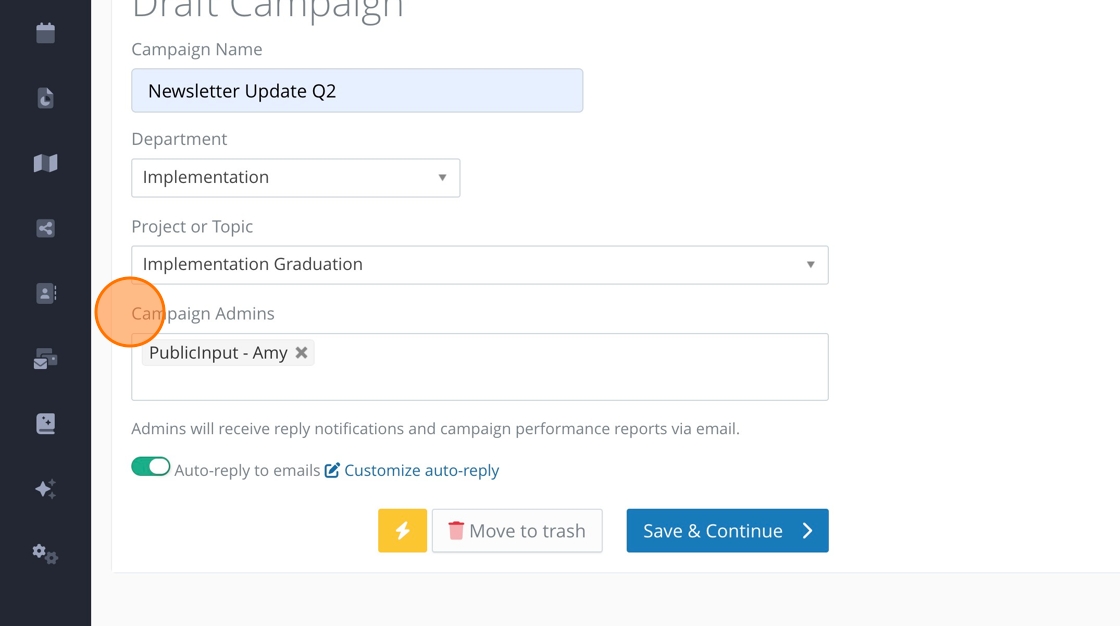
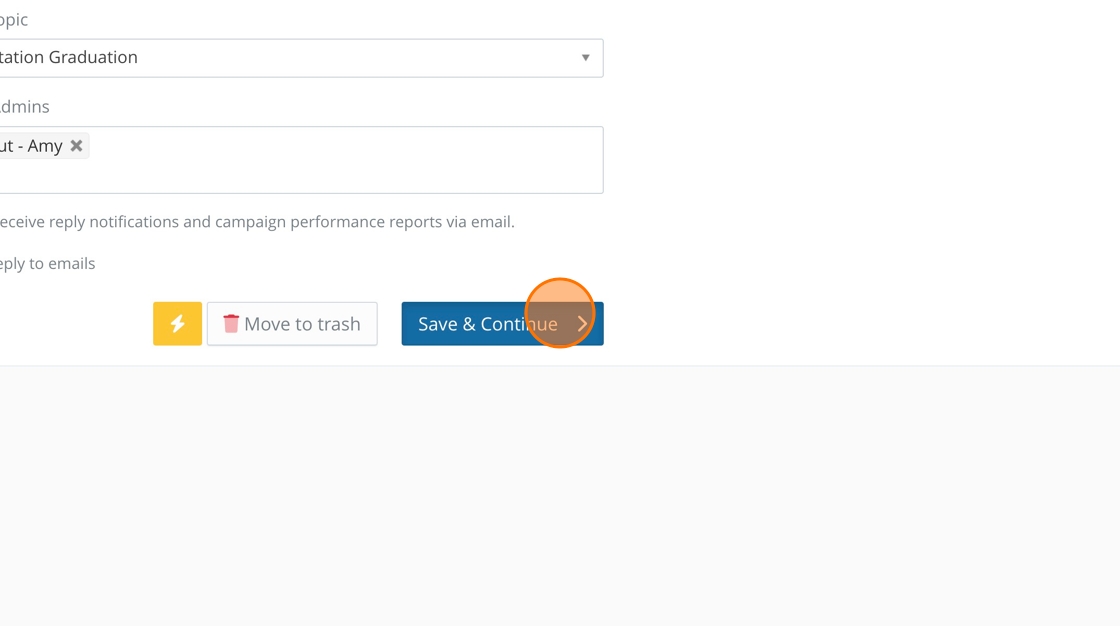
8. Your name will automatically appear as the campaign admin. Feel free to add more admins as needed.
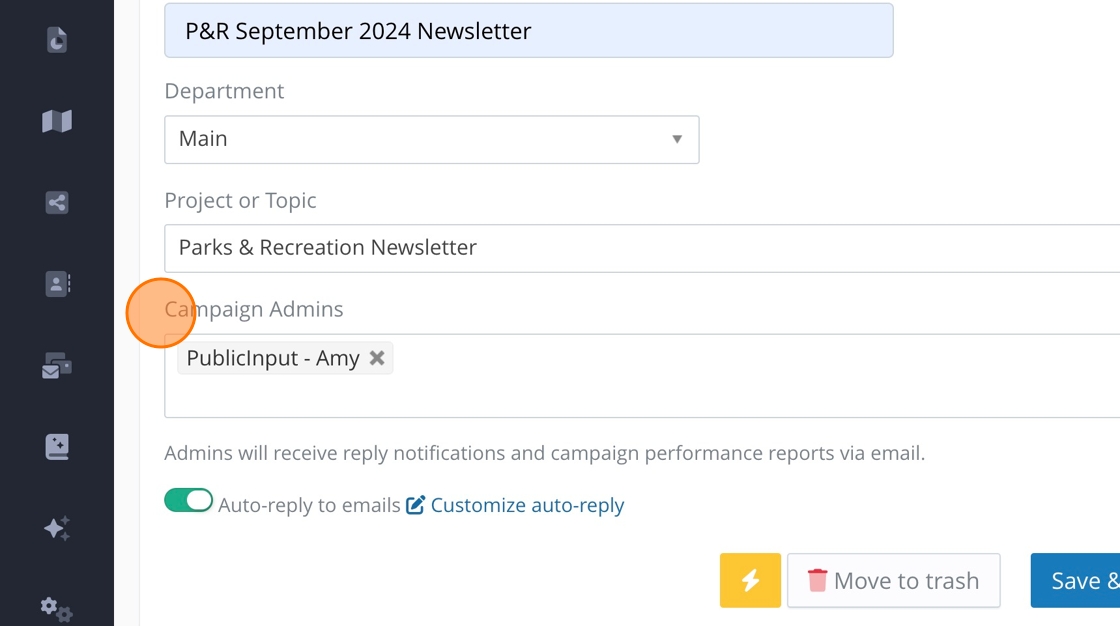
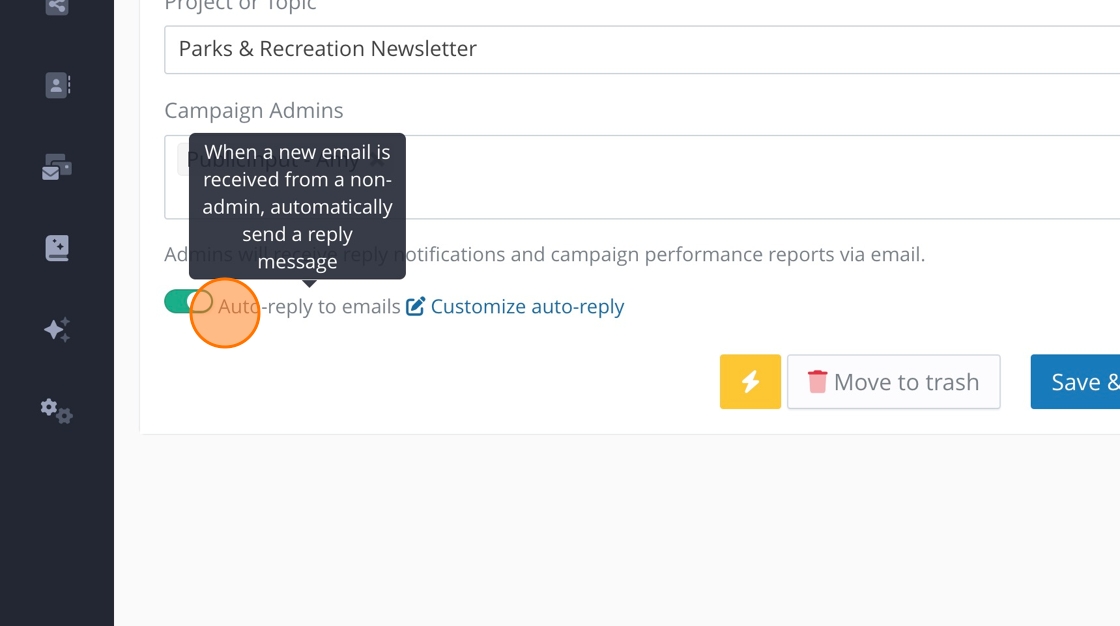
9. Either toggle off or keep the auto-reply toggled on.
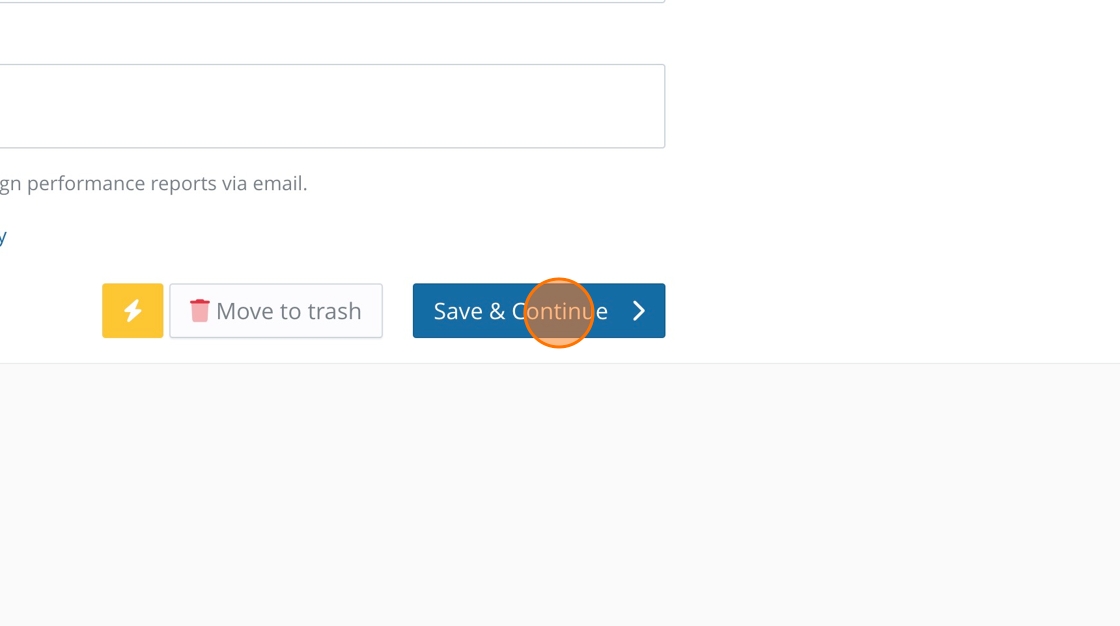
10. Click here
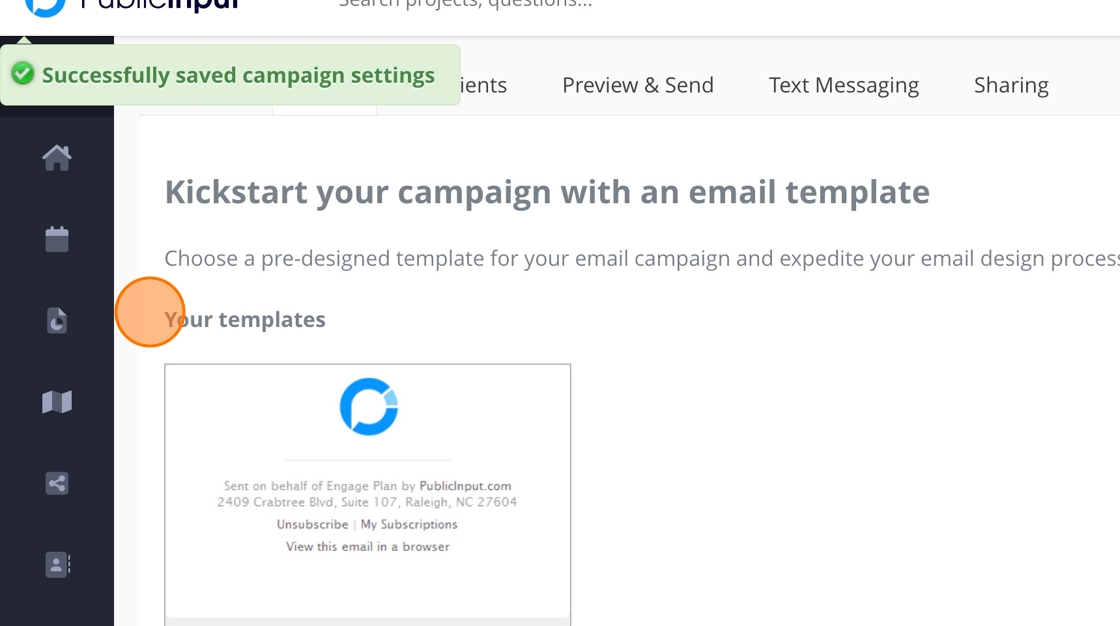
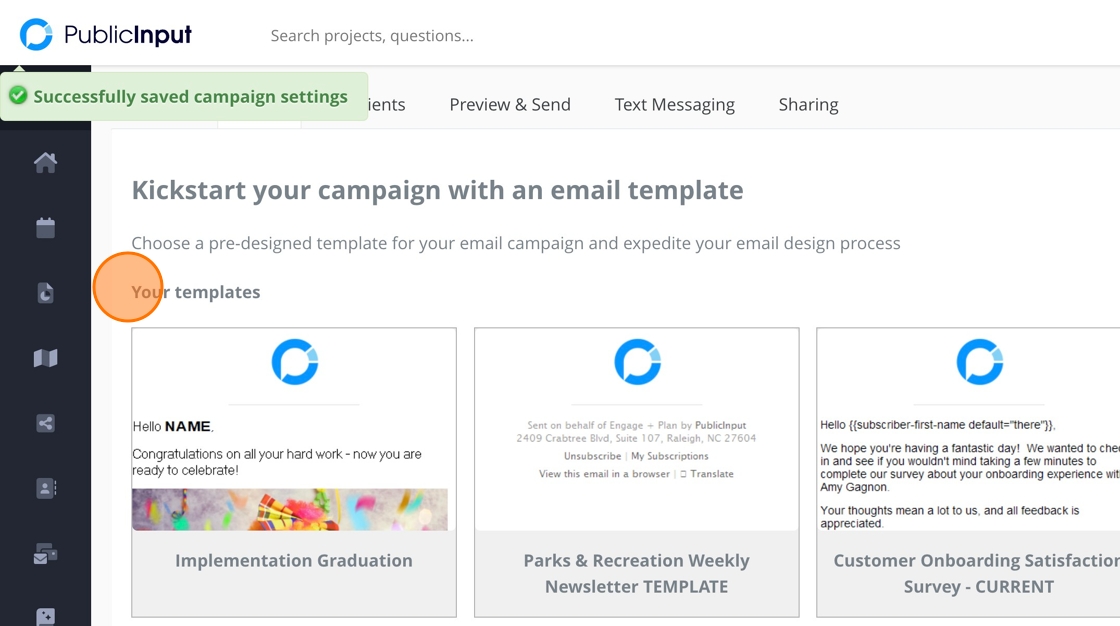
11. You can use templates, which will be listed at the top of the page.
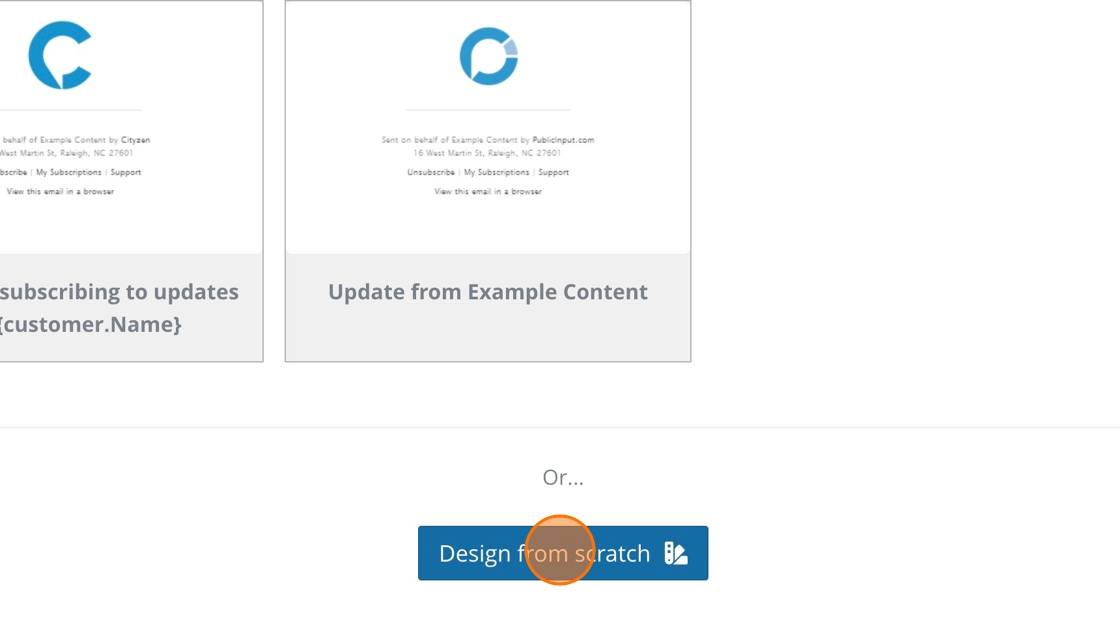
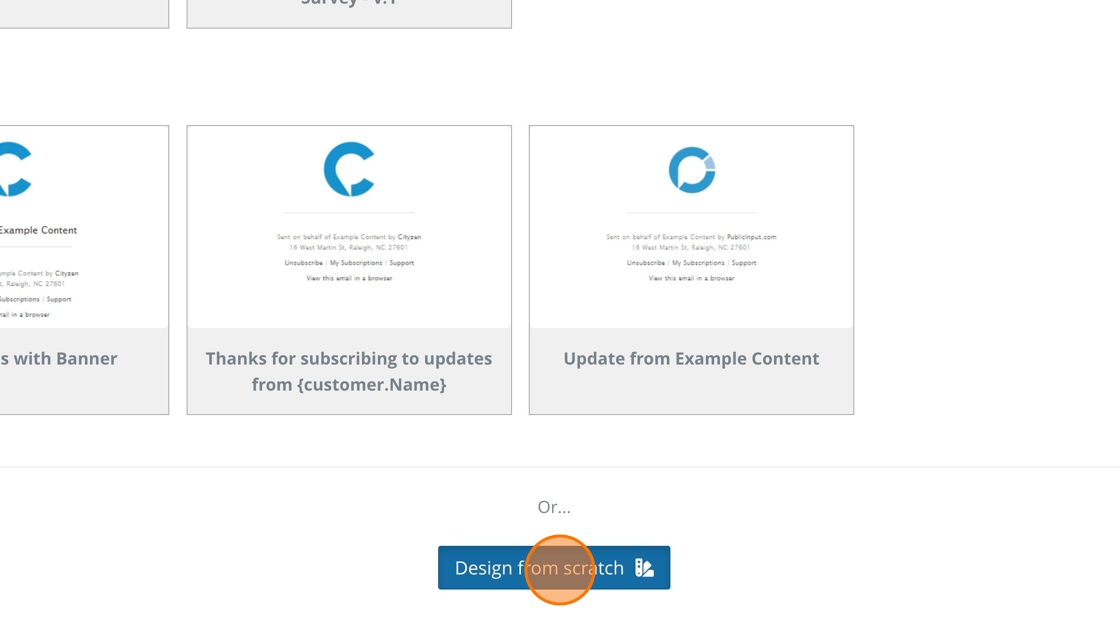
12. Or you can design an email from scratch.
This is all participant-facing.
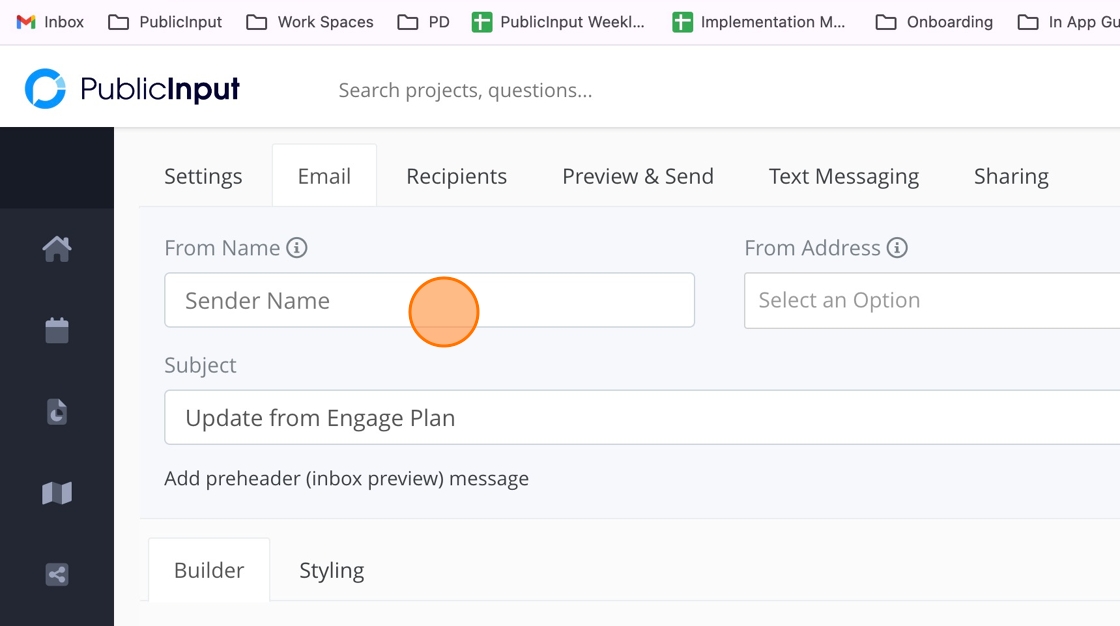
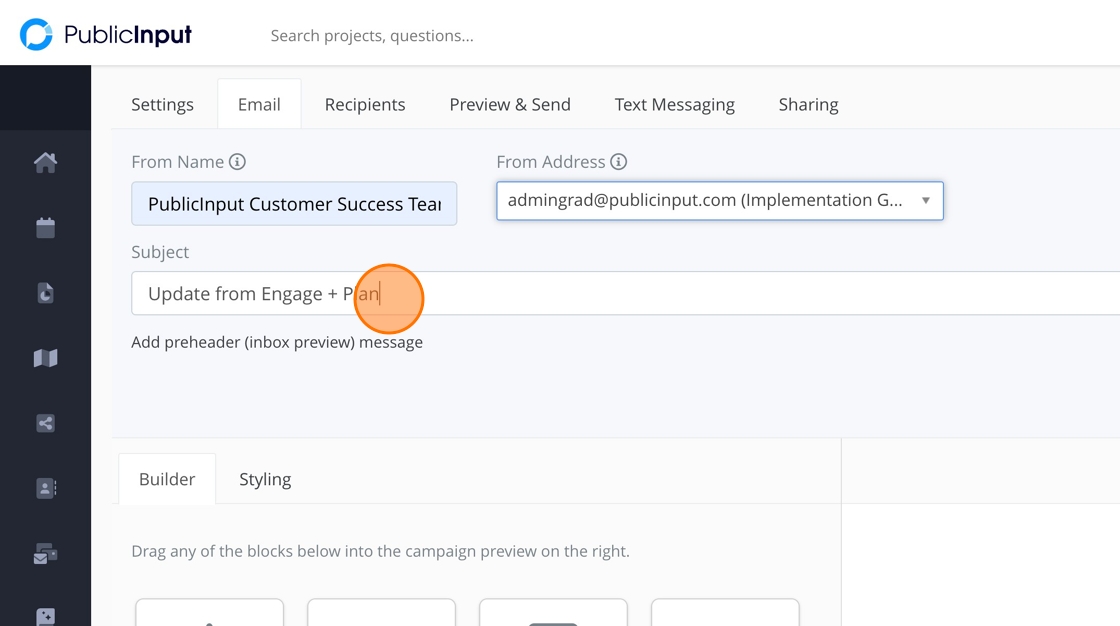
13. Add a sender name.
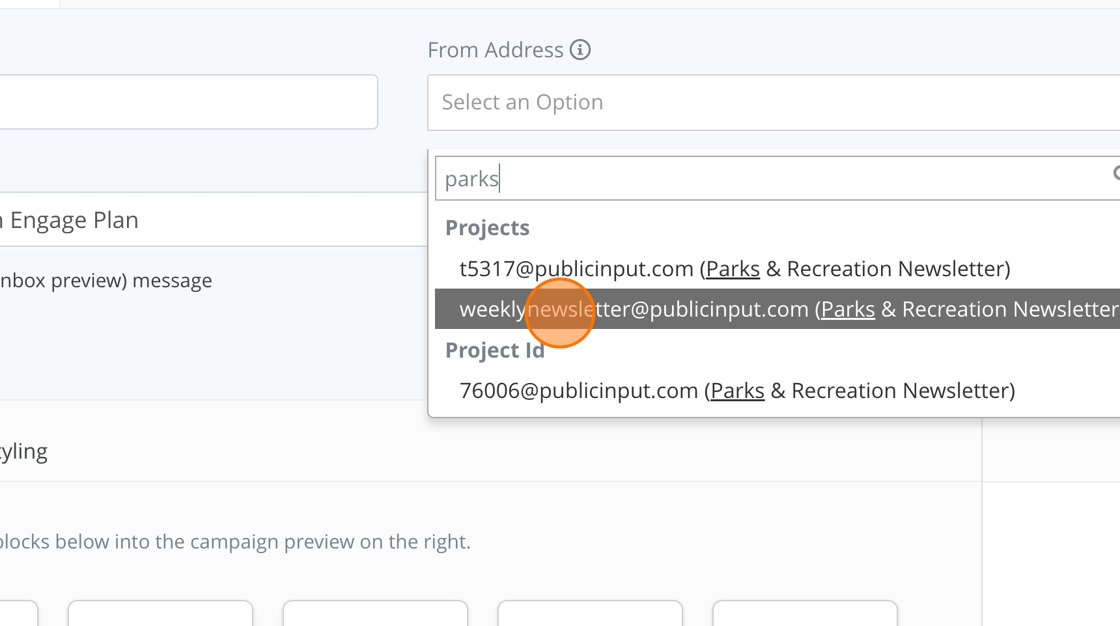
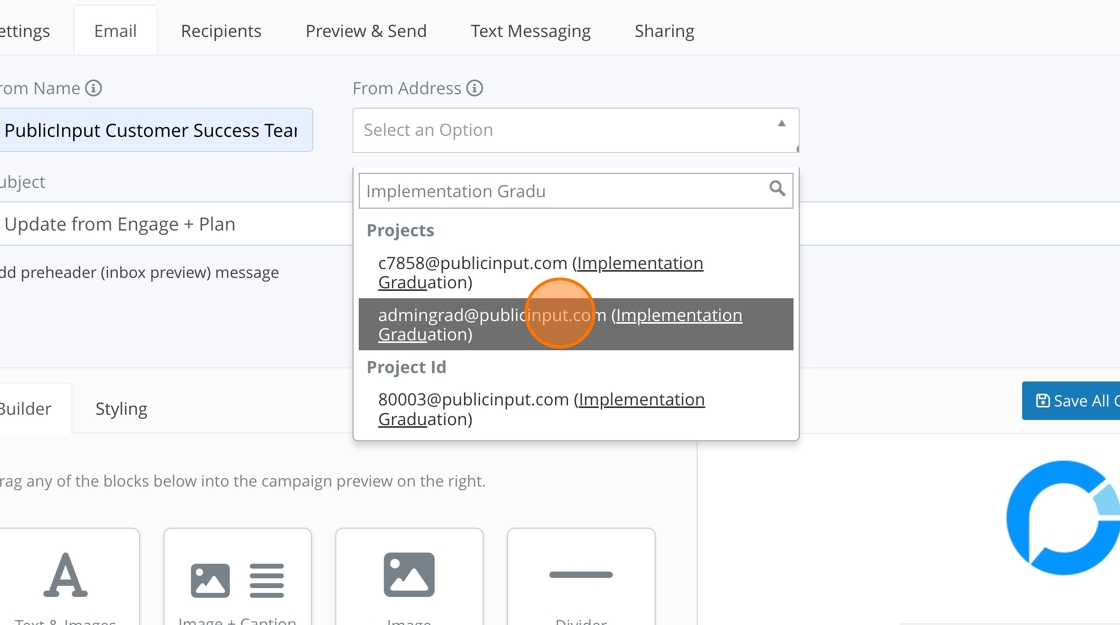
14. Search for the communication topic name to find the appropriate email address.
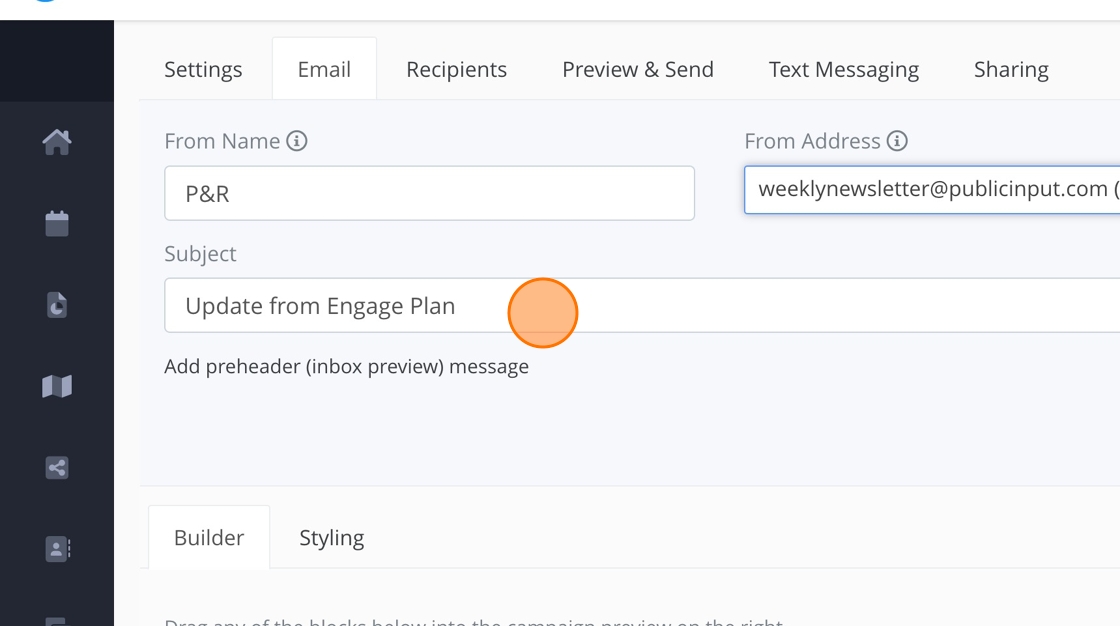
15. Add an email subject.
16. Click here
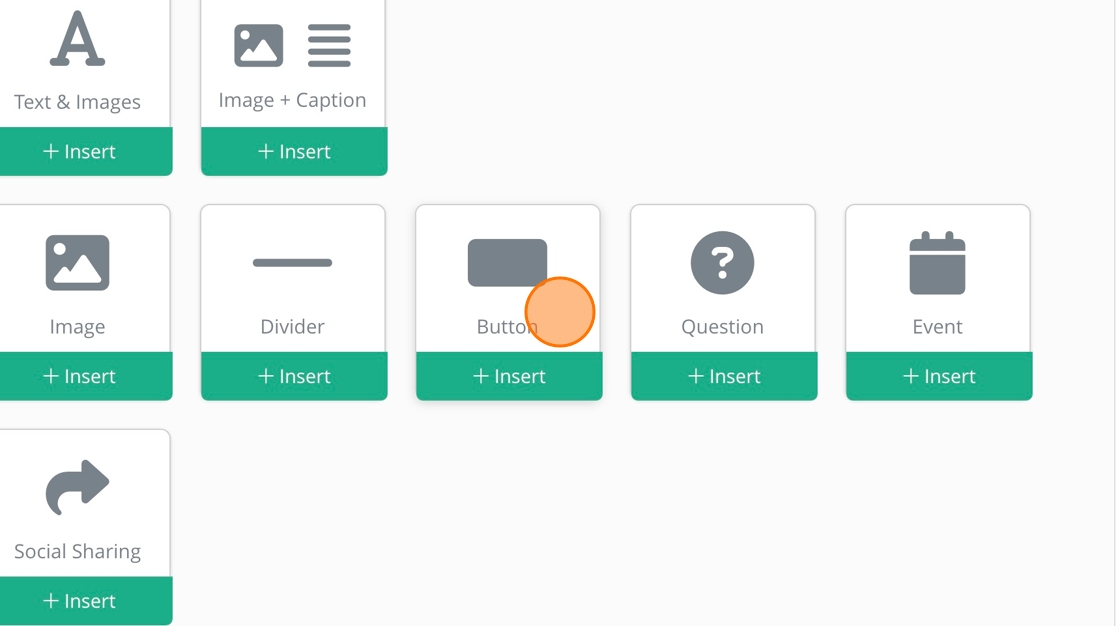
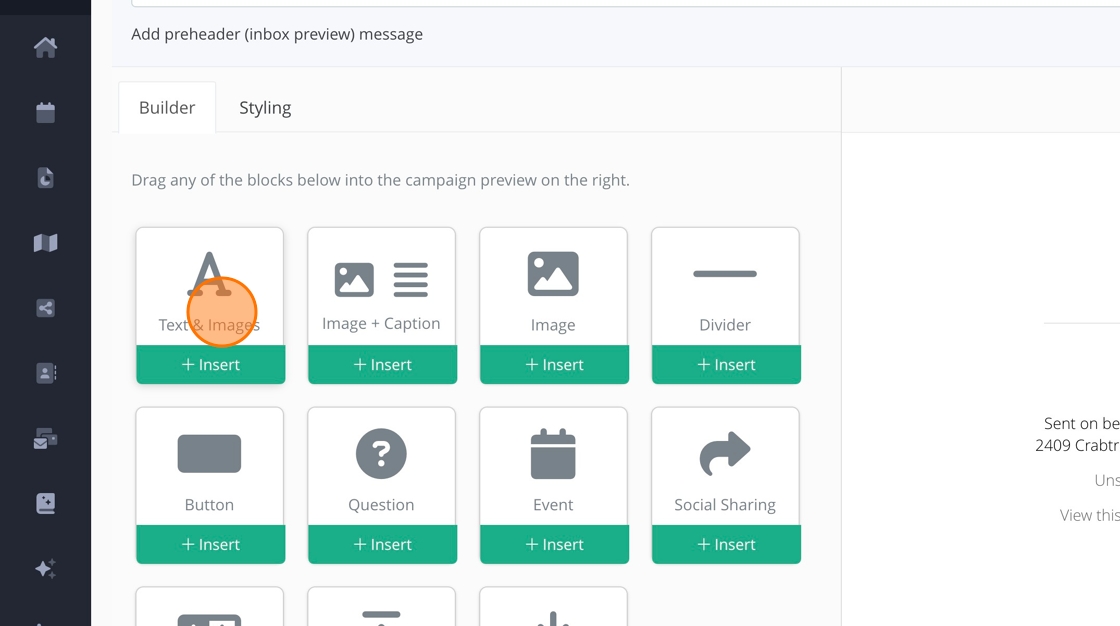
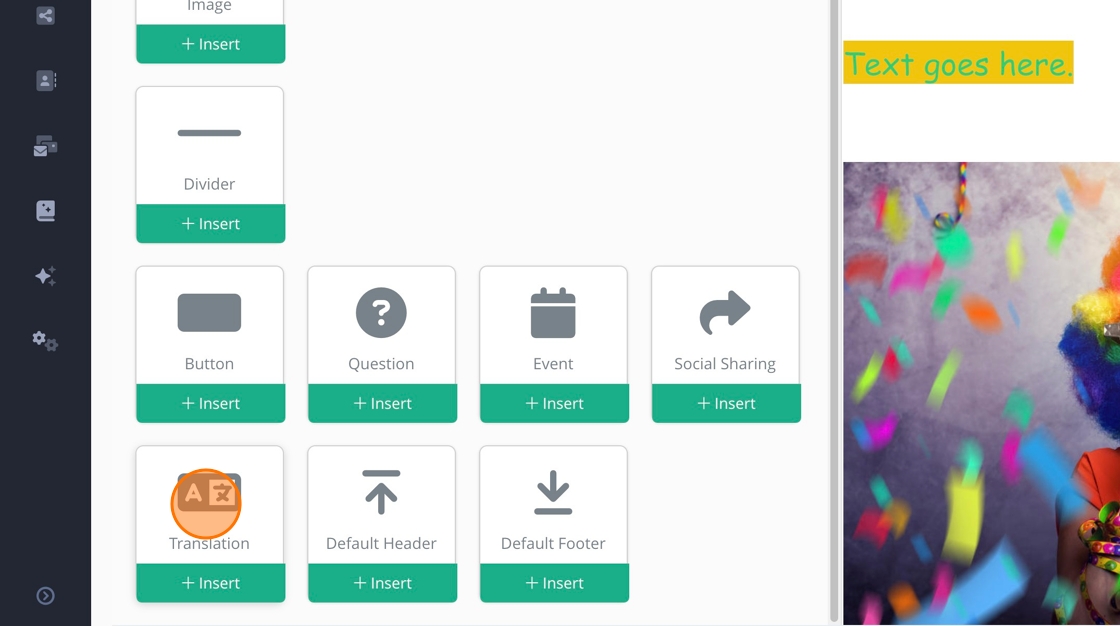
All the email elements are drag and drop.
17. Text & Images
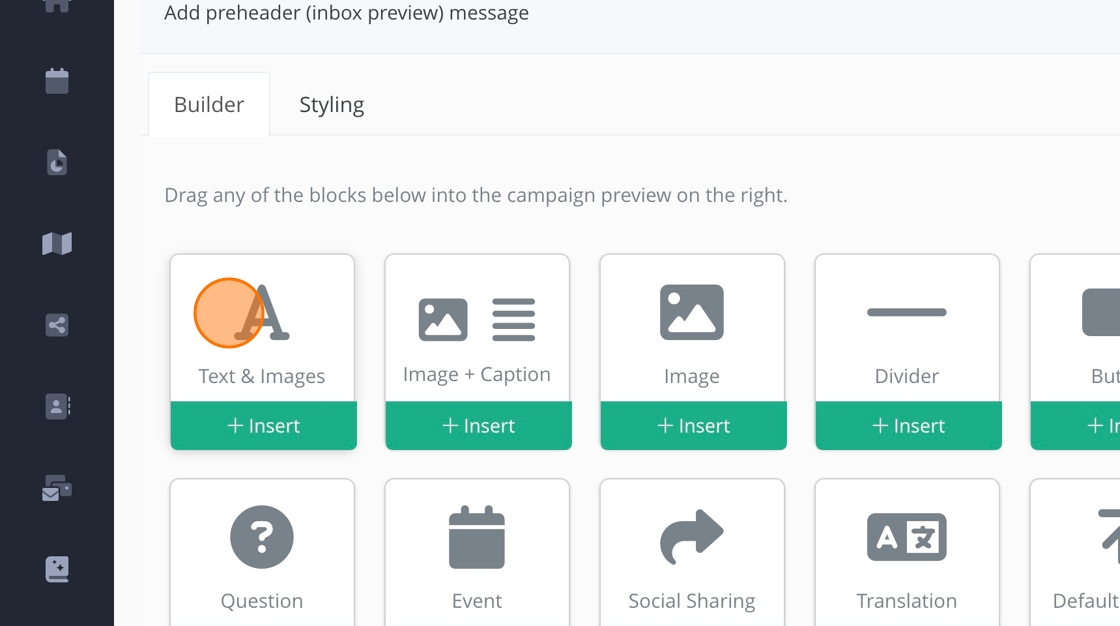
18. This text-rich box will allow you to add images and links and change fonts.
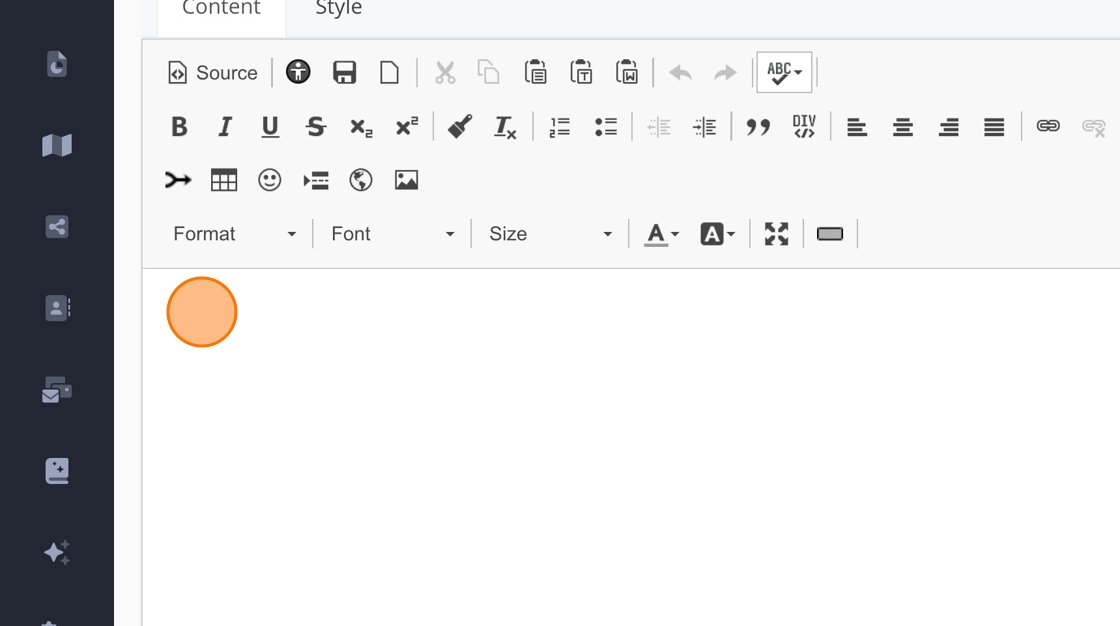
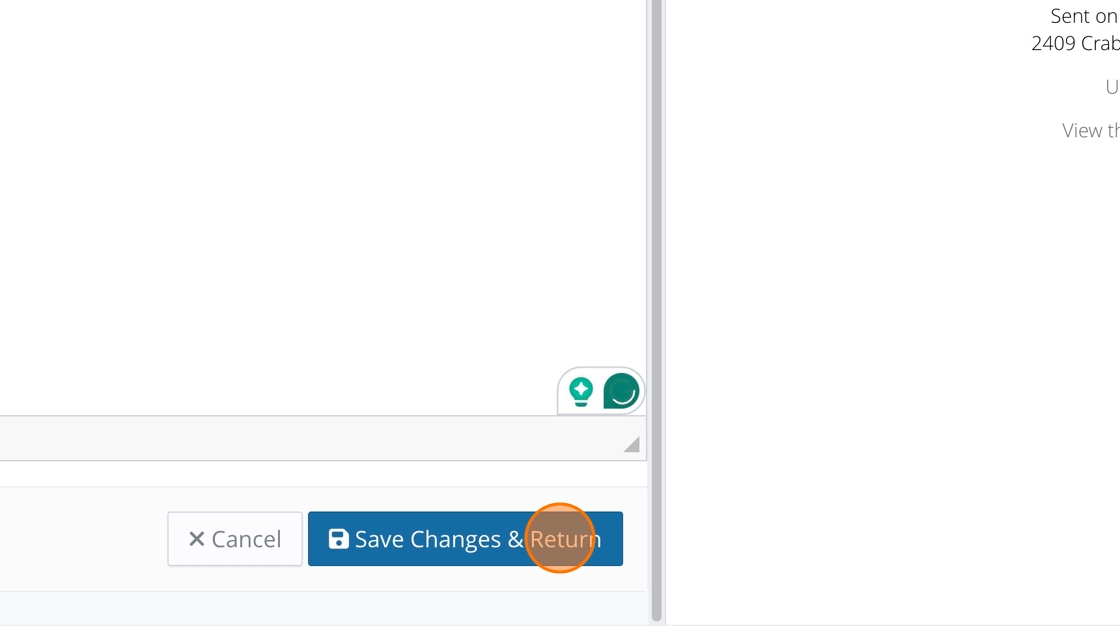
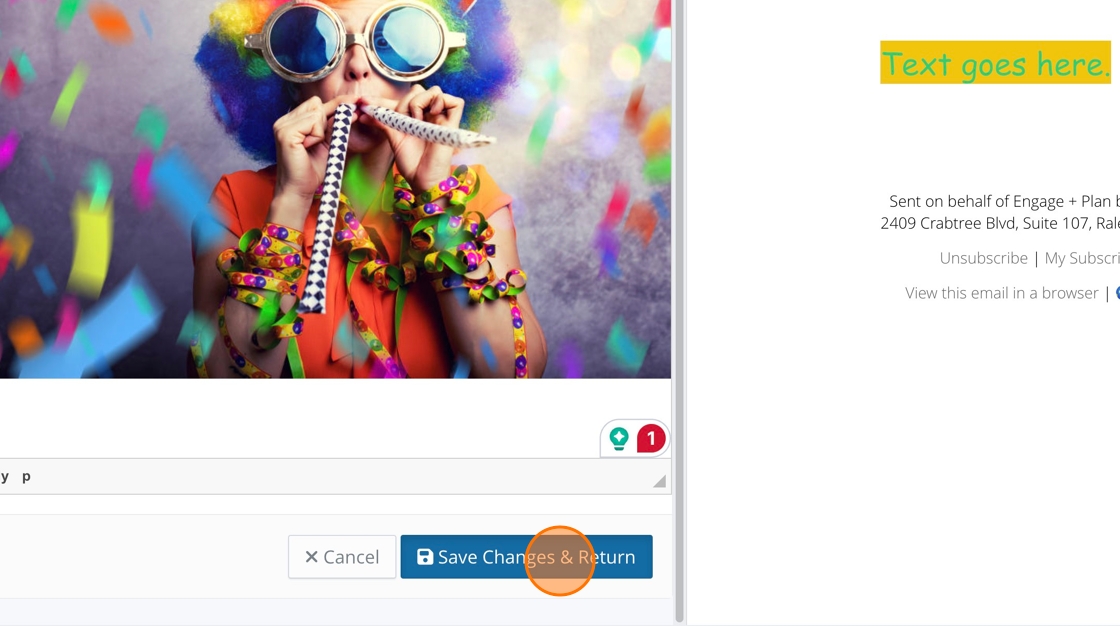
19. Click here when you are done adding content.
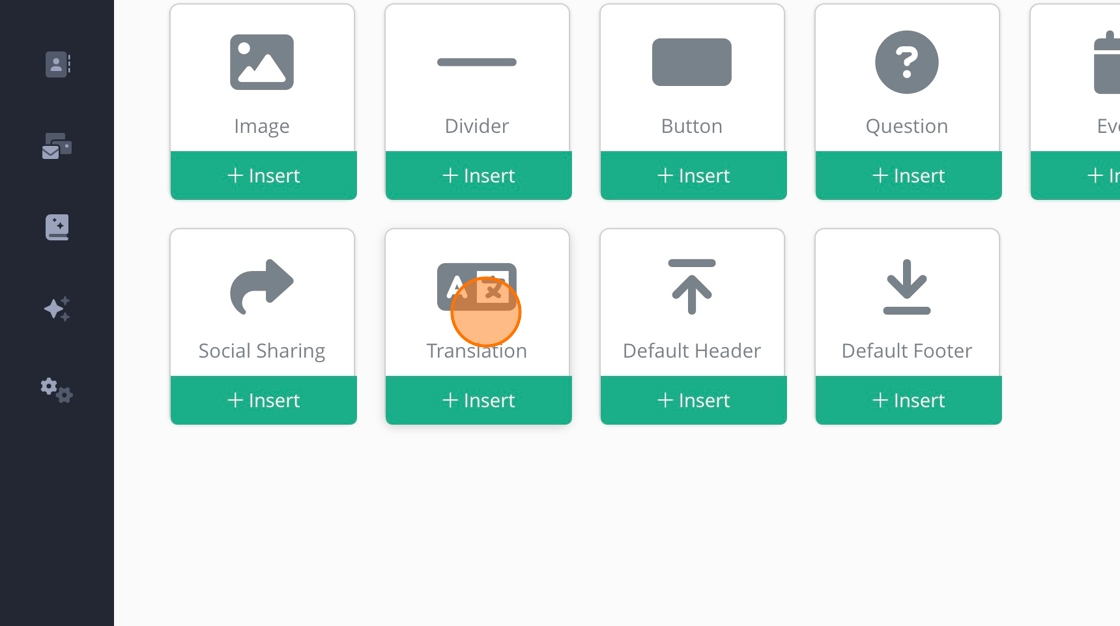
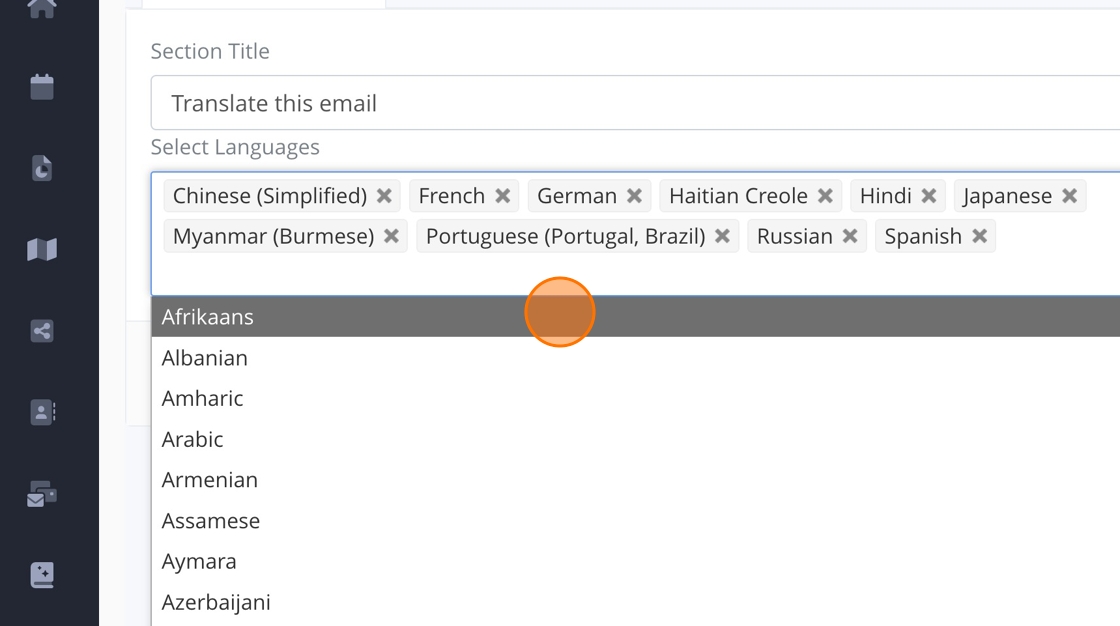
20. Translation is an excellent option for communities with participants who prefer or need to read in a language other than English. This option automatically translates the email for recipients if they click the link.
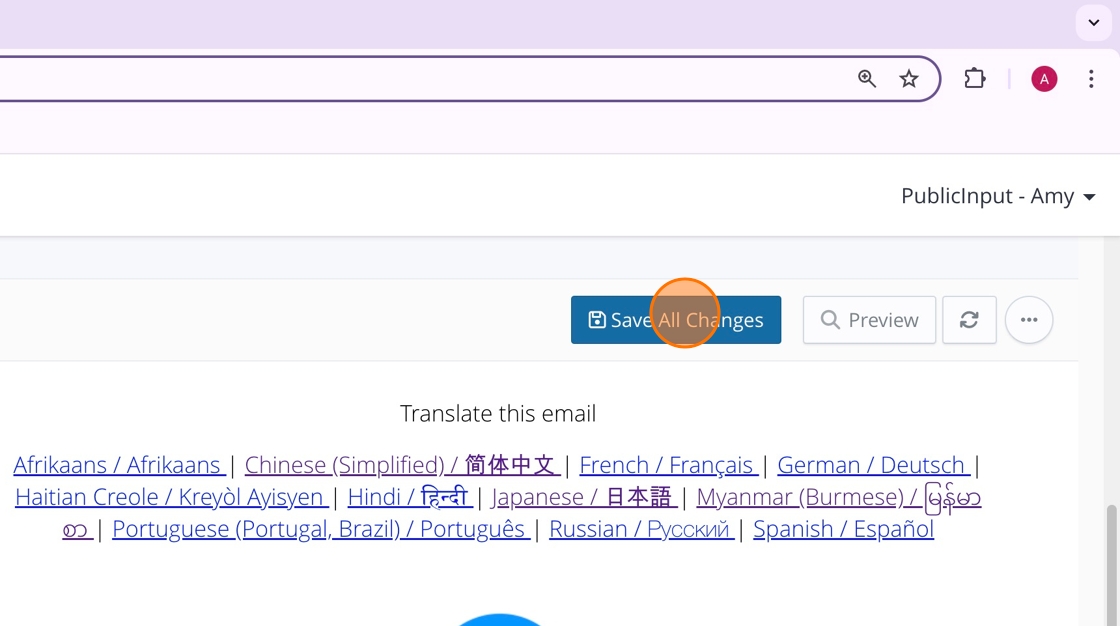
21. You can delete or add as many languages as you need.
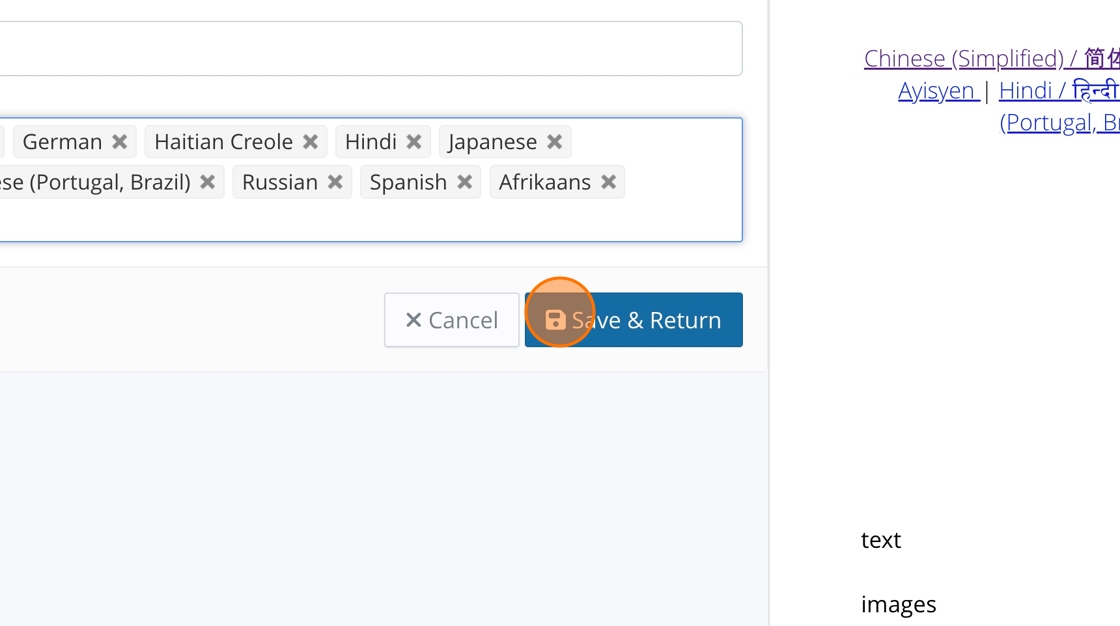
22. Click here once you are don.
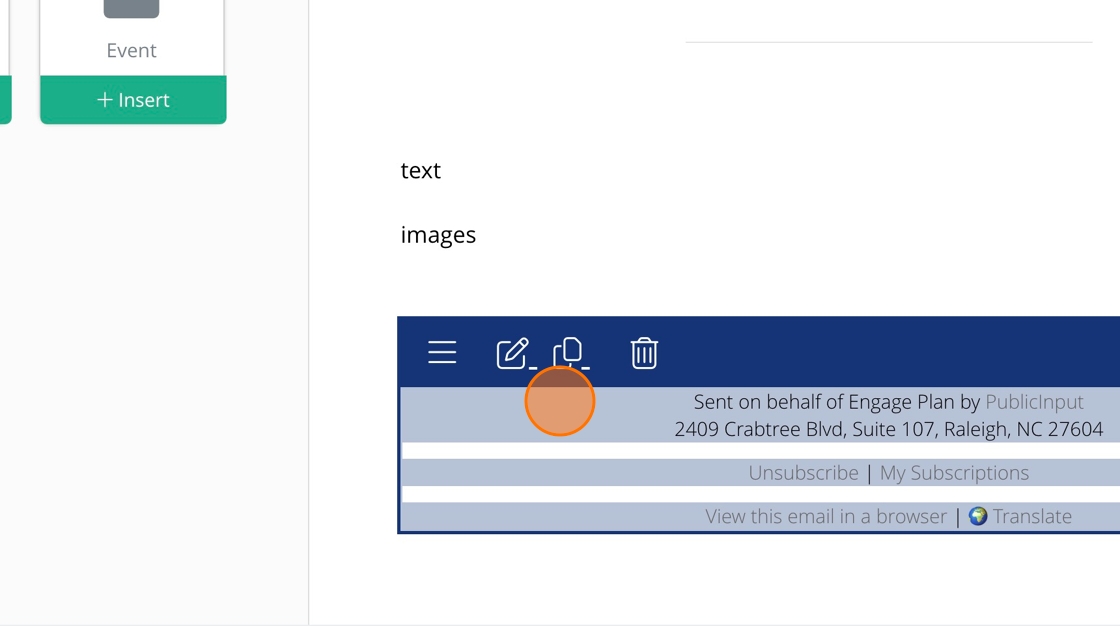
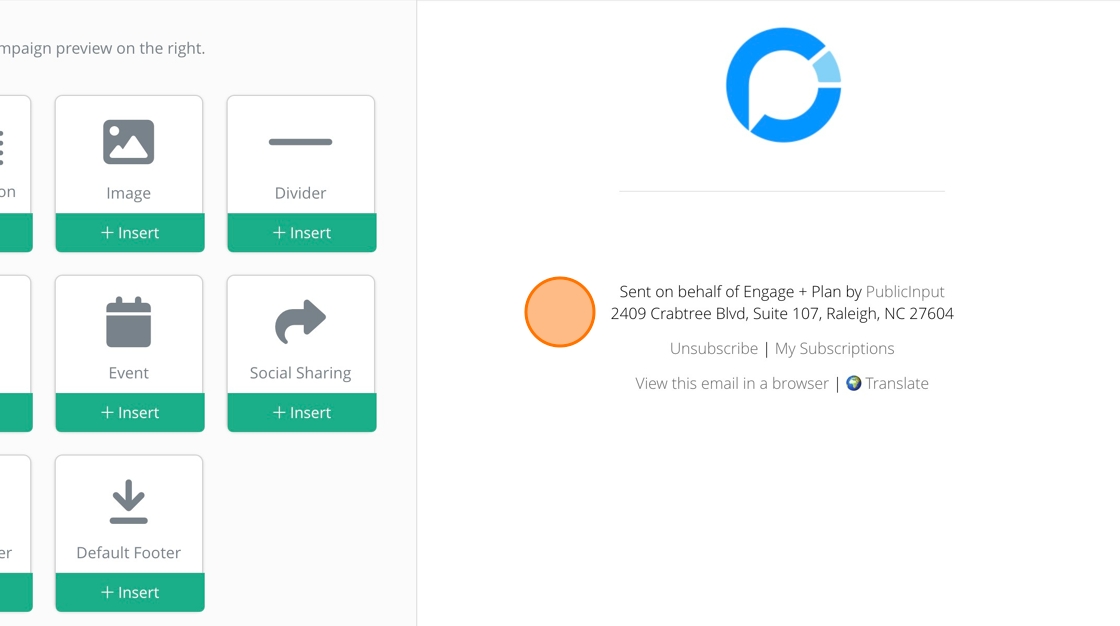
23. It is highly recommended that this section does not get deleted. The unsubscribe link is within this section.
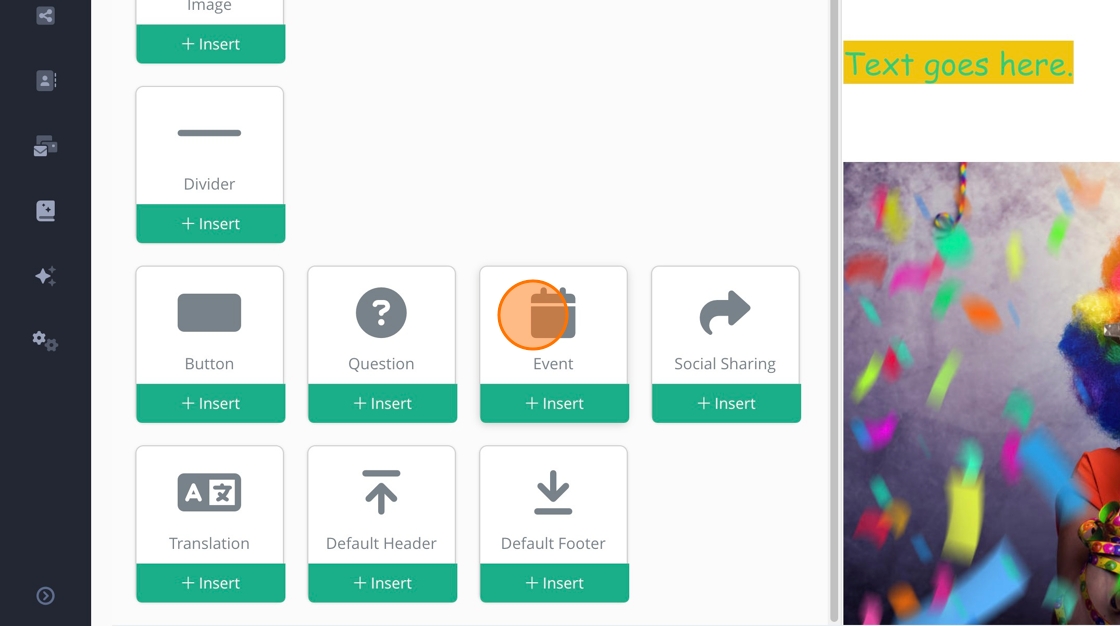
24. You can add PublicInput created events or meetings to your email.
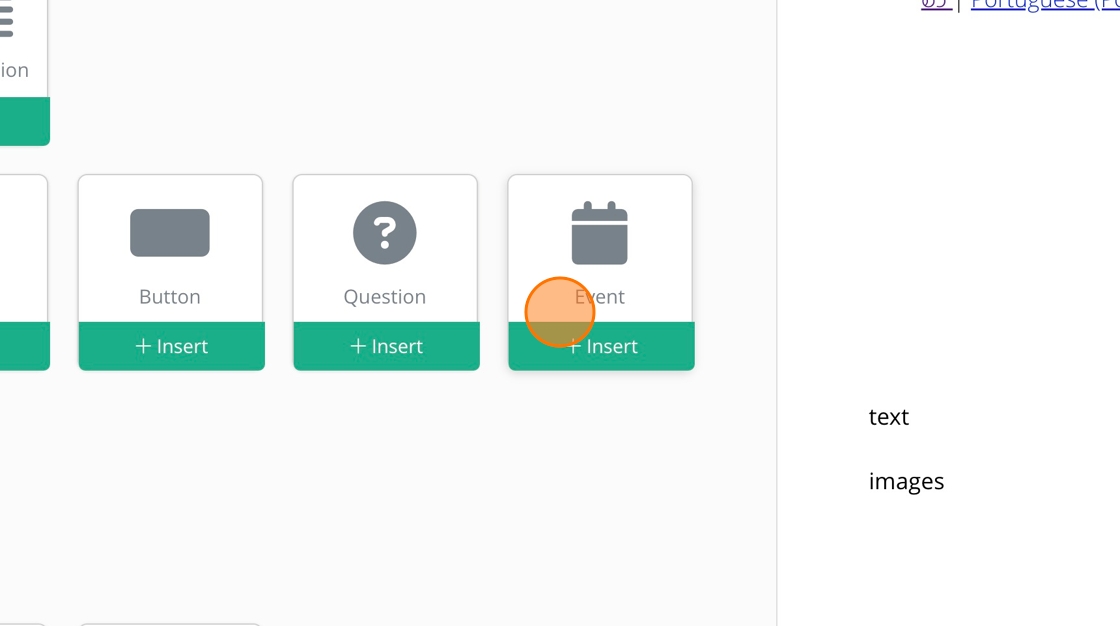
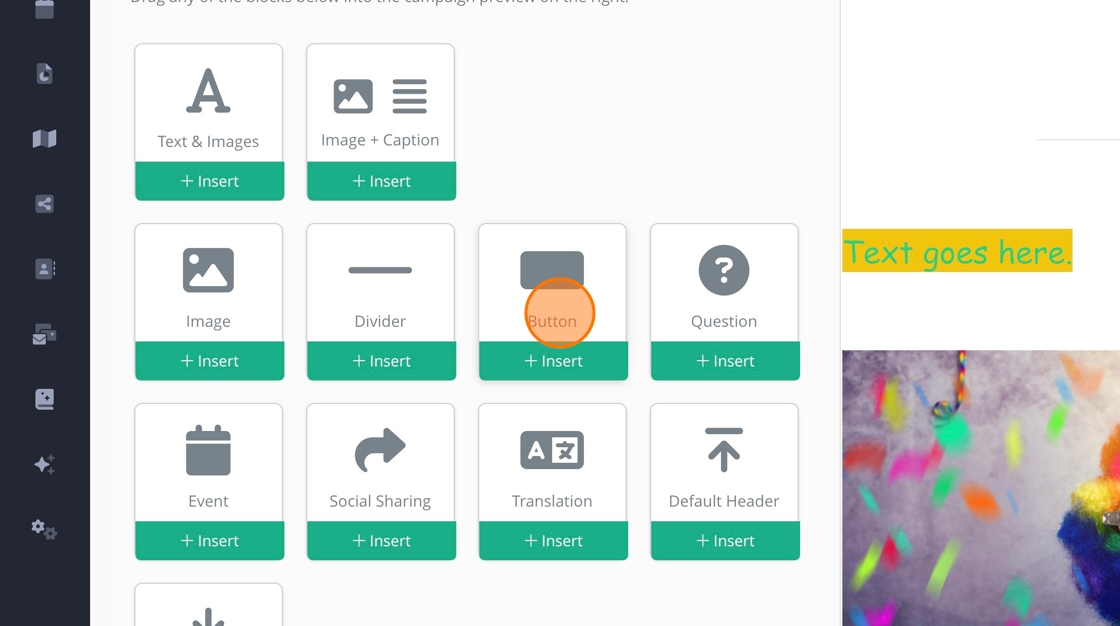
25. You can add a hyperlinked button.
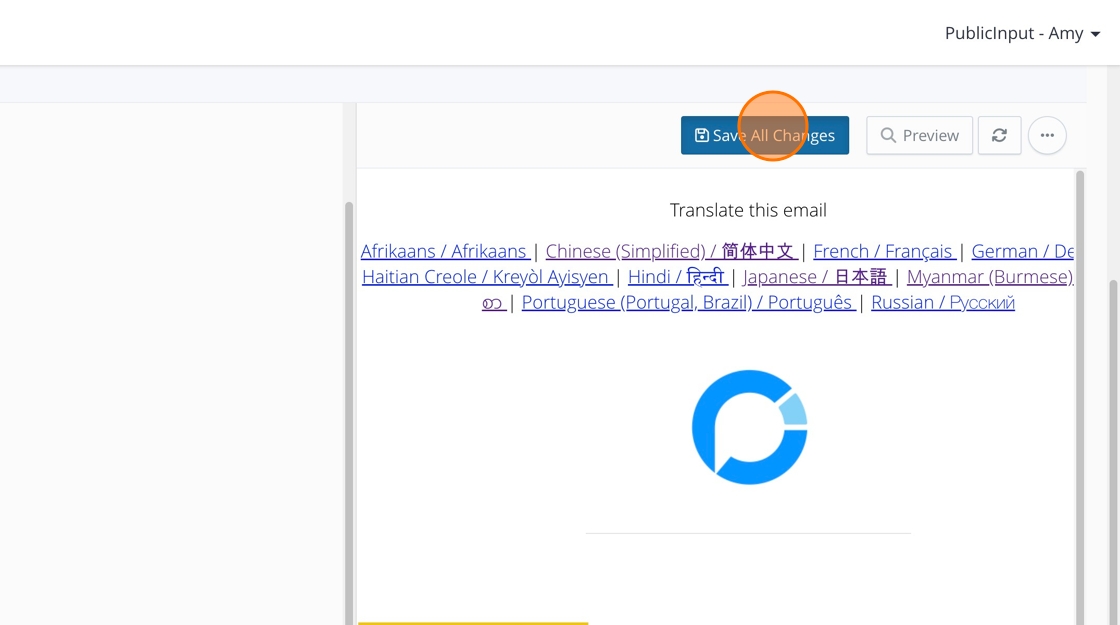
26. When you are done building your eamil, click "Save All Changes."
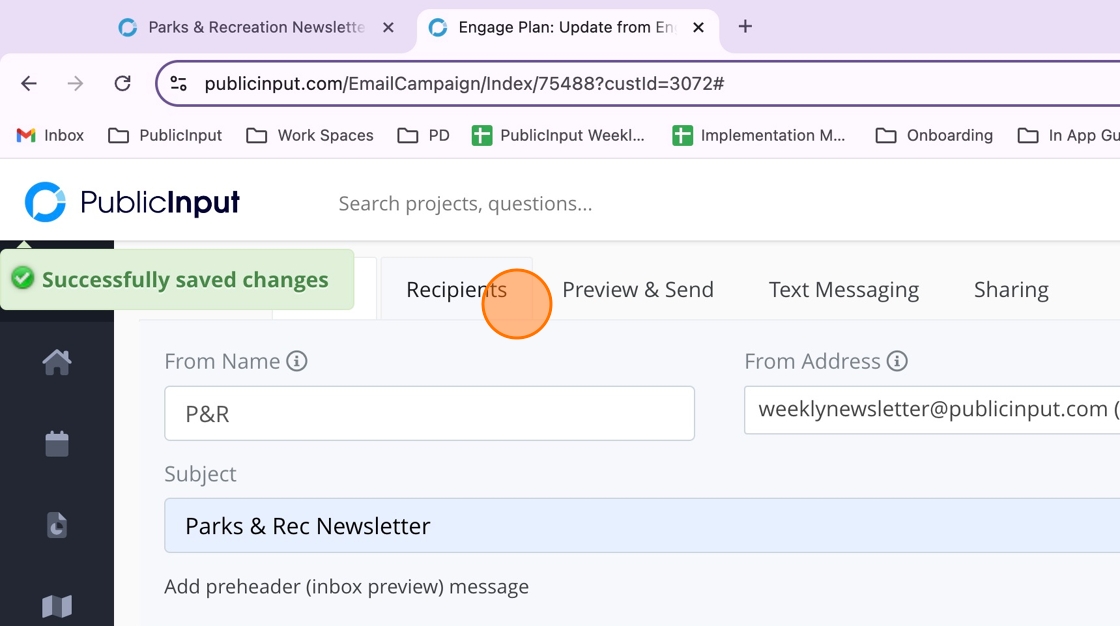
27. Click here to add recipients.
28. All current subscribers are already listed.
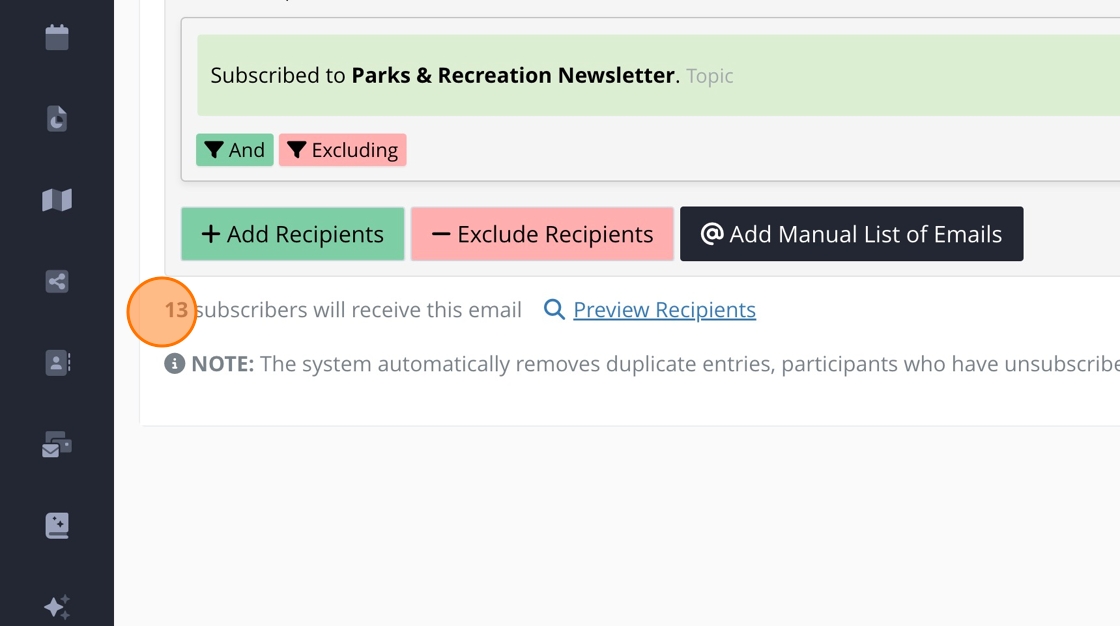
29. You can filter these recipients to be more nuanced with who receives the email.
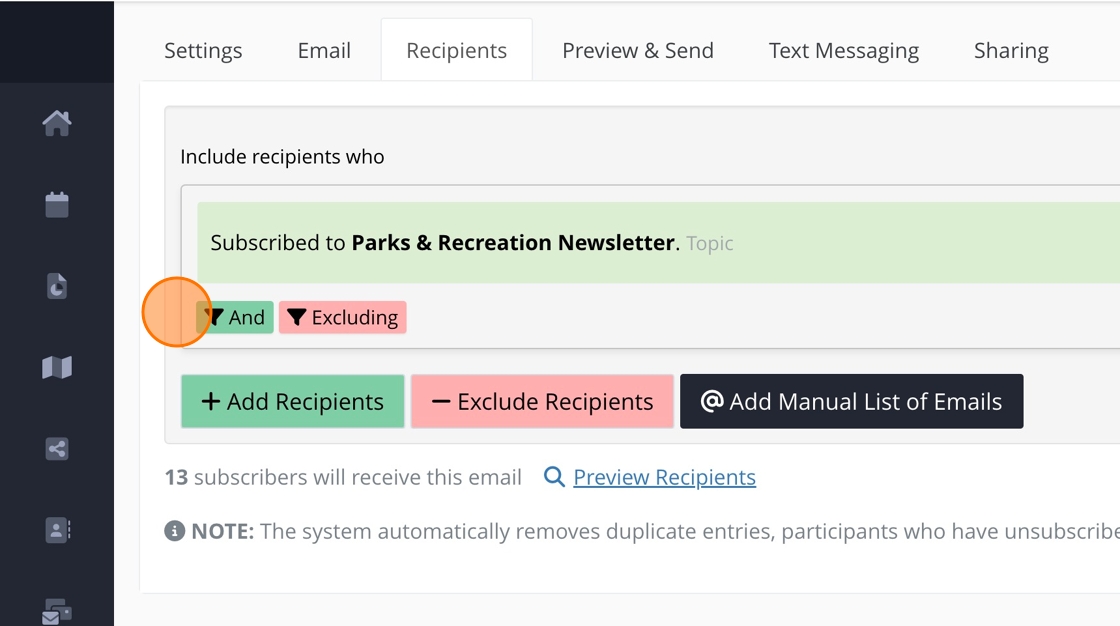
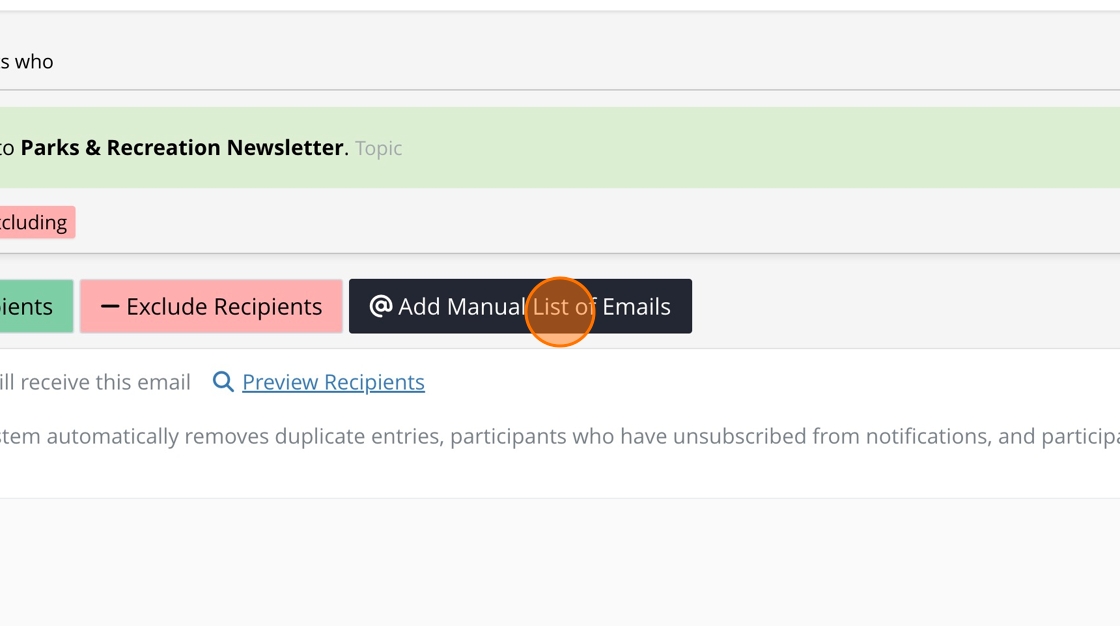
30. Or add a manual list of recipients.
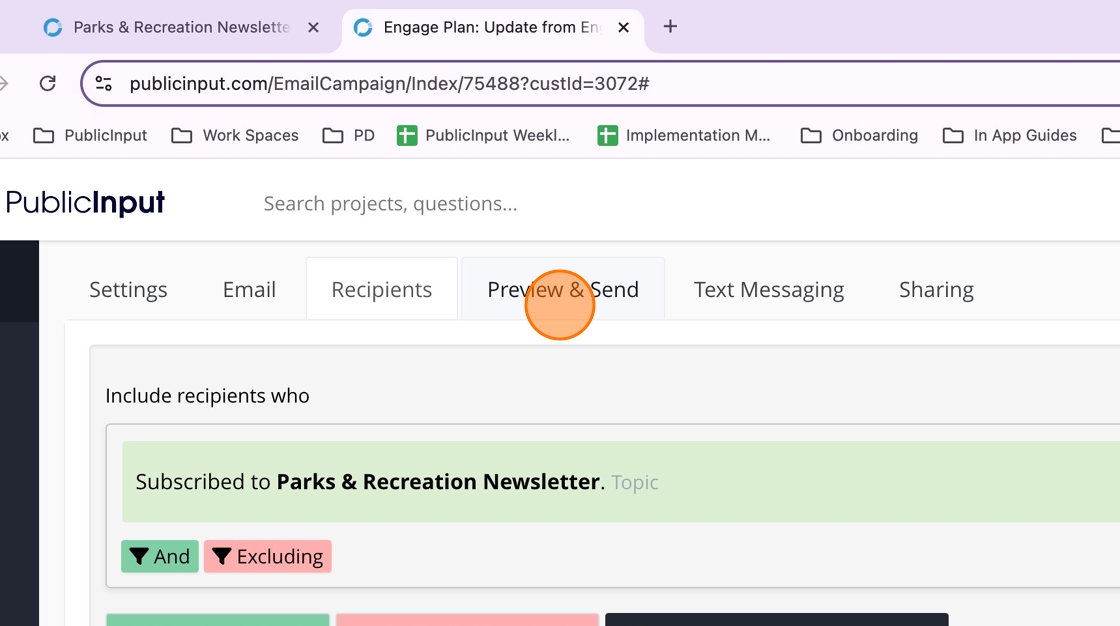
31. Click here to preview and send.
32. Before you send the email to your community, we always recommend testing it yourself to ensure all links and images look good.
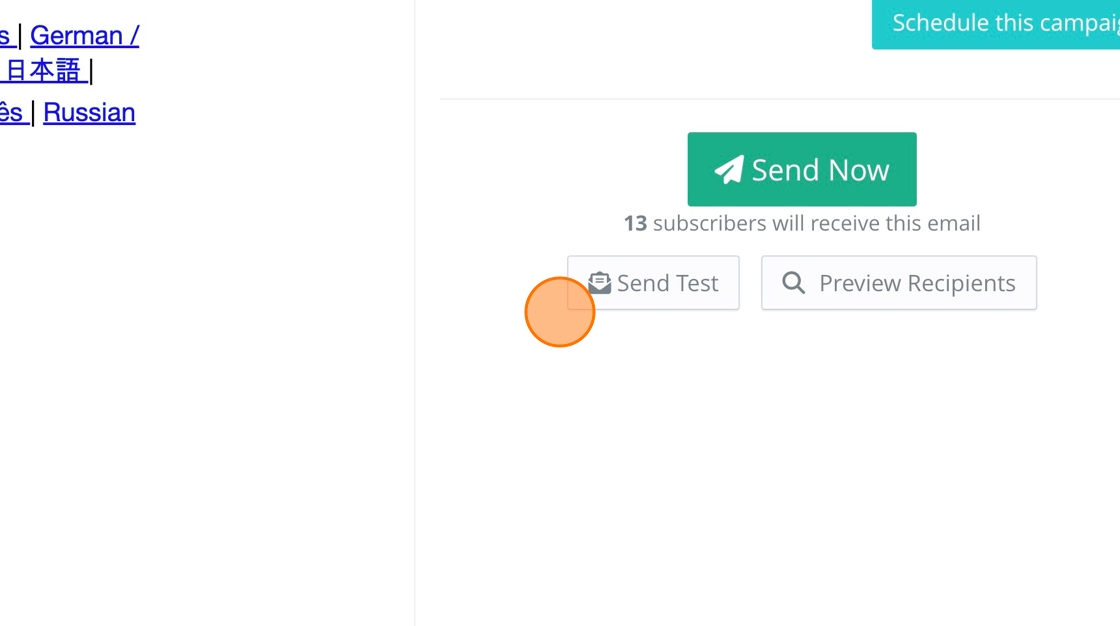
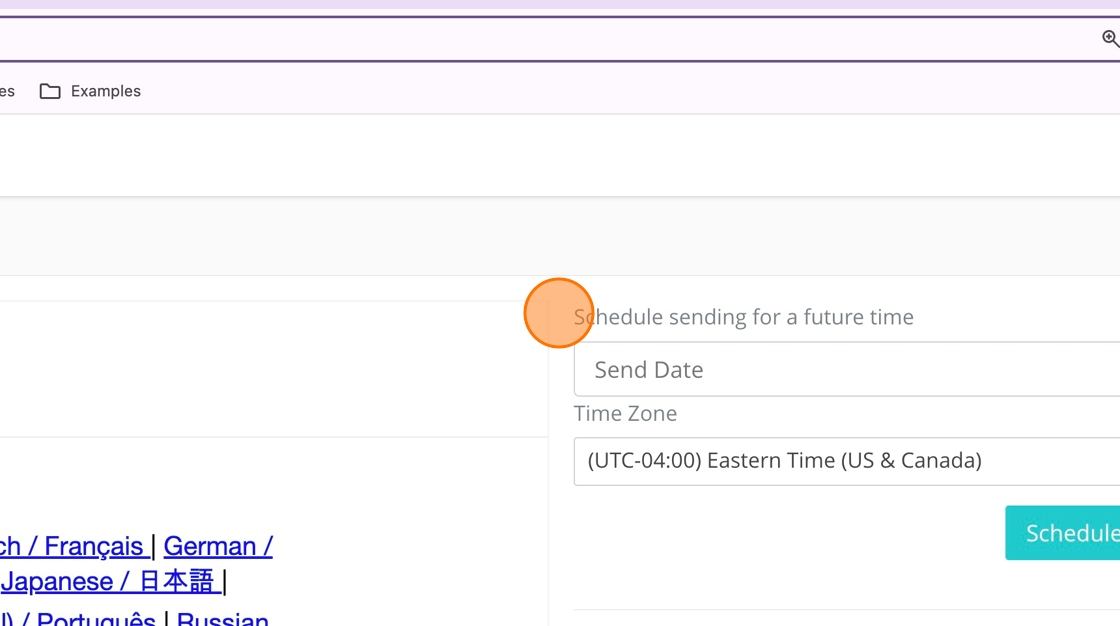
33. You can schedule the email to be sent at a later date and time.
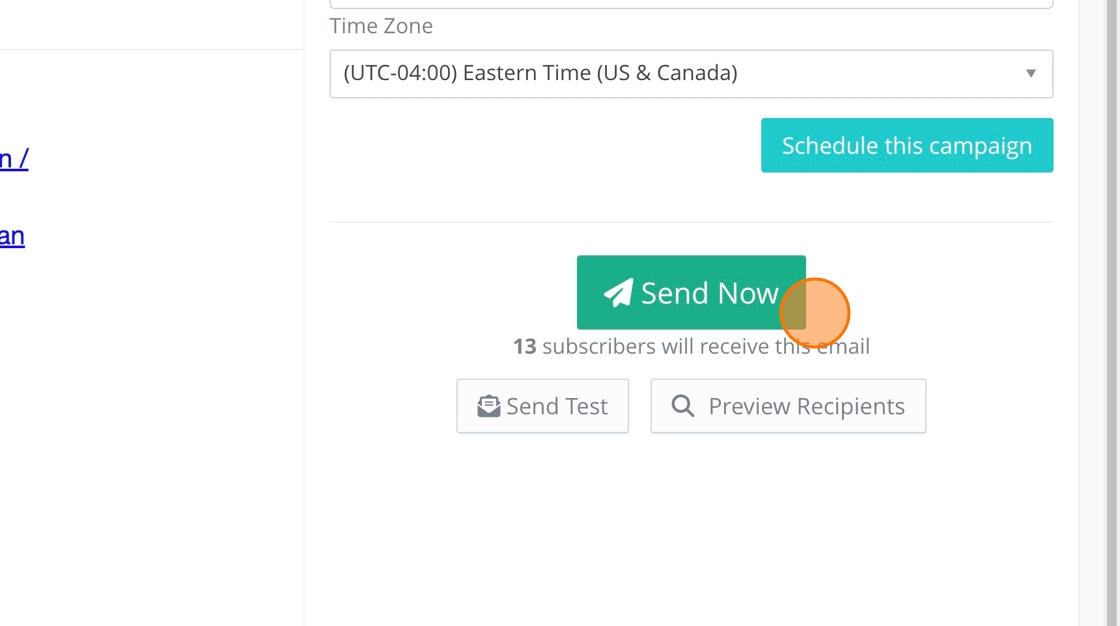
34. Or you can send it immediately.
How to send an email campaign from a project
Step-by-step guide
Step-by-step guide
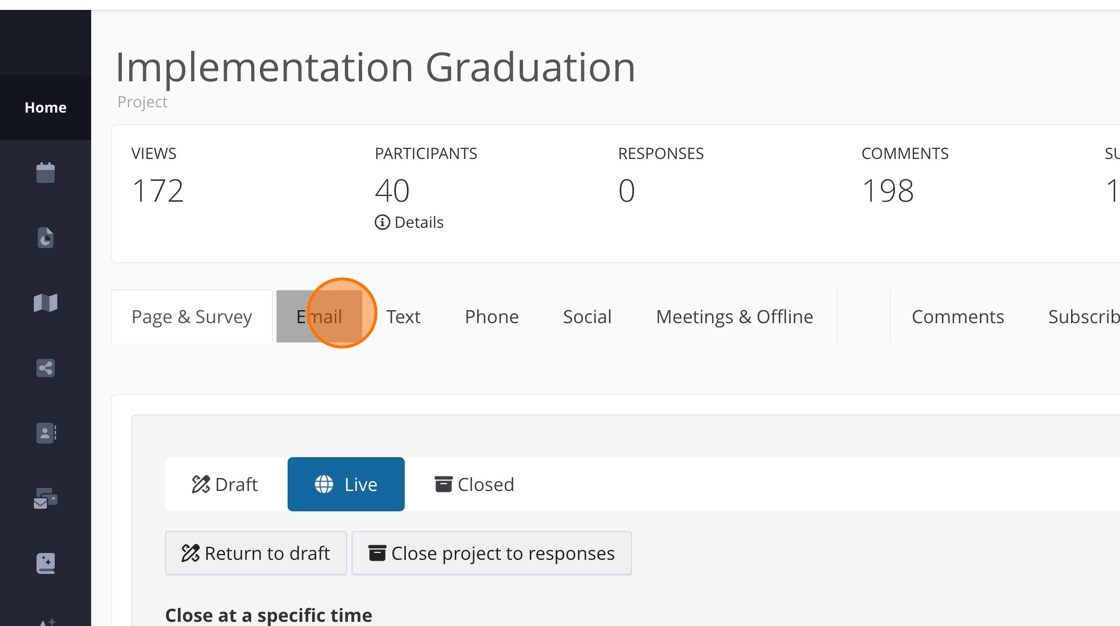
1. Within the project, click "Email"
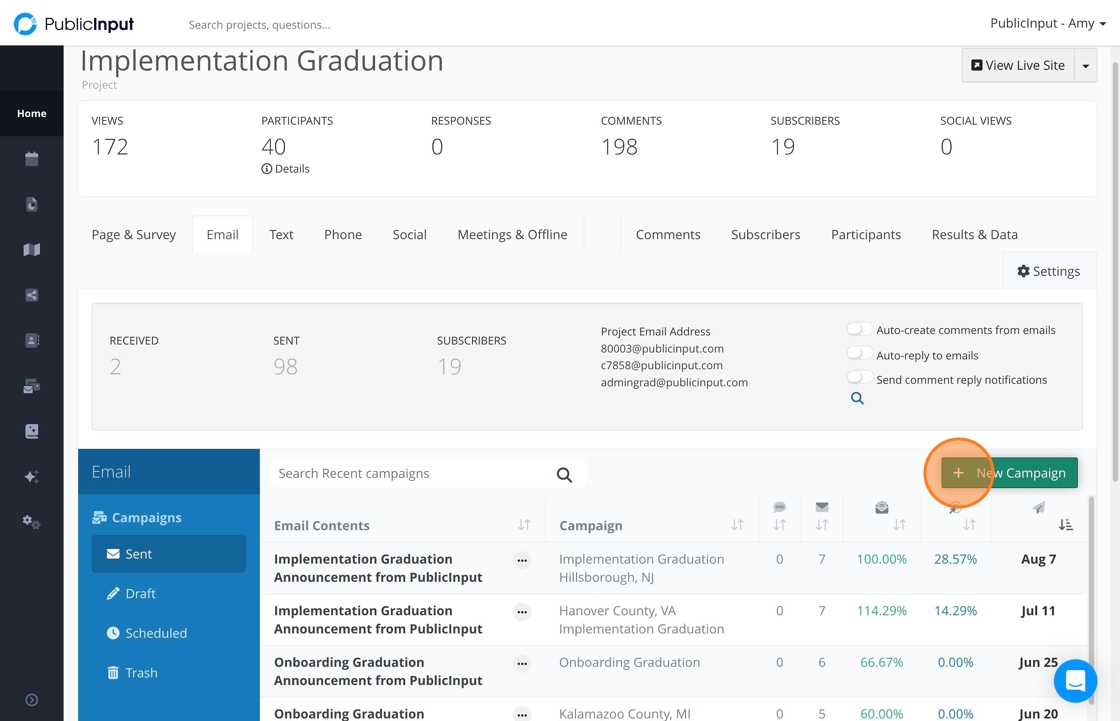
2. Click "New Campaign"
This section is internally facing only
3. Add a campaign name.
4. The department will already be added based on the project.
5. The project name will already be added.
6. Add or remove any campaign admin.
7. Either toggle on or off the auto-reply. Feel free to customize the auto-reply if needed.

8. Click "Save & Continue"
9. Email templates may or may not be available to you.
10. You can always create emails from the "Design from scratch" button.
This section is recipient-facing
11. Add a sender name.
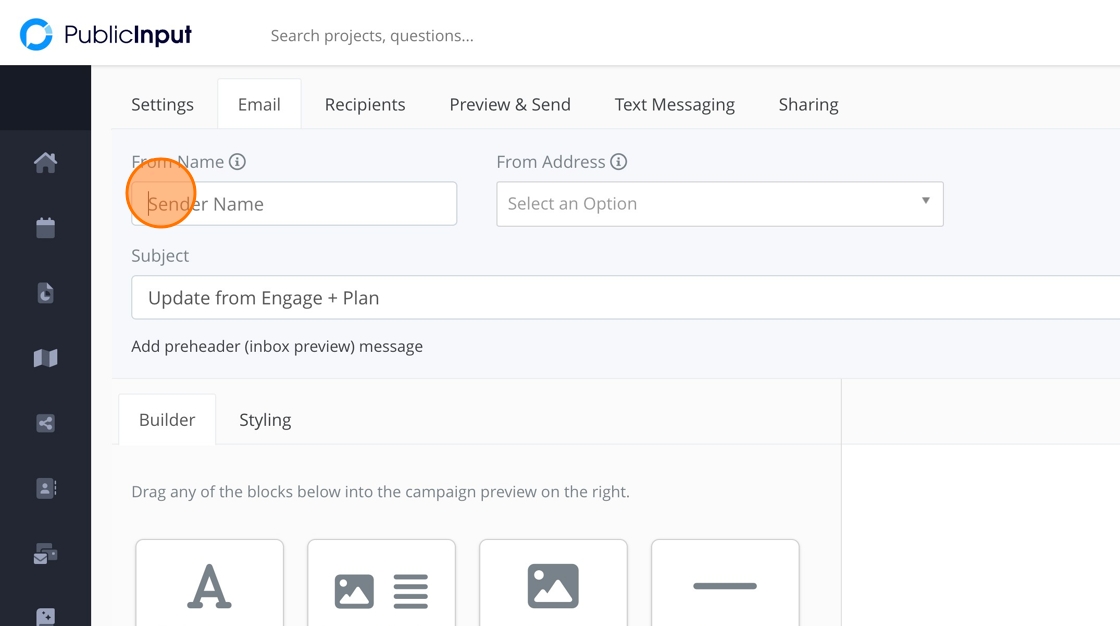
12. Search for addresses related to your project.
13. Add the email subject.
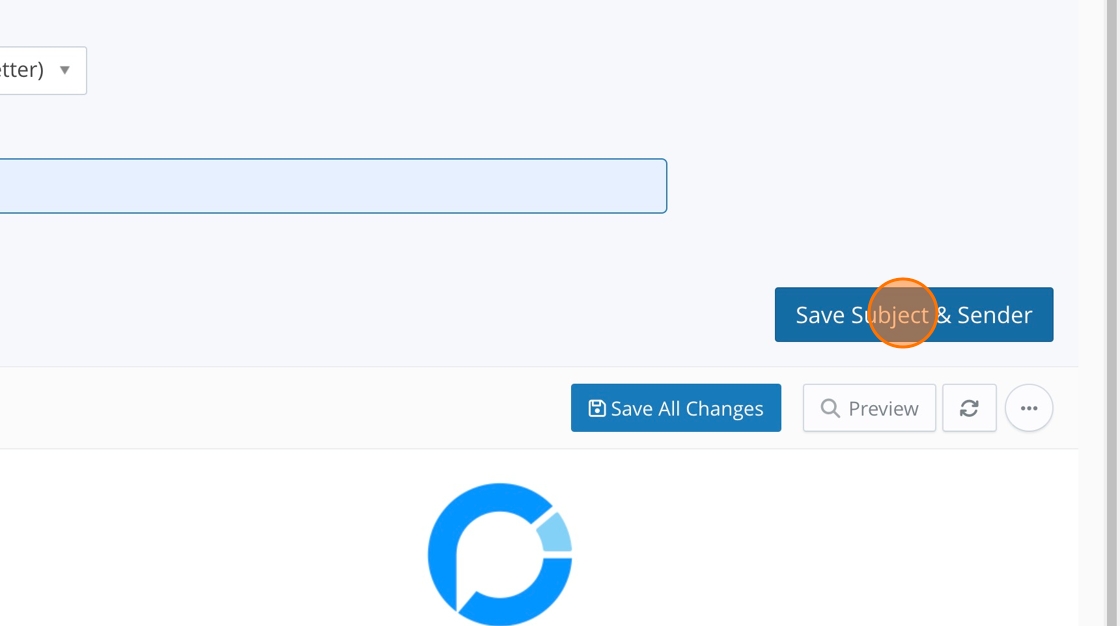
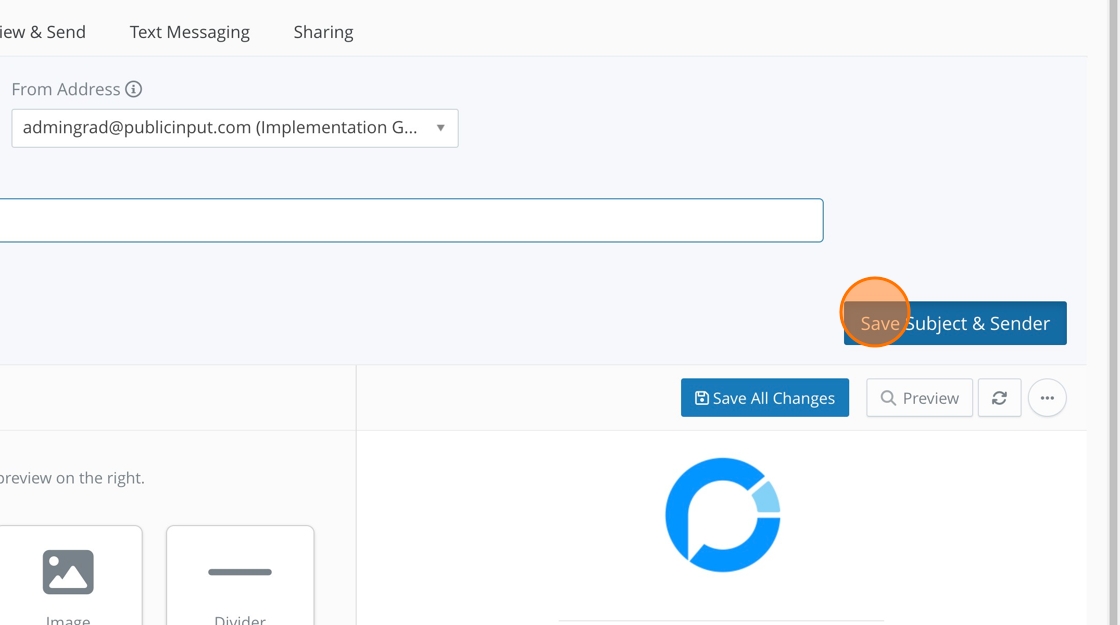
14. Click "Save Subject & Sender"
15. We recommend never deleting this section as it has the unsubscribe link.
You can drag and drop blocks to create your email.
16. Text and Images
17. This opens a text box to add text, images, hyperlinks and tables. Be sure to click "Save Changes & Return" when done.
18. You can add a hyperlinked button to your email. This is great for sending folks to a project or survey.
19. Add a PublicInput created event or meeting to your email.
20. You can add translation for your email.
21. To remove unnecessary languages, simply click the "x."
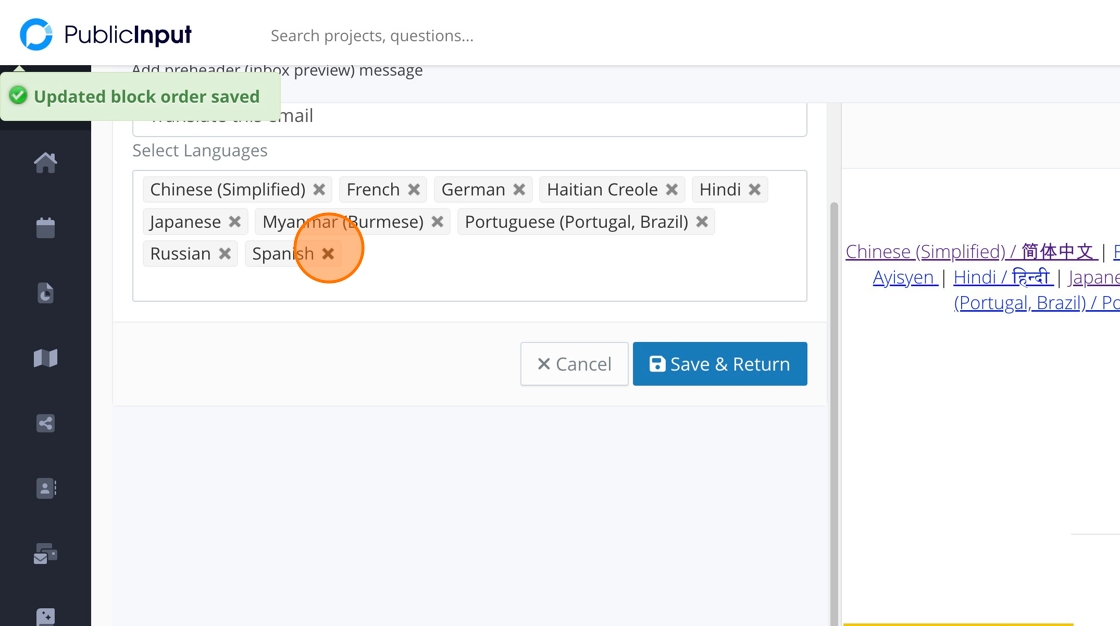
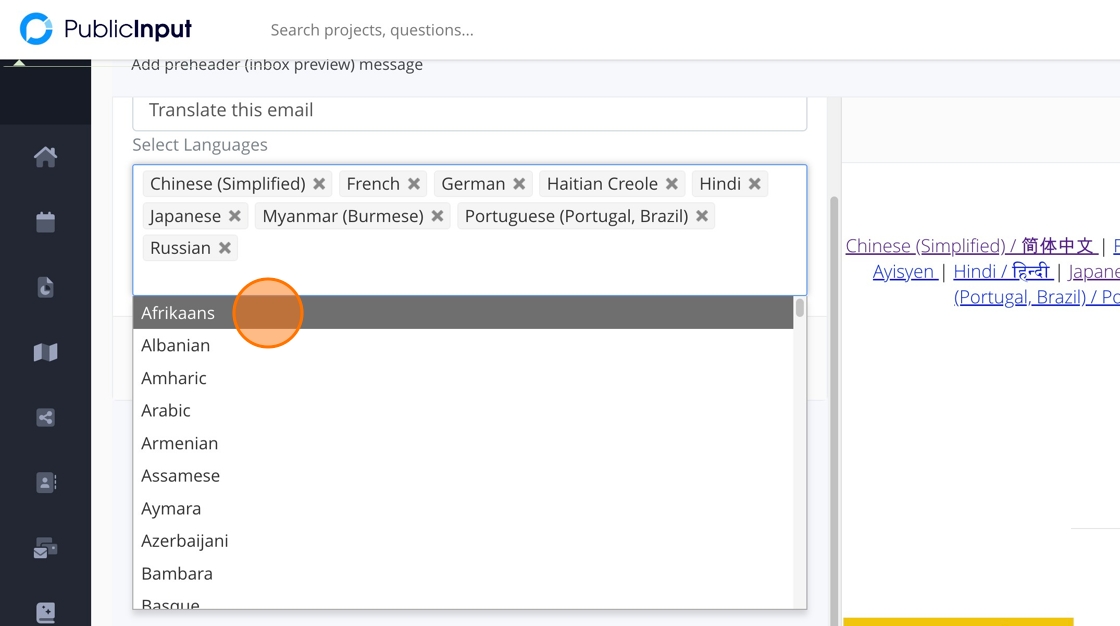
22. To add additional languages, click the space next to the last language and then search for the language you need to add.
23. Click "Save & Return"
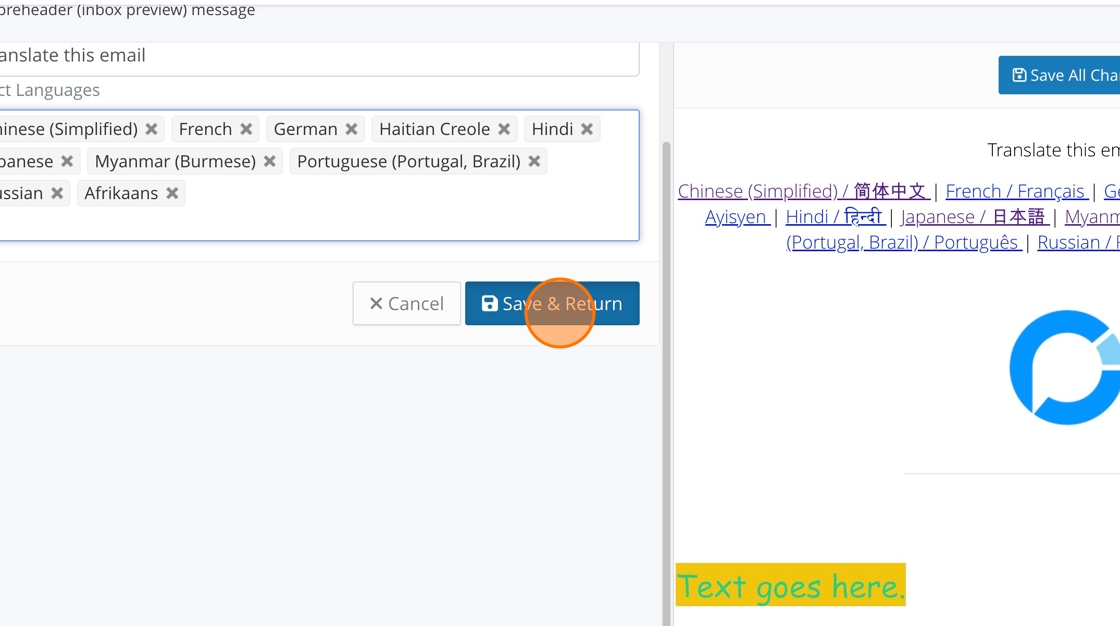
24. Click "Save All Changes"
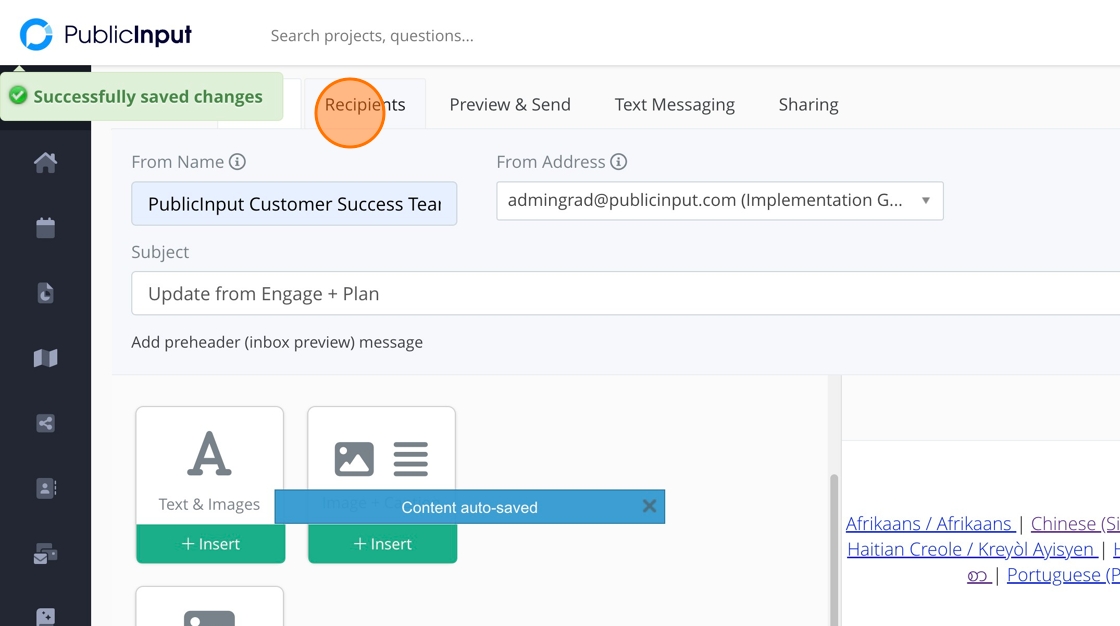
25. Click "Recipients"
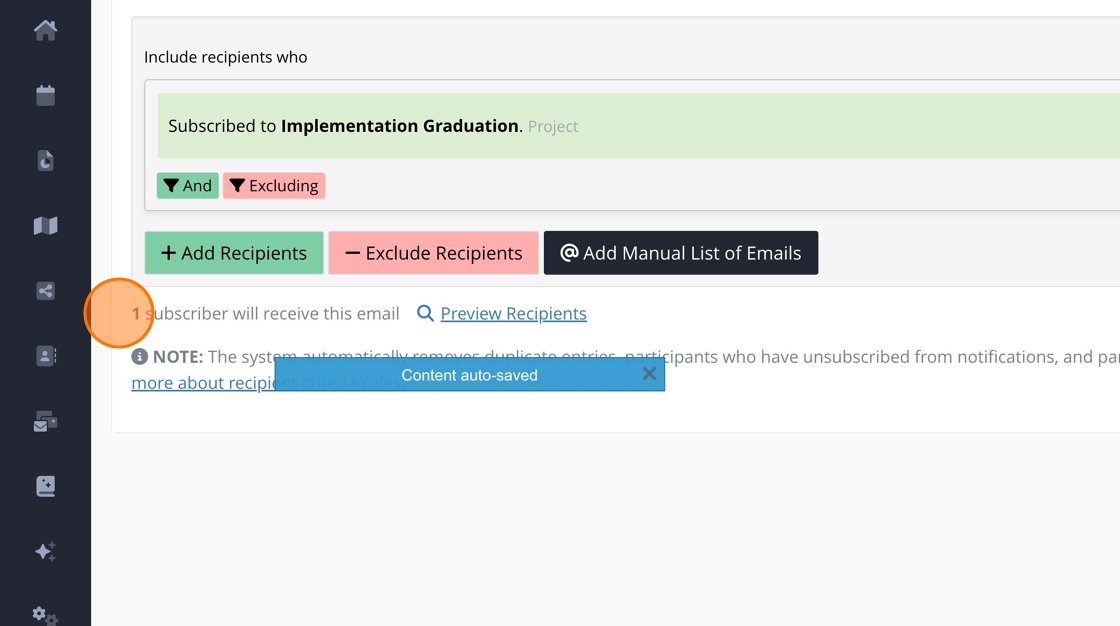
26. Anyone actively subscribed to your project will automatically be listed here.
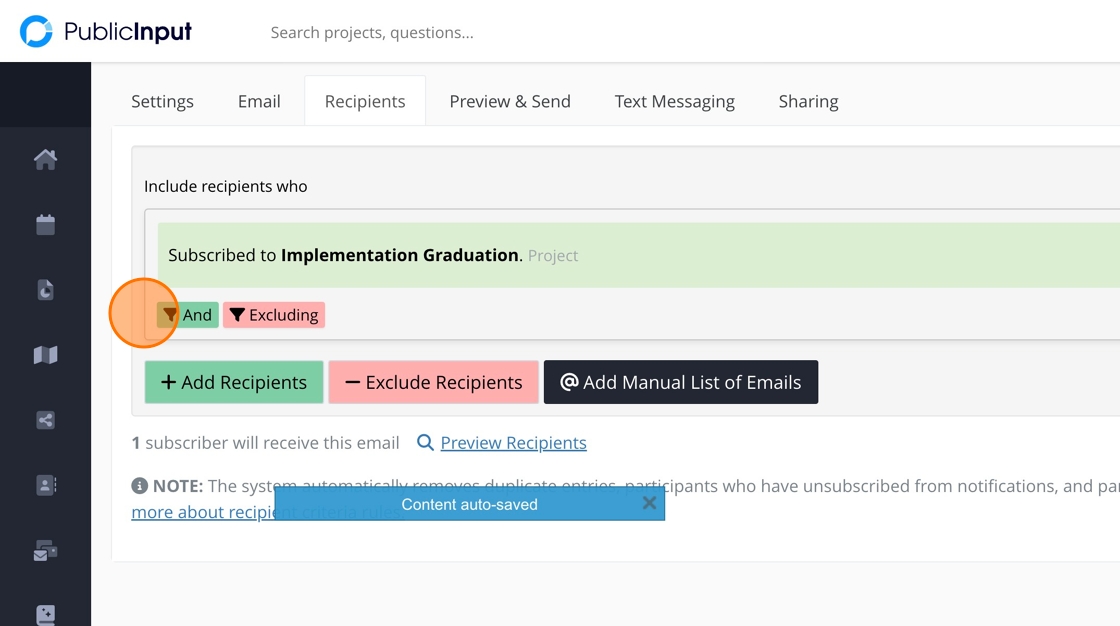
27. You can filter the recipients even further if needed.
28. You can add additional recipients here.
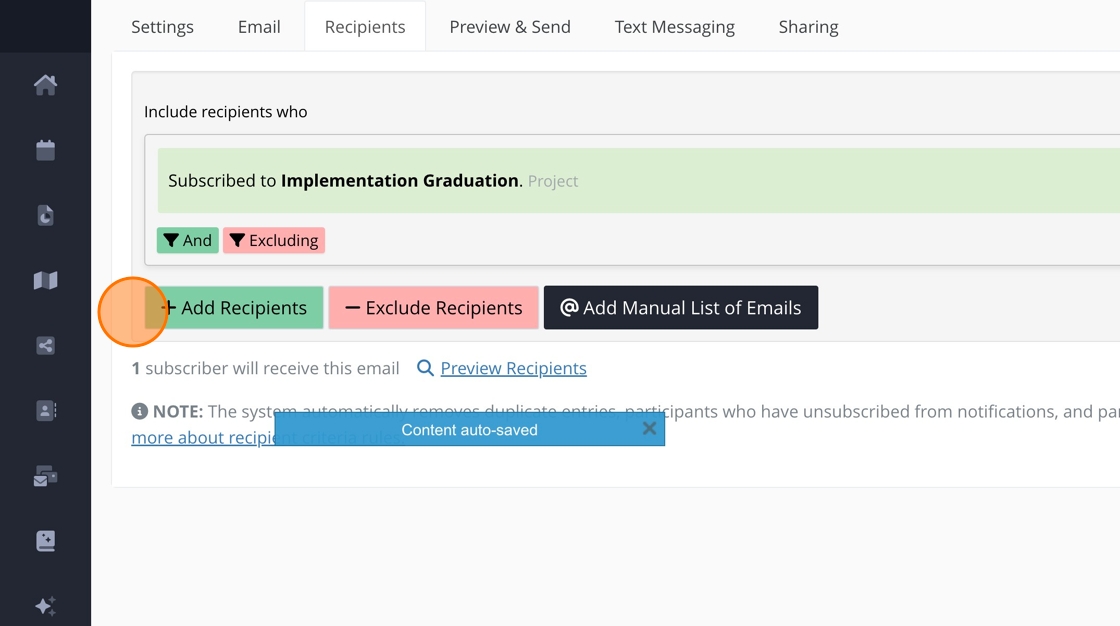
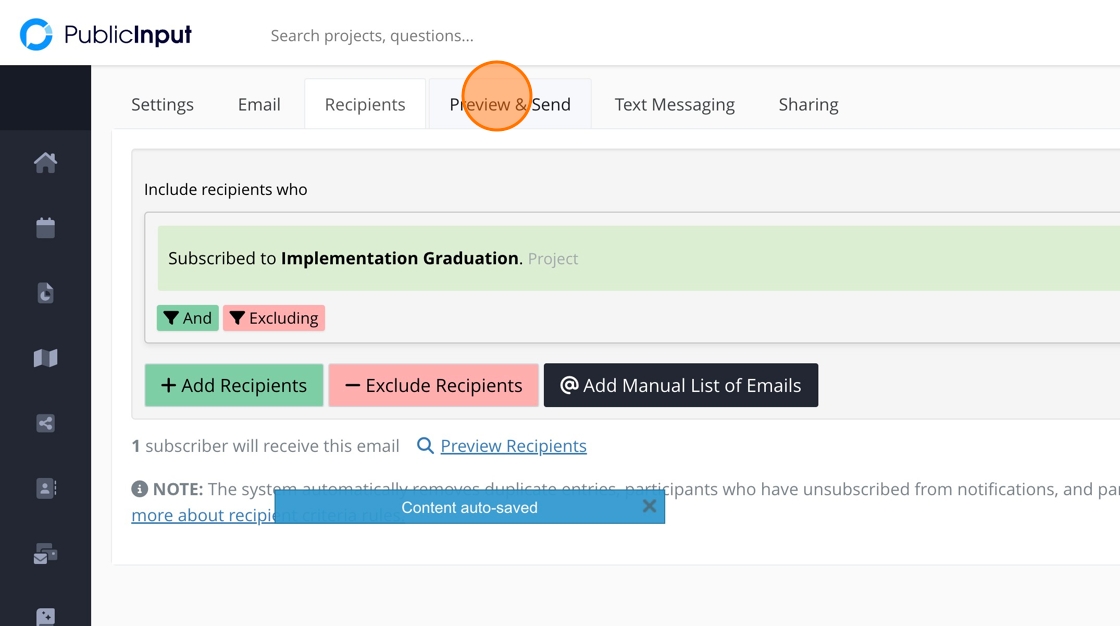
29. Click "Preview & Send"
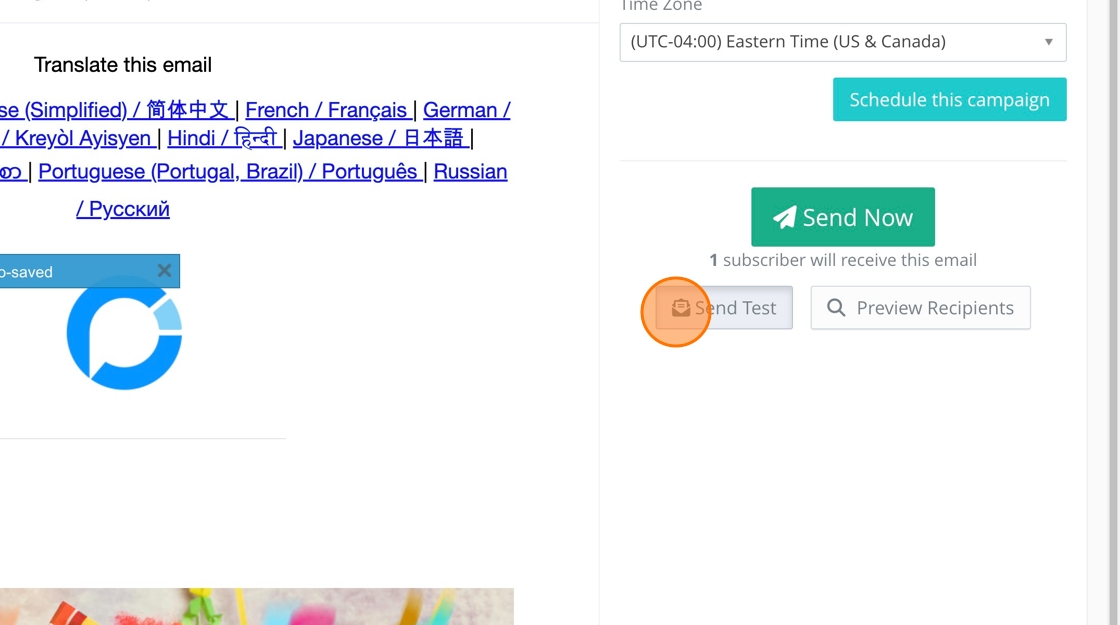
30. We always recommend sending yourself a test to ensure all images and links work.
31. You can schedule to send your email at a future day and time.
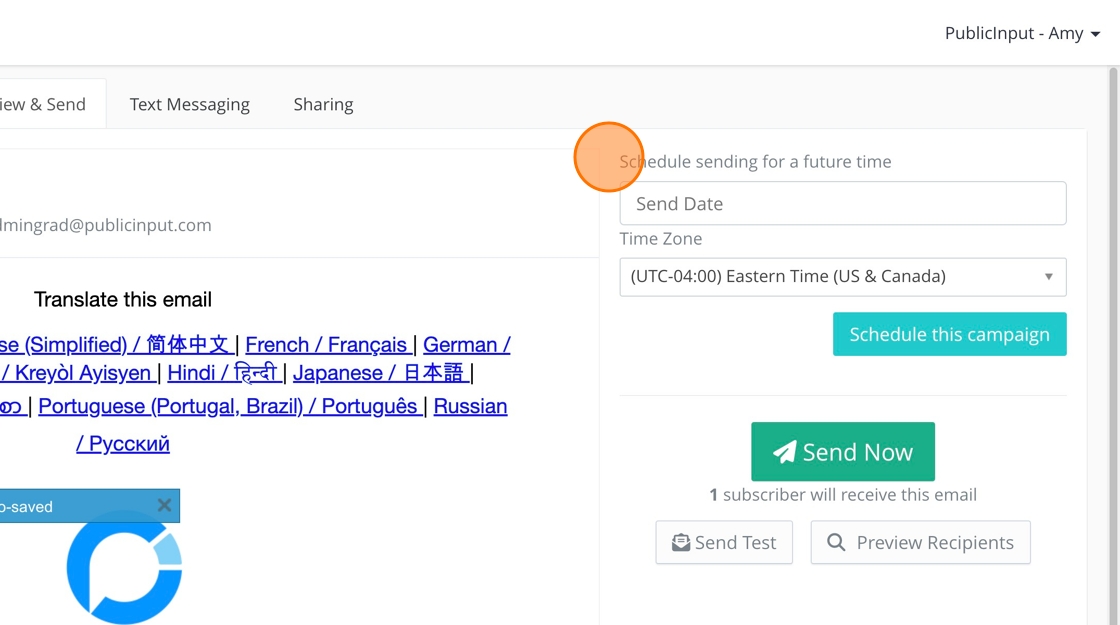
32. Or, you can send your email immediately.

Go back to "Start Here."